For Homes
We plan around your home's trim, windows, entrances, and daily access. You can point out leaks or damaged boards before we measure the affected elevations.
- Rot near window sills
- Loose boards after winter
- Cedar finish peeling
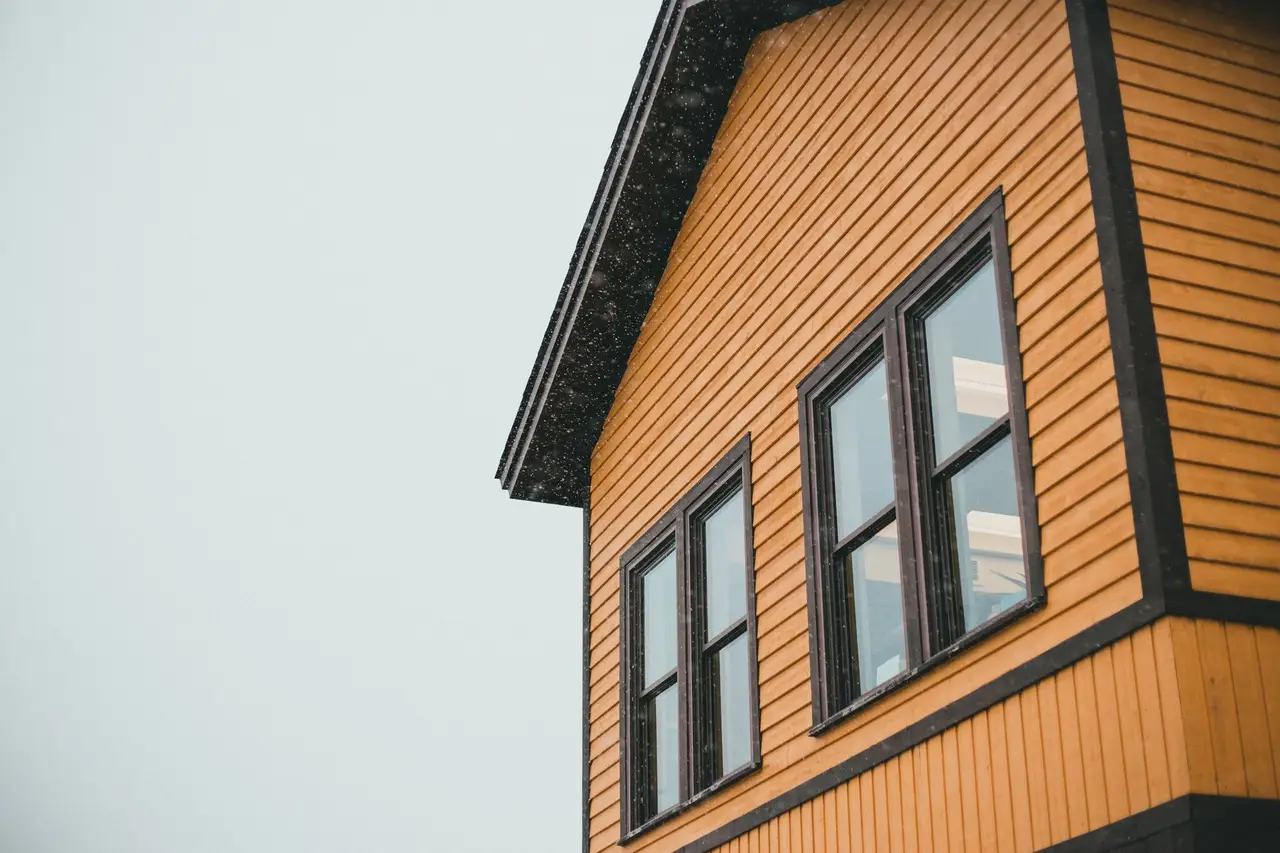
Cedar Siding Installation in Farmington, Connecticut gives homeowners a durable wood exterior with precise detailing at corners, windows, and trim. We assess the existing wall, identify moisture or rot, and plan the installation around your home's profile. Our cedar siding fitting Farmington service suits full exterior projects, additions, and sections where failing boards leave the building exposed to rain and seasonal temperature changes.
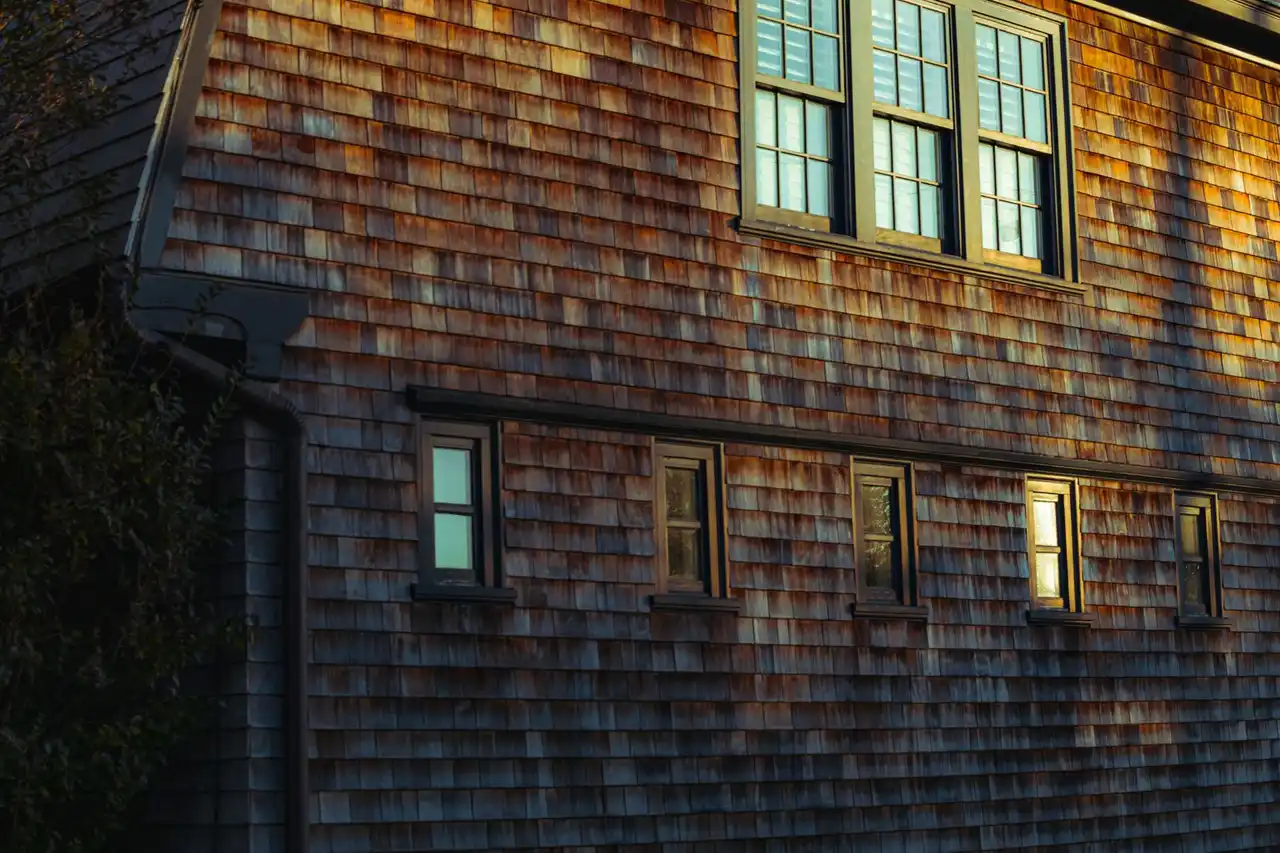 Wall moisture checkCourse alignmentOpening flashing
A typical project covers exterior inspection, measurements, removal within the planned area, wall preparation, cedar fitting, and cleanup. We identify visible concerns and discuss concealed repairs if they appear after removal. Finish coating, extensive framing repairs, window replacement, and unrelated trim upgrades are separate work items when needed; we explain how each affects the project before proceeding.
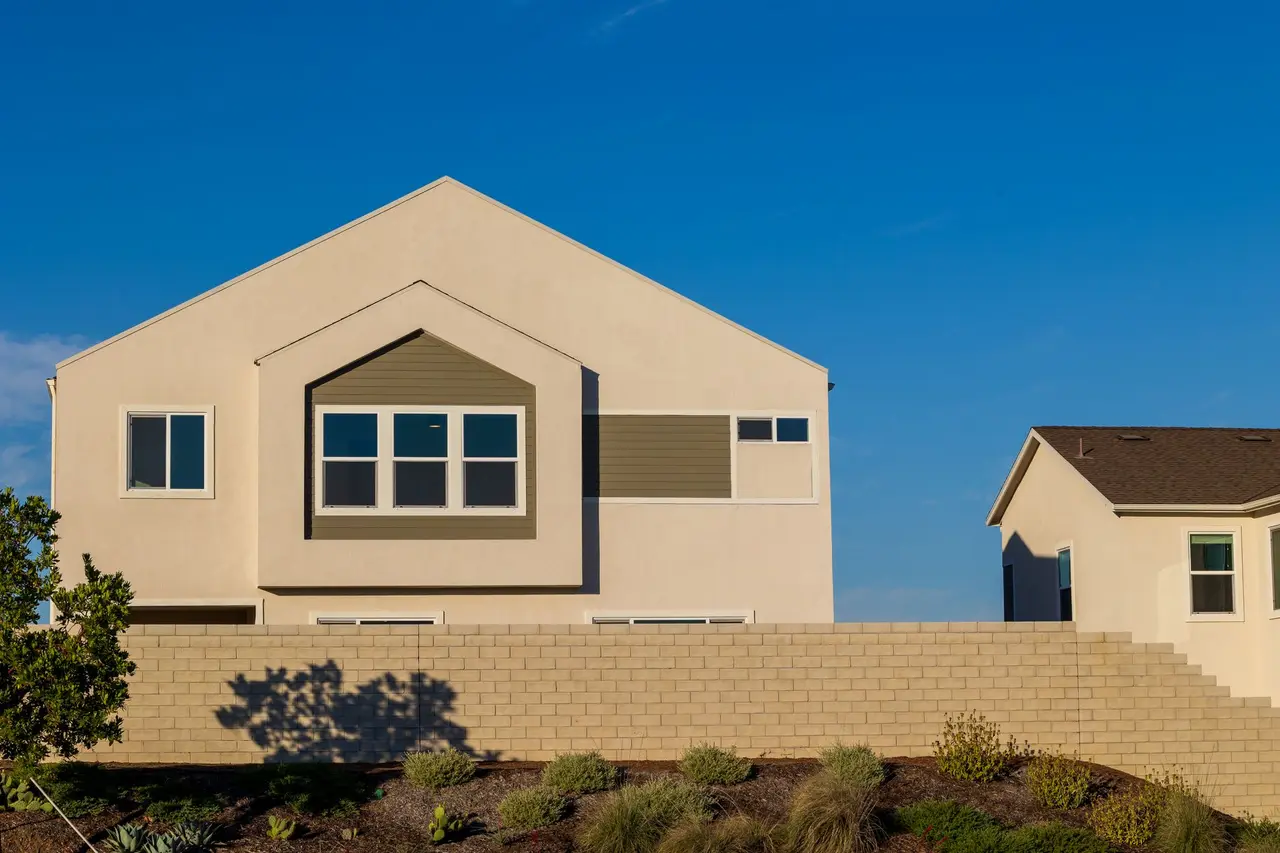
We inspect the siding, corners, window surrounds, and wall base for cracking, loose boards, finish failure, and moisture signs. This helps us define which elevations need work and whether a small repair or broader replacement better addresses the condition.
We remove the agreed siding sections and examine the exposed surface. Damaged sheathing is identified before new cedar goes on, and we prepare the substrate so the new courses have a stable, suitable base.
We check house wrap and flashing at openings and transitions, correcting accessible deficiencies within the project plan. Proper overlaps and clear drainage paths help direct water outward rather than behind the boards.
We measure, cut, align, and fasten the cedar to suit each elevation. Corners, trim, and opening edges receive close attention so courses remain consistent and the installed material can accommodate normal movement.
We clear project debris and review the completed surfaces with you. You'll see the finished transitions and hear practical guidance on checking the exterior and maintaining its finish over time.
The approach is the same for a home and a business. What changes is the access, the schedule and who needs the paperwork.
We plan around your home's trim, windows, entrances, and daily access. You can point out leaks or damaged boards before we measure the affected elevations.
We coordinate exterior work with owners and property managers, including access routes and occupied areas. We review elevations and identify transitions that need careful sequencing.
A plain-language look at what Cedar Siding Installation involves and when it is needed.
See how it worksCedar Siding Installation in Farmington, Connecticut is an exterior cladding service that protects a home's wall assembly and gives it a finished cedar surface when existing siding is damaged, outdated, or being replaced. We inspect the sheathing and framing, remove compromised boards, and check house wrap, flashing, and window frames before installing new material. Each course is measured, cut, aligned, and fastened to allow proper drainage and movement. The result depends on more than the visible boards: sound substrate, correctly detailed openings, and protected end cuts all matter.
Farmington's cold winters, wet spring weather, and humid summers put repeated stress on exterior wood. Older homes in the Farmington Historic District and Farmington Village may also have trim details that call for careful matching rather than a quick cover-up. We look for siding rot, peeling finish, loose boards, and water infiltration before recommending a repair or full replacement. If you're comparing affordable Cedar Siding Installation in Farmington Connecticut, we'll explain which work addresses the actual damage and which upgrades are optional.
Sound cedar installation depends on a prepared wall, careful water detailing, and correctly fitted courses.

Cedar Siding Installation in Farmington follows a practical sequence, from checking the wall to reviewing the finished details. We explain what we're doing at each stage and keep you informed if exposed conditions require a change.
We walk the exterior with you, note peeling or cracked sections, inspect window and door transitions, and measure each wall. A tape measure and level help us establish quantities and reveal uneven planes before material is ordered. The visit usually takes 60 to 90 minutes for a typical home, with extra time for complex elevations or access concerns.

Before removal, we protect nearby walkways, plantings, and entry points, then set ladders or scaffolding where the wall requires it. We remove old boards in manageable sections and sort reusable trim from damaged material. You can expect noise during removal and cutting; we keep tools and debris organized as work progresses.
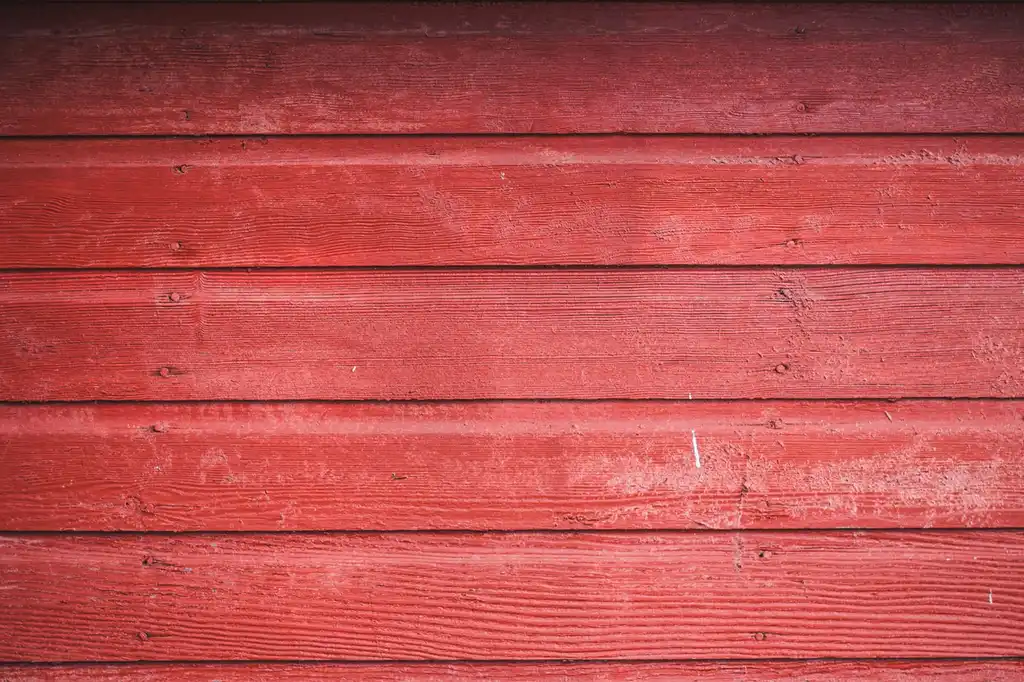
With the old siding off, we inspect exposed sheathing, house wrap, flashing, and framing for signs of water infiltration or decay. We replace unsound sections within the agreed work area and correct gaps around openings before covering them. This step prevents new cedar from hiding damage that needs attention first.

We snap layout references, cut boards with a circular saw, and fasten each course using a siding nailer or nail gun suited to the material. A level keeps courses true; a utility knife handles precise trim adjustments. We respect the manufacturer's fastening guidance and leave appropriate room for seasonal wood movement.
At completion, we inspect corners, openings, trim, and exposed edges, then apply caulk only where the assembly calls for a sealed joint. We clear debris, walk the finished elevations with you, and explain finish care. You'll see the completed work and any maintenance points before the crew packs up.

Move across a circle, or focus it and press Enter, for an illustrative thermal view of the photograph.
We use it for straight, measured cedar cuts and maintain clean board ends. Cut planning limits unnecessary waste and helps courses meet corners and openings accurately.
The siding nailer fastens cedar consistently when set for the material and application. We position fasteners according to the board profile and installation guidance.
We measure elevations, establish layout references, and check that courses remain straight. Accurate layout prevents small errors from multiplying across a long wall.
We apply suitable caulk at joints that require a seal, such as selected trim transitions. We avoid sealing drainage paths that need to remain open.
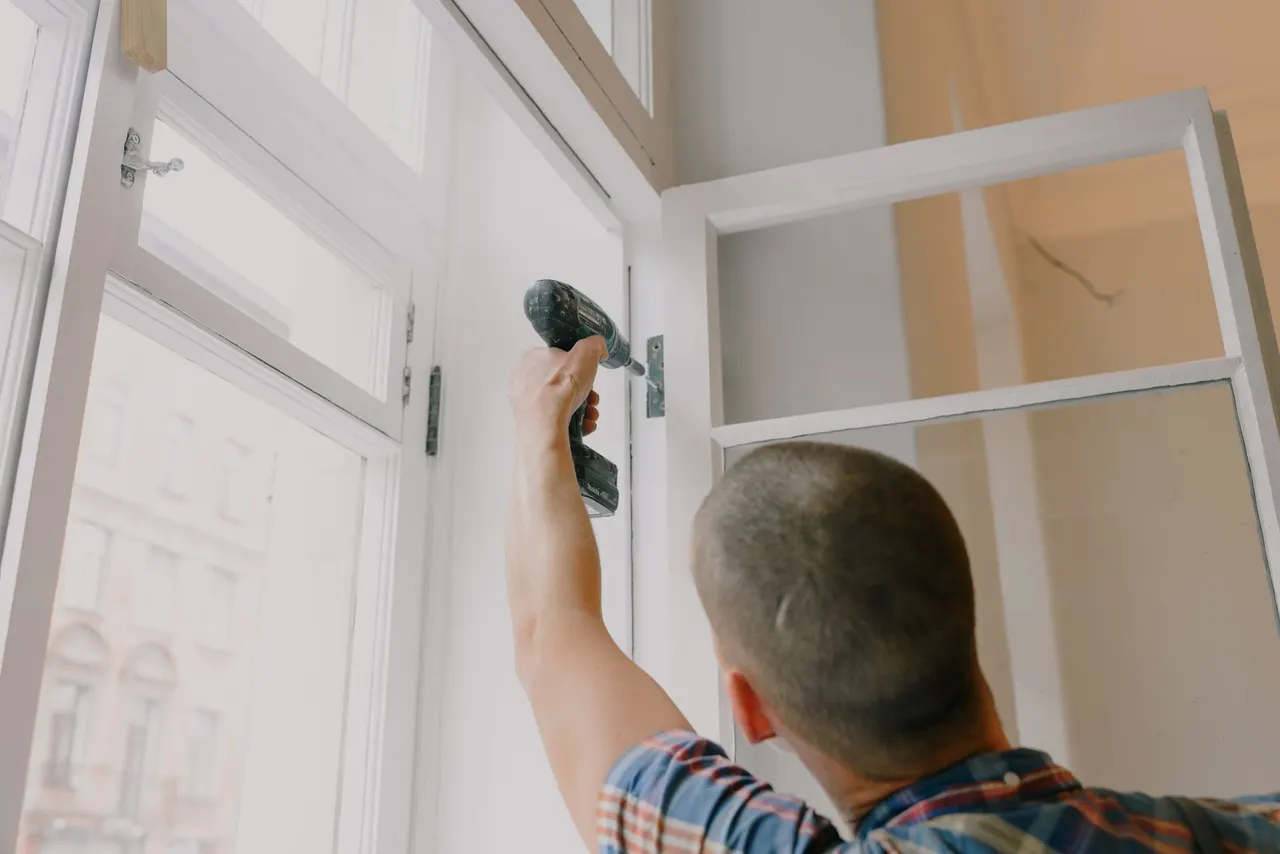
Where height or access calls for it, we use scaffolding and a safety harness to work steadily on elevated elevations and reduce unsafe reaching.
Thermal views are illustrative, generated from the photographs.
We inspect house wrap and flashing before new cedar conceals the wall. Layers overlap to shed water outward, and opening details receive particular attention. The purpose is to preserve a drainage route rather than trap moisture behind the cladding.
We establish a level reference and plan board spacing before installation. Each course is cut and fastened to suit the profile, with allowance for natural wood movement. Consistent layout keeps long elevations visually straight and supports secure attachment.
We coordinate cedar edges with window frames, corner boards, and trim. Flashing directs water away from openings, while caulk is used only where a joint calls for it. This method reduces vulnerable gaps without obstructing drainage.
On older painted surfaces, we assess the work area and use appropriate containment and cleanup practices when lead-safe handling is required.

A Farmington home has recurring rot at the same wall base after snow and spring rain.
We remove the damaged boards and examine the lower wall, house wrap, and nearby drainage details. Once the cause is understood, we repair unsound backing and fit cedar with a clear path for water to drain away. We also review nearby soffit and fascia if water is tracking from above.
Outcome: You get a repaired wall assembly and a cedar finish that no longer hides the source of the recurring damage.
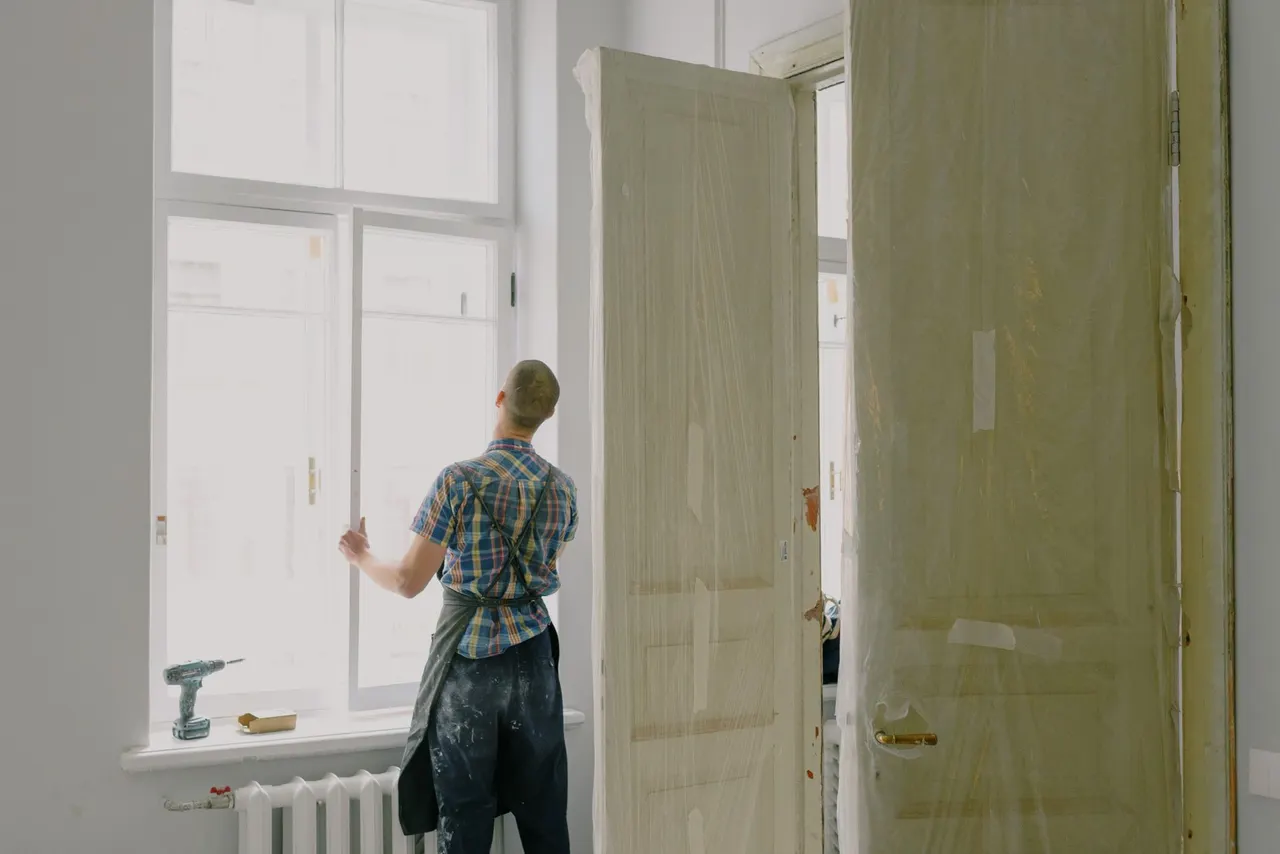
A homeowner in the Farmington Historic District wants new siding without losing the home's exterior character.
We measure existing courses, trim depth, and corner details, then discuss a cedar profile that works with the building's lines. The installation plan accounts for window surrounds and transitions so replacement boards don't create abrupt changes across the elevation.
Outcome: The refreshed exterior follows the home's established proportions while replacing deteriorated cladding and addressing the wall beneath it.

An addition in Farmington Woods needs cedar that meets the existing exterior cleanly.
We compare the addition's wall plane and trim with the original home, then plan course height and corner transitions. We install the cedar over a properly prepared assembly and detail openings before fitting adjacent trim. The result is planned as part of the whole exterior, not as an isolated wall.
Outcome: The addition gains a coordinated cedar surface with consistent courses and carefully finished junctions.
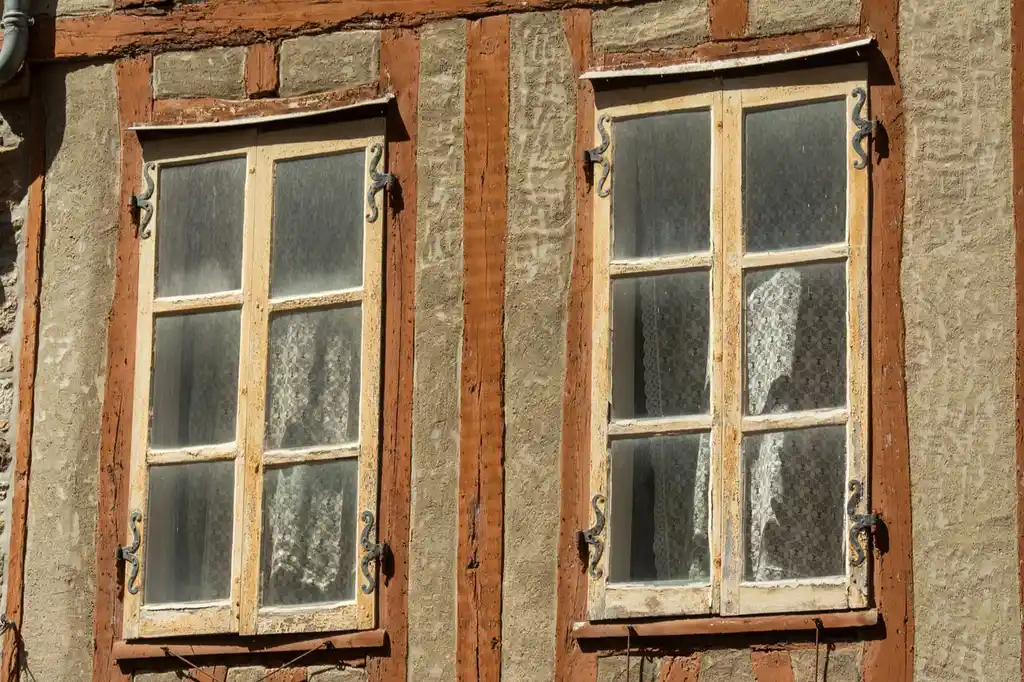
Loose boards and faded siding are spreading across a two-story Farmington exterior.
We inspect each elevation, identify which boards are loose or unsound, and plan safe access using ladders or scaffolding as required. After removal, we check exposed sheathing and install cedar in a sequence that keeps the work area controlled and the transitions consistent.
Outcome: You replace failing sections with a coherent exterior and know which areas need routine finish checks.
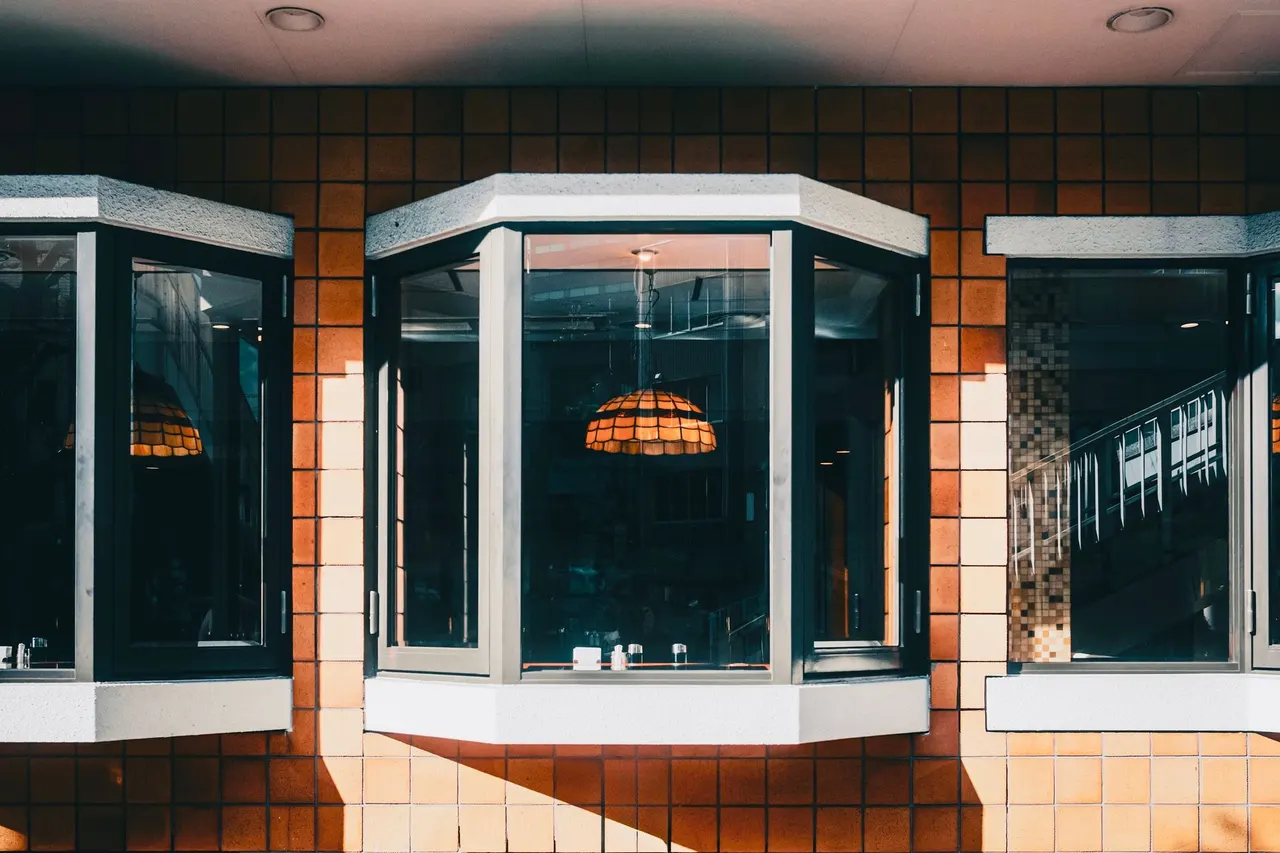
Farmington's winter freeze-thaw, spring rain, and humid summer weather make water management central to Cedar Siding Installation. We inspect wall bases, window heads, and shaded elevations for soft boards and staining, then plan the work around the building's exposure. Older homes near Farmington Village may have layered trim or previous repairs that change how boards meet at corners.
In newer neighborhoods, larger elevations and multi-story access can affect setup and sequencing. Our Farmington Connecticut cedar siding installation process includes checking house wrap, flashing, and the condition of exposed sheathing before new material covers the wall.
For a typical 1,000-square-foot exterior, installation often takes 5 to 10 working days, with weather and concealed repairs affecting the schedule. We follow applicable Connecticut requirements and use safe access methods suited to each home.
Before: A Farmington homeowner had soft cedar boards below two window sills and dark staining after rain. The finish had failed at the board ends, and a quick surface patch would have left the wet backing hidden. The wall needed selective removal and a close inspection before new material could be fitted.
After: We removed the damaged section, replaced 2 compromised sheathing panels, corrected the flashing transition, and fitted 14 cedar boards. The new courses align with the adjacent wall, and the water path now sheds outward at the opening. We reviewed the repaired area with the homeowner before cleanup.
Check the window trim and board ends in spring and fall. Keep gutters clear, watch for recurring stains after rain, and address cracked finish before water reaches the wood.
Before: Loose boards and faded finish covered much of a rear elevation, with several fasteners backing out near a corner. The homeowner wanted a consistent cedar surface but did not know whether the wall beneath it was still sound. We began by measuring the elevation and checking how the existing courses met the trim.
After: We replaced roughly 600 square feet of cedar after removing the loose material and inspecting the exposed wall. The replacement courses now run level across the elevation, and the corner transition is rebuilt with new trim. The homeowner received a walk-through of the completed work and the finish-care points.
Inspect the corner and exposed board ends twice a year. Wash gently when needed, and follow the finish product's recoat guidance rather than waiting for widespread peeling.
Before: A Farmington addition had a broad unfinished wall where the new framing met the original home's cedar exterior. The different wall depths made the transition look abrupt, and the window opening had not yet received its final exterior flashing and trim details.
After: We prepared the wall, detailed the window opening, and installed cedar across approximately 320 square feet. We matched the course layout to the existing exterior and finished the transition with coordinated trim. The addition now reads as part of the home rather than a separate surface.
Keep the transition and new window trim clear of debris. Check the caulked joints yearly and inspect the cedar finish after each winter for cracks or exposed edges.
Cedar problems often begin at exposed ends, window openings, or wall bases where water lingers. Our inspection looks beyond the visible stain or loose board to the source and condition beneath it. If you're comparing affordable Cedar Siding Installation in Farmington Connecticut, we help separate urgent repairs from appearance upgrades.
A properly prepared cedar wall sheds water and finishes your home's exterior cleanly.
Correctly lapped house wrap and flashing guide water outward instead of trapping it behind boards. We pay particular attention to window heads, corners, and lower edges, where poor detailing invites rot. Your finished wall has a defined drainage path, and vulnerable joints receive appropriate caulk without blocking the siding's intended movement.
Cedar brings visible grain and a warm wood finish that suits both traditional Farmington homes and newer additions. We align each course and keep trim transitions consistent, so the exterior reads as one planned surface rather than a patchwork of mismatched boards. You can discuss profile and finish choices before material is ordered.
Removing deteriorated cladding exposes conditions a surface patch cannot correct. We check sheathing and framing at affected areas, document any rot, and replace unsound material before closing the wall. Addressing the source of water entry helps prevent recurring soft spots and loose siding panels.
You know what happens next: inspection, preparation, installation, and a final walk-through. A straightforward one-story project covering roughly 1,000 square feet often takes several working days, depending on access and repairs. We keep the work area orderly and explain any concealed condition that changes the sequence.
What a written scope covers and what shapes it. Prices are set by the business after the first look.
Included
Depends on
Clear records you can keep and share.
Images of exposed and completed work areas.
Notes on cedar profile and installed sections.
A concise record of completed project tasks.
Practical observations for checking the exterior.
Cedar grade, wall condition, and exposure shape the installation plan; these distinctions help you compare options.
Board profile and grade affect appearance and fitting.
Backing and flashing protect the wall behind cedar.
Access and repairs change the installation sequence.
Based in Farmington and covering the places around it. Pick one for local details.
Typical 2026 pricing in Farmington changes with cedar grade, profile, trim, access, removal, and the condition of the sheathing. We inspect the elevations and explain the cost drivers before work starts. Small repairs cost less than full replacement, while rot, complex corners, or extensive scaffolding add labor.
Farmington Siding and Windows Pro provides cedar siding fitting Farmington for local homes and properties. We assess the existing exterior, check the wall beneath damaged boards, and plan installation details around windows, doors, corners, and trim. Call (860) 744-9803 to discuss your project and arrange a site visit. If you're comparing contractors, ask how they handle flashing, drainage, and concealed rot-not only board selection.
A typical 1,000-square-foot project takes about 5 to 10 working days, including removal, wall preparation, installation, and cleanup. A small single-wall replacement can take 1 to 3 days, while multi-story homes or repairs to sheathing extend the schedule. Weather also matters because exposed wood and wall layers need suitable conditions. We explain the expected sequence after measuring your home's elevations.
Inspect cedar at least twice a year, ideally in spring and fall, and clear leaves or debris from joints and wall bases. Look for cracked finish, soft boards, open caulk, and water stains around windows. Wash gently rather than directing a high-pressure spray into seams. Recoat cedar as its finish manufacturer's instructions require; sun exposure and moisture can change the interval. Promptly replace damaged boards before rot spreads.
Other services from the same team.
Tell us what you see on your exterior, from loose boards to rot around a window. We'll arrange a Farmington site visit, inspect the wall, and explain the next steps. Call (860) 744-9803 to discuss your cedar project.
Call (860) 744-9803 or email [email protected] to describe the siding or window issue at your Farmington home. Our listed office hours are Monday through Friday, 8:00 a.m. to 6:00 p.m.; calls are routed to independent companies. Share the affected area, any visible damage, and whether water is entering so the conversation starts with useful details.