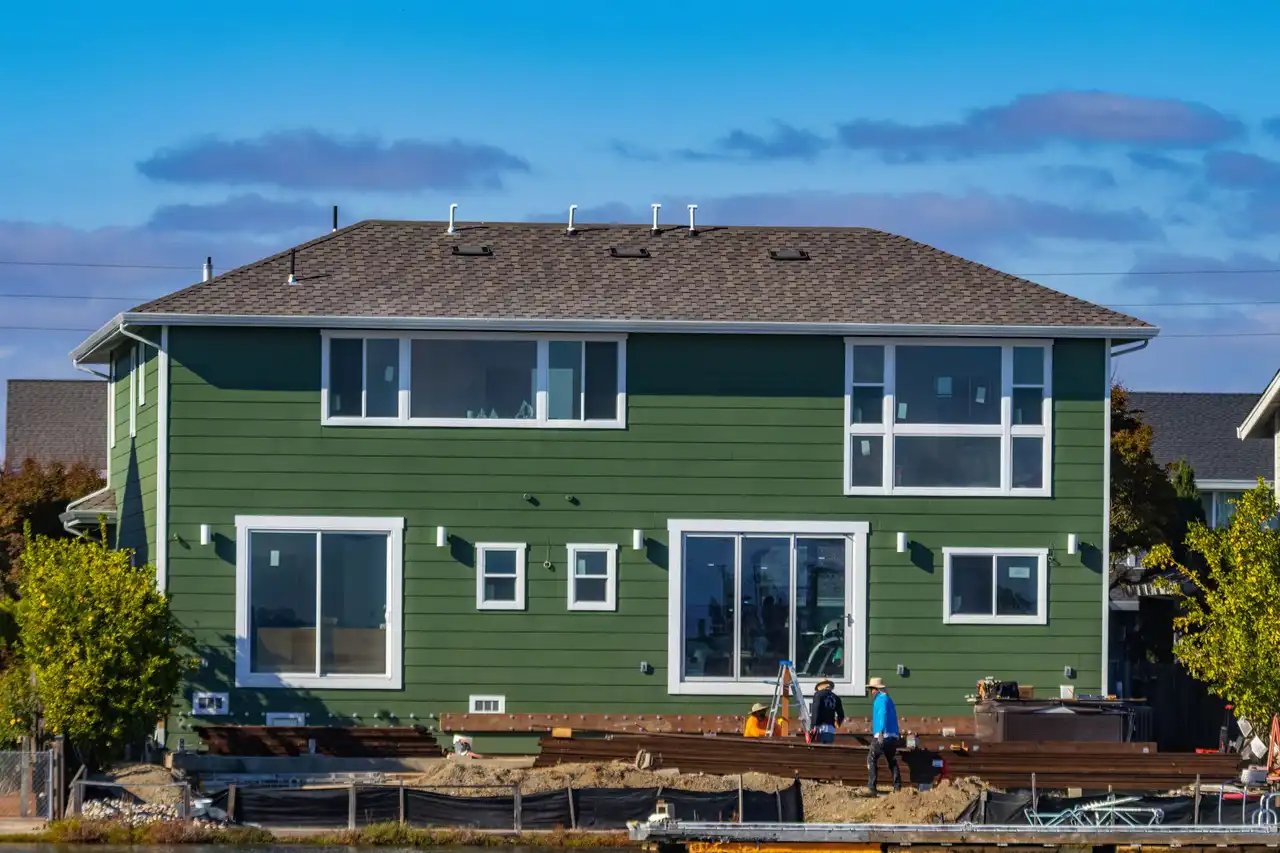
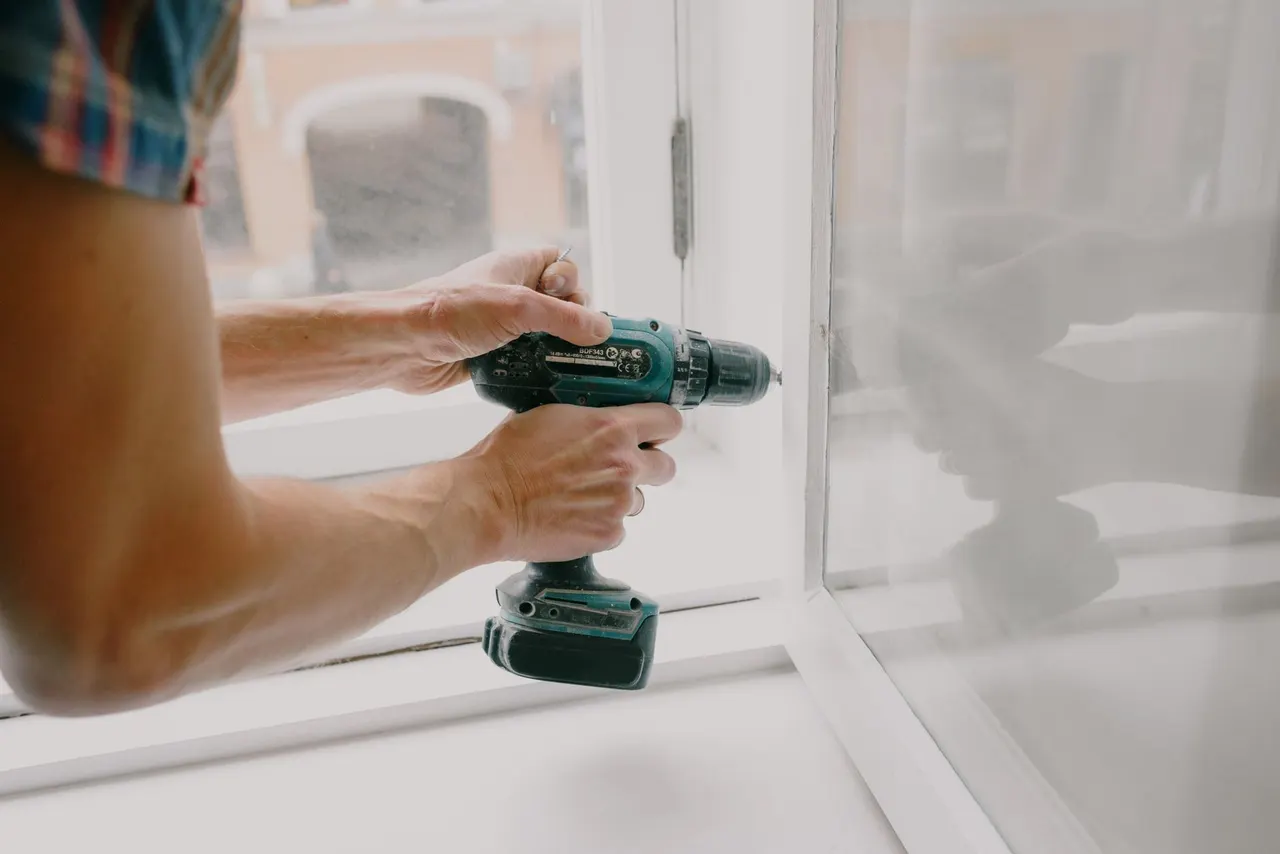
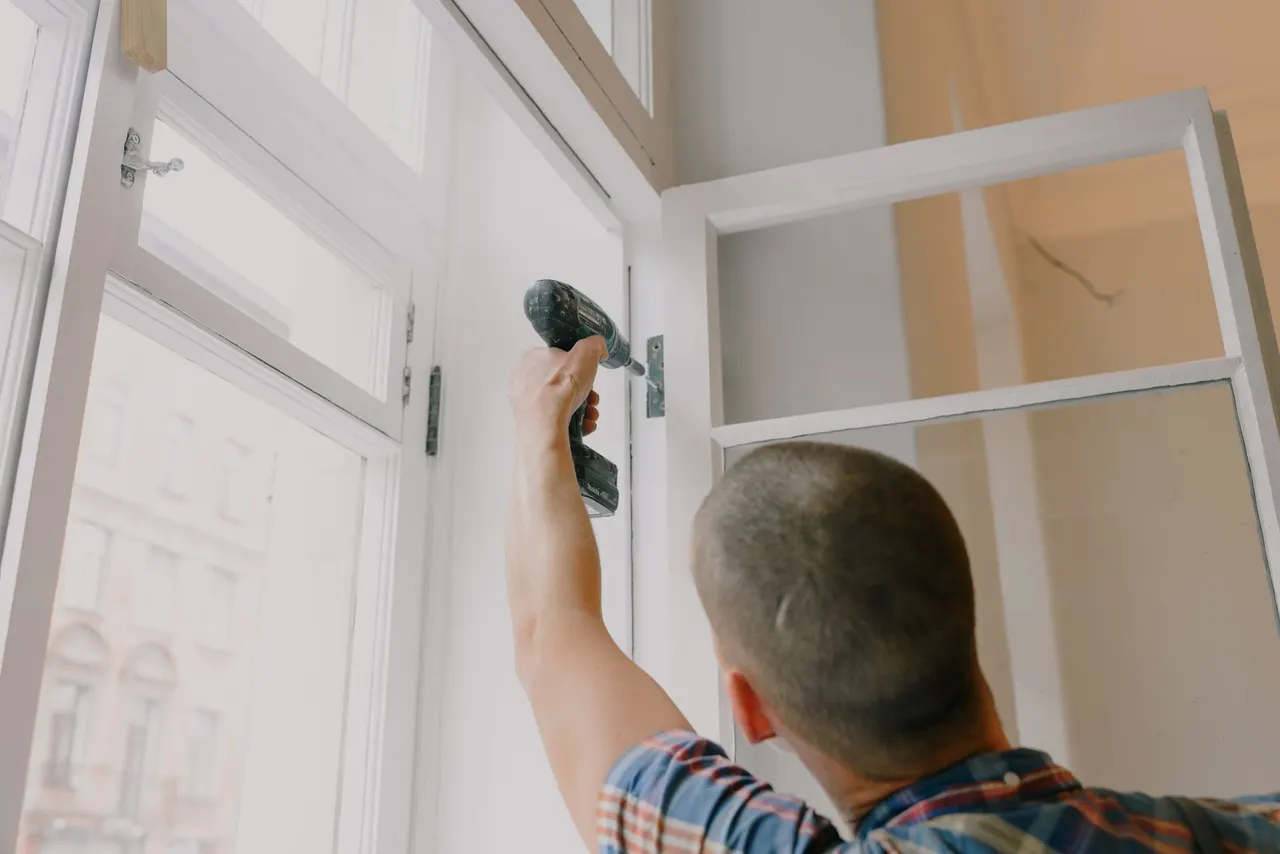
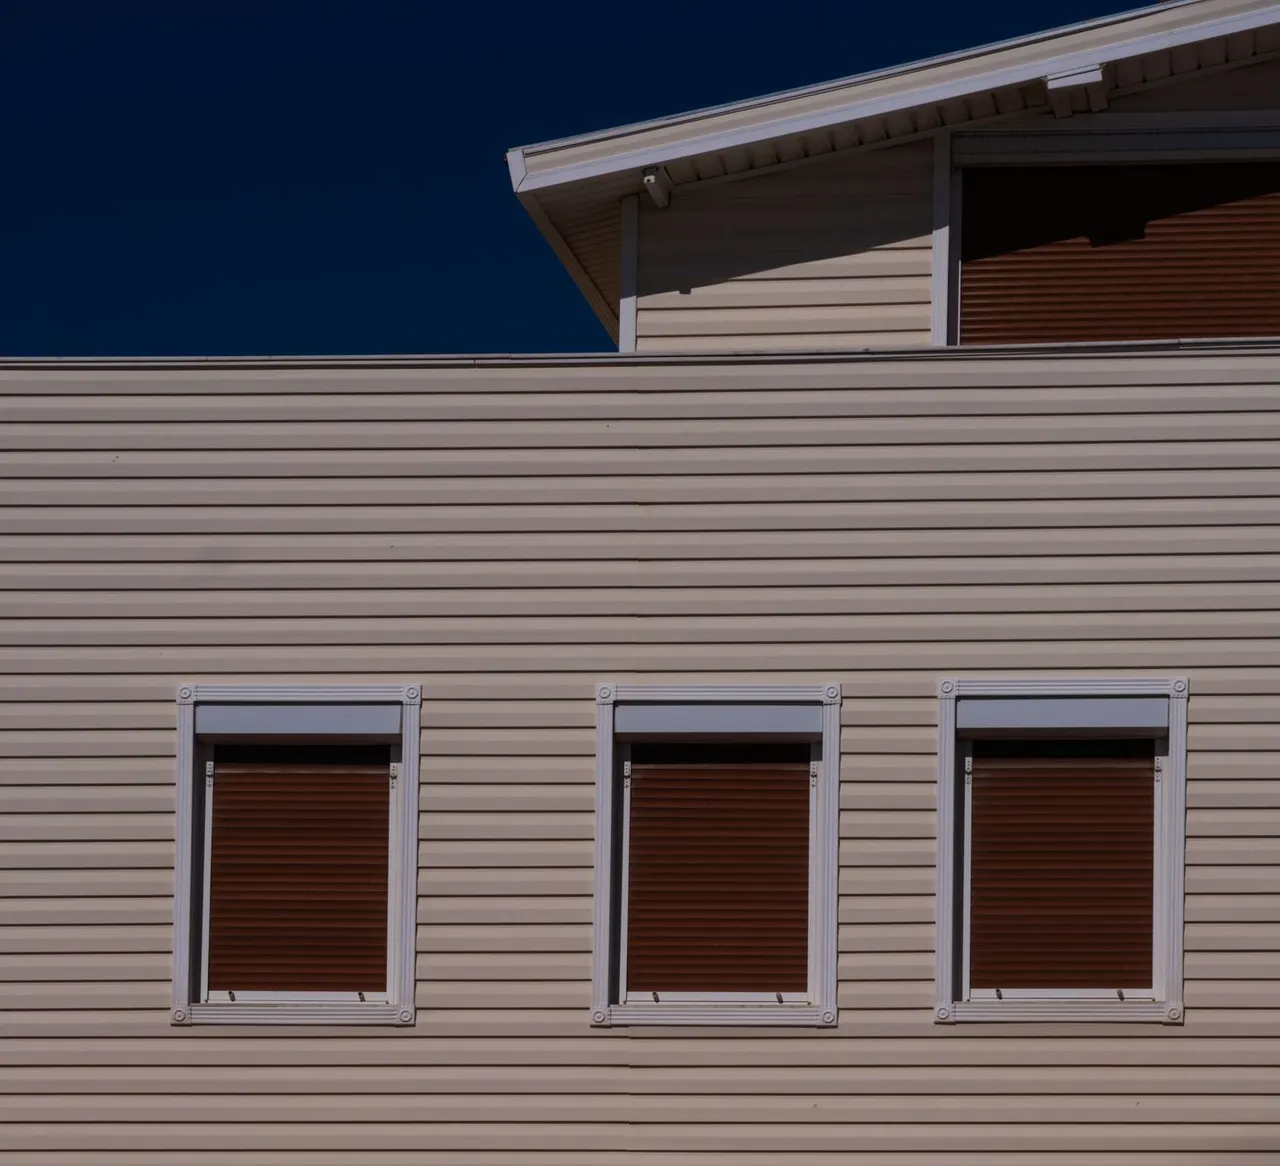
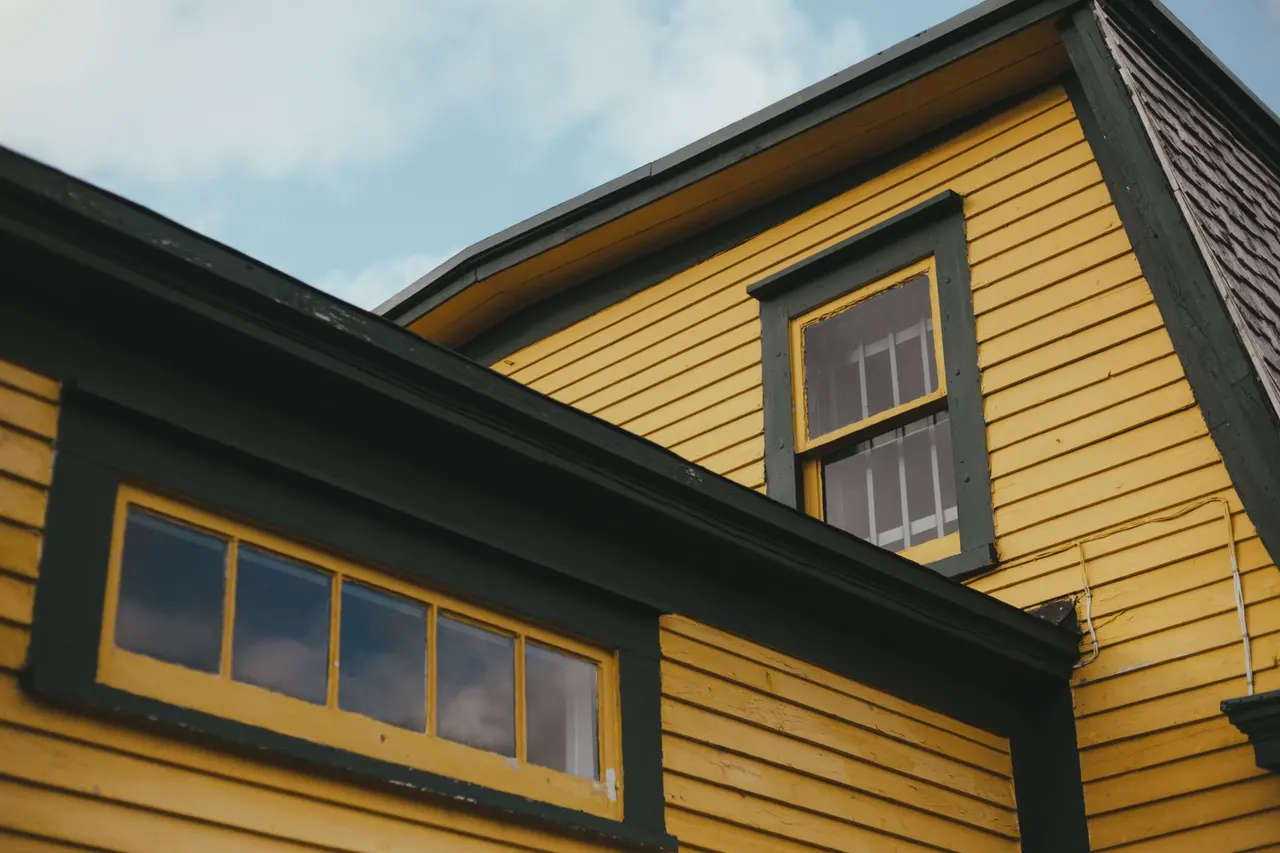
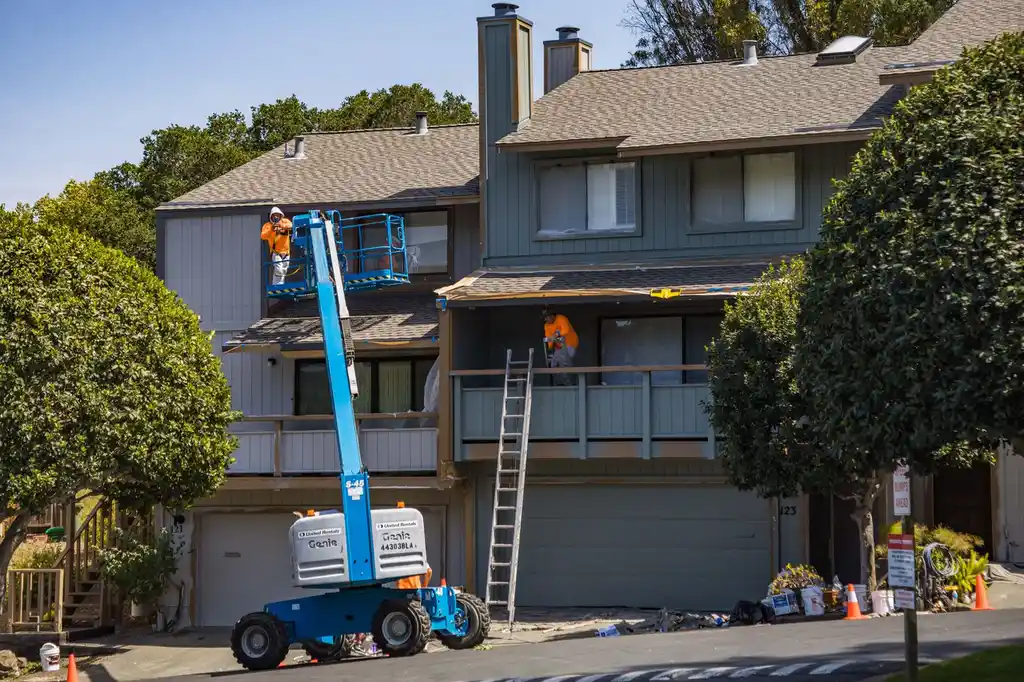
Siding Installation in Farmington, Connecticut helps protect your home from water infiltration, drafts, and deteriorating exterior materials. At Farmington Siding and Windows Pro, we install siding for homeowners planning a full exterior update or replacing panels damaged by rot, cracking, or age. Our siding fitting Farmington service starts with checking the wall assembly, trim, and vulnerable openings, so your new exterior is fitted to the house rather than simply covering existing problems.
Clean work areaWe collect debris as work proceeds.
What Siding Installation Covers
Our siding installation covers the agreed wall areas, preparation needed to fit the selected product, and finishing details at corners and openings. The exact work depends on what we find beneath existing cladding and which material you choose. We explain any additional repair needs before addressing them, so you can distinguish standard fitting from concealed wall repairs or separate exterior upgrades.
Wall Measurement and Layout
We measure wall planes, openings, corners, and transitions, then plan panel courses and cuts. Accurate layout helps keep horizontal lines consistent and reduces awkward narrow pieces. We also identify access needs and the areas where trim or flashing details affect the installation.
Existing Siding Removal
Where removal is part of the project, we take down the agreed cladding and inspect visible wall surfaces. This exposes conditions that cannot be assessed from the exterior alone, including damaged sheathing or water staining. Disposal and removal details are addressed as part of the project plan.
Wall Preparation
We prepare the surface for the selected siding system, including fitting house wrap or flashing where specified. The wall needs a suitable base before new panels cover it. If we find visible deterioration, we explain the affected area and what correction it requires.
Panel Fitting and Fastening
Our crew cuts and fits siding panels to the product requirements, accounting for corners, openings, and changes in wall plane. Fasteners and spacing follow the selected system's instructions. We check alignment as each area progresses instead of leaving all corrections until the end.
Trim and Opening Details
We finish planned corners, trim edges, and transitions around windows and doors. These areas need careful integration with flashing and compatible sealant to help shed water. Window replacement, structural repairs, and unrelated exterior upgrades are handled as distinct work when needed.
Homes and businesses.
The approach is the same for a home and a business. What changes is the access, the schedule and who needs the paperwork.
For Homes
We plan around your household's access, exterior condition, and preferred siding material. You can discuss which walls need attention and how the work area will be used.
Cracked or faded wall panels
Drafts near exterior windows
Rotten trim at lower walls
For Properties
We review exterior elevations, access points, and operating needs with owners and property managers. The work sequence accounts for entrances and areas used by tenants or customers.
Worn cladding on storefront walls
Loose panels on upper elevations
Trim damage near shared entrances
Siding Installation Farmington: A Practical Guide
A plain-language look at what Siding Installation involves and when it is needed.
Siding Installation in Farmington, Connecticut is an exterior construction service that covers and protects a home's walls with correctly layered siding, flashing, and moisture-control materials. We remove or prepare existing cladding as the job requires, inspect the sheathing, install house wrap where specified, and fit panels with room for material movement. Around windows, doors, corners, and roof intersections, we pay close attention to flashing and sealant details. The result is a finished wall assembly designed to shed rain while allowing the exterior system to perform as intended.
Farmington's freeze-thaw cycles, wind-driven rain, and humid summers put stress on aging exterior materials. Peeling or cracked panels, soft trim, and recurring leaks are signs the wall needs more than a cosmetic cover-up. Our Farmington Connecticut siding installation work begins by tracing visible damage to its source, then matching material and installation details to the home. If you are comparing affordable Siding Installation in Farmington Connecticut, ask us to assess wall condition, trim, access, and material choices together; those details shape a useful plan.
What it is
An exterior wall upgrade that prepares the surface and fits siding, trim, and specified flashing details.
When needed
Consider it when siding is widely cracked, loose, deteriorated, or no longer suits the home's exterior.
What to expect
The work moves through inspection, preparation, fitting, detail checks, and cleanup.
How the Installation Proceeds
Farmington siding installation follows a practical sequence: inspect first, prepare the wall, install the selected system, then check the details. We explain what is happening at each stage so you know what to expect around your home.
Inspect and Measure
We walk the exterior with you, note damaged panels, check trim and openings, and measure each wall plane. A tape measure and level help us map the layout and identify areas needing closer inspection. This visit usually takes one to two hours for a typical house, depending on size and access.
Walk-through
Measurements
Wall notes
Choose Materials
We compare options such as vinyl siding, fiber cement siding, or engineered wood siding against your home's style and maintenance preferences. We review profiles, colors, trim details, and manufacturer instructions with you. Material selection also clarifies the fastening pattern, cutting approach, and transition details needed for the installation.
Material review
Profile choice
Detail planning
Prepare the Walls
Our crew protects nearby surfaces, removes siding within the agreed work area, and checks exposed sheathing for visible damage. We address preparation needs before covering the wall, then install appropriate house wrap and flashing where specified. On many homes, removal and preparation take one or more working days.
Surface protection
Removal
Preparation
Fit and Fasten Siding
We establish level reference lines, cut panels to fit, and fasten them according to the selected product's requirements. A siding nailer or nail gun supports consistent fastening; a circular saw and utility knife handle different materials. Openings, corners, and trim receive careful attention as each wall is completed.
Course layout
Panel fitting
Fastening
Check and Clean Up
We inspect alignment, panel engagement, clearances, trim joints, and visible flashing details, then remove installation debris from the work area. A typical straightforward exterior project takes about five to ten working days; larger houses, extensive repairs, and complex access can extend that timeframe. We walk the finished work with you.
Detail check
Debris pickup
Final walk
Tools and Installation Methods
Move across a circle, or focus it and press Enter, for an illustrative thermal view of the photograph.
Tape measure and level
We measure wall dimensions, opening locations, and course lines, then use a level to establish consistent references before panels are fitted.
Circular saw
We use a circular saw for suitable siding cuts, following product instructions and safe handling practices for the material being installed.
Utility knife
A utility knife makes controlled cuts in compatible materials and helps trim house wrap and related flexible layers around wall details.
Siding nailer
We use a siding nailer where appropriate to fasten panels consistently, following the product's fastening requirements and allowing for designed movement.
Caulking gun
A caulking gun applies compatible sealant at specified joints and transitions; it does not replace flashing or correct installation details.
Thermal views are illustrative, generated from the photographs.
Methods
Drainage-plane preparation
We prepare the wall so water that reaches behind the cladding has a defined route outward, using house wrap and flashing where specified. At openings and transitions, we focus on overlapping layers in the direction water sheds. This reduces reliance on exposed caulk as the only defense.
Product-specific fastening
Each siding system has its own fastening locations, spacing, and movement requirements. We consult the selected product's instructions, establish level courses, and avoid fastening in a way that restricts intended movement. This is particularly important where seasonal temperature changes affect panel dimensions.
Opening and trim integration
We treat window and door edges as part of the wall assembly. The crew checks frame condition, flashing, trim fit, and compatible sealant at specified joints before completing adjacent siding. These details help direct water outward and create a clean transition between cladding and opening.
Safe elevated access
For upper walls, we select access equipment suited to the site, such as ladders or scaffolding, and use fall protection where required. We keep tools and materials organized at the work area and protect paths around the house. Safe access supports accurate fitting at eaves and upper corners.
When to Install New Siding
Rain-stained wall
A Farmington homeowner finds recurring water staining beneath cracked panels after heavy rain.
We inspect the affected wall, nearby window and door transitions, and visible flashing before planning replacement. After removing the relevant cladding, we check accessible surfaces and address preparation needs. We then fit new siding with careful attention to drainage details and the panel system's requirements.
Outcome: The wall receives a fitted exterior that replaces damaged panels and addresses visible water-entry details rather than merely covering stains.
Historic exterior
A house in the Farmington Historic District needs new cladding that respects its existing proportions.
We review the existing profile, trim, corners, and window proportions with you before material selection. Our layout accounts for wall lines and openings, then the crew fits the chosen siding to preserve a coherent exterior appearance. We also check transitions that may have been altered by earlier repairs.
Outcome: The new exterior is planned around the home's character, with consistent courses and trim details at visible elevations.
Loose panels
A Farmington Woods property has faded siding and several loose panels on exposed elevations.
We check whether the looseness is isolated or part of broader fastening or material wear. After comparing repair and replacement options, we prepare the affected walls, fit the chosen product, and check panel engagement and corners. You can address the visible elevations without guessing at the condition behind them.
Outcome: The repaired or renewed sections sit more consistently, and the wall details receive a deliberate final inspection.
Window coordination
A homeowner plans window replacement and wants the exterior openings finished at the same time.
We coordinate the siding sequence with window work so the frames, flashing, and trim meet properly. Our team checks opening dimensions and wall transitions before covering the surrounding area. This avoids treating the window perimeter and siding as unrelated details when both affect the exterior envelope.
Outcome: The window and siding edges are planned together, producing a more complete finish around the openings and reducing duplicated disruption.
Farmington's cold winters, summer humidity, and periods of wind-driven rain make water management and material movement important parts of exterior work. We inspect siding near roof edges, window frames, and lower walls for staining, rot, and failed joints before planning new cladding.
In the Farmington Historic District, existing proportions and trim details can influence profile selection; on other homes, access, wall height, and previous repairs shape the sequence. Our Farmington Connecticut siding installation work follows the chosen manufacturer's requirements and applicable local building rules.
If you are comparing new siding installation cost Farmington Connecticut, house size, material, removal, access, and concealed repairs are key variables. We talk through those factors using your home's actual exterior rather than a generic package. The crew protects work areas, prepares each wall, installs the selected system, and checks visible transitions before cleanup.
Downtown Farmington: Older homes and varied trim profiles call for careful measurements around windows, corners, and historic-looking exterior details.
Farmington Historic District: We review existing siding proportions and trim lines before selecting a profile that fits the home's exterior character.
Farmington Woods: Exposed elevations and taller wall sections can affect access planning and the time needed to fit upper courses.
West Farmington: We assess each property's openings, wall layout, and visible weathering before recommending a material and installation sequence.
Freeze-thaw cycles stress joints, trim edges, and poorly secured panels.: Water can enter small openings, freeze, and contribute to further separation or material damage. We check joints and fastening as part of the wall assessment, then fit replacement siding with the movement and clearance requirements of the selected product.
Wind-driven rain tests transitions around windows and roof edges.: Openings and intersections need correctly layered flashing and carefully fitted trim. We inspect these details before covering them, since surface sealant alone does not replace a properly arranged drainage path.
We walk the exterior and explain visible siding and trim conditions.
We protect nearby surfaces and organize tools within the work area.
We check completed details, collect debris, and review next steps with you.
From problem to finished result.
IllustrativeThe thermal view is generated from the photograph. It is not a measurement. Drag the handle, or use the arrow keys once it is focused.
Renewing a Weathered Front Wall
Before: A Farmington home's front elevation had faded panels, cracked corners, and two loose sections near the entry. The owner wanted a consistent finish but did not know whether the wall needed full replacement. We checked panel condition, trim, and the visible wall edges before planning the work.
After: We replaced the affected elevation, fitted new panels across approximately 420 square feet, and finished the corners and entry transitions. The wall now has a consistent profile, and the loose sections are gone. The installation also included a check of exposed surfaces where the old cladding was removed.
Rinse the siding with a garden hose once or twice a year and inspect corners after severe weather. Keep shrubs clear of the wall and report new separation or staining before it spreads.
Correcting a Window-Side Leak Path
Before: Cracked siding and deteriorated trim near two windows left dark staining on one Farmington wall. The panels were not the only concern; the opening edges needed inspection before new material could be installed. We planned removal around both frames.
After: After preparing roughly 300 square feet, we refitted the affected siding and coordinated trim and flashing details at both windows. The finished wall has aligned courses and renewed transitions around the frames. We checked the surrounding panels for secure engagement before cleanup.
Check window trim and nearby siding each spring for open joints, soft material, or fresh water marks. Keep drainage paths clear and arrange repairs when a seam separates.
Replacing Widespread Faded Cladding
Before: A Farmington homeowner had fading across three sides of the house, with mismatched patch repairs and several loose panels. Repainting would not correct the failing sections, so the owner asked us to compare replacement materials and layout options.
After: We installed new cladding across approximately 1,600 square feet, including coordinated trim at corners and openings. The work took eight working days, with time for removal, preparation, fitting, and final checks. The exterior now has consistent color and tighter-looking transitions.
Inspect the exterior annually and after strong winds, paying attention to corners, lower edges, and window surrounds. Clean with material-appropriate methods and avoid directing high-pressure spray behind panels.
Problems New Siding Can Address
Worn exterior panels can signal more than a cosmetic issue. We examine the visible symptoms and nearby transitions, then plan fitting that addresses the wall condition instead of concealing it.
Cracked panelsCracked or peeling panels leave wall areas exposed to rain.Open cracks can let water reach the wall assembly, while peeling finishes make the exterior harder to maintain and signal ongoing material wear. We remove or replace affected cladding as planned, inspect the exposed surface, and check nearby flashing and trim for water pathways. If the surrounding siding remains sound, we discuss a focused repair; widespread deterioration can call for replacement. You get a remedy based on the visible condition rather than a cosmetic patch over the source.
Rot near openingsSoft trim or siding rot appears near windows and lower walls.Rot can spread through vulnerable material and weaken the areas where siding meets openings, corners, or the foundation line. We inspect the affected transition and trace visible signs of moisture before installing new panels. Damaged material is addressed where included in the agreed work, and flashing or sealant details are corrected as appropriate. We explain what is accessible and what needs repair so the finished siding does not simply hide deterioration.
Loose sidingLoose siding panels rattle or separate during windy weather.Panels that are no longer secure can admit water, expose the wall, and place stress on adjacent pieces as wind moves them. We check the panel condition, fastening, and surrounding courses to determine whether a section can be refitted or needs replacement. Our installation follows the selected product's fastening instructions and keeps required movement space. That approach addresses the loose area and checks whether the problem extends across the wall.
Faded exteriorFaded siding and mismatched repairs make the facade uneven.Different colors and worn surfaces can make a home look patchy, while repeated painting may not solve material failure beneath the finish. We assess the siding's age, condition, and availability of matching profiles before recommending a repair or broader installation. You can compare replacement materials and colors for a consistent exterior. If the existing surface is suitable for maintenance instead, we explain that option rather than assuming every faded wall needs replacement.
What Proper Siding Delivers
A well-fitted exterior sheds water and gives your home a consistent finish.
Better Moisture Control
A properly layered exterior directs rain away from vulnerable sheathing and openings. We inspect the wall for soft areas, fit house wrap and flashing where the project calls for them, and seal appropriate joints with compatible caulk. These steps address water pathways before they become concealed behind new panels.
A Cleaner Exterior
Replacing faded siding, loose panels, and mismatched repairs gives the facade a consistent appearance. We check wall lines, corner transitions, and trim placement before fastening panels. You can choose a finish and profile suited to your home's existing architecture without relying on paint to disguise damaged material.
Fewer Draft Pathways
Siding is not a substitute for insulation, but careful detailing around openings can help address gaps that contribute to drafts. We inspect window frames and exterior joints as we work, then coordinate appropriate flashing and sealant details. You get a clearer view of related issues instead of covering them over.
A More Durable Assembly
Material selection and fastening method affect how an exterior holds up through seasonal temperature changes. We follow the selected product's installation instructions, keep required clearances, and secure each course correctly. That approach helps reduce loose siding panels and premature wear on the finished walls.
What a written scope covers.
What a written scope covers and what shapes it. Prices are set by the business after the first look.
Typical 2026 pricing in Farmington changes with the number of wall squares, trim details, removal work, and product selection. We assess those factors before explaining the price for your specific home. A smaller wall or detached structure costs less than a complete, multi-story exterior.
Farmington Siding and Windows Pro provides siding installation and fitting for homes in Farmington, Connecticut. We review the existing exterior, measure wall areas, and discuss materials such as vinyl or fiber cement before planning the work. For a useful first conversation, tell us the siding type, visible damage, number of affected walls, and whether you have noticed drafts or water entry.
A straightforward whole-home project commonly takes five to ten working days, while extensive repairs or complex access can add several days. The schedule includes removal, wall preparation, fitting, trim work, and cleanup. Weather also affects exterior work, particularly during cold or wet stretches. We explain the expected sequence for your home after reviewing its size, material, and condition.
Permit requirements depend on the project scope and current Farmington rules, especially when work changes structural elements or involves more than covering existing siding. We discuss the intended work and help identify which local requirements apply before installation. If sheathing repair or other concealed conditions expand the job, we review the changed work and applicable approval steps with you.
Plan Siding Installation in Farmington, Connecticut
Tell us what you are seeing on your exterior, from loose panels to recurring drafts. Our team will discuss the home, material options, and next steps. Call Farmington Siding and Windows Pro at (860) 744-9803 to arrange a conversation about your siding project.
Call (860) 744-9803 or email [email protected] to describe the siding or window issue at your Farmington home. Our listed office hours are Monday through Friday, 8:00 a.m. to 6:00 p.m.; calls are routed to independent companies. Share the affected area, any visible damage, and whether water is entering so the conversation starts with useful details.