Siding Repair in Farmington, Connecticut That Protects Your Home
Siding Repair in Farmington, Connecticut helps homeowners address cracked boards, loose panels, and storm openings before moisture reaches the wall assembly. Our team inspects the siding, trim, flashing, and exposed house wrap, then repairs the damaged area to suit the existing material. If you have peeling, rot, or a panel rattling after a windy night, siding fixing Farmington service starts with finding the cause, not covering the symptom.
Measured cutsWe measure before cutting replacement pieces.
Protected work areaWe cover nearby surfaces before removal.
Joint inspectionWe check adjoining trim and flashing.
Clean handoffWe review the repaired section with you.
What Our Siding Repair Includes
A typical repair covers inspection of the affected siding, removal of failed pieces, and replacement or refastening of damaged material. We also check nearby trim, flashing, and visible house wrap where the wall is opened. Work beyond the siding area, such as extensive sheathing replacement or a separate window repair, is identified and discussed before it is added.
Damage And Cause Check
We inspect the damaged panel and surrounding joints to find impact marks, loose fasteners, failed caulk, or a likely water path. Checking the cause helps us choose a repair that addresses the failure rather than hiding its visible symptom.
Careful Panel Removal
We remove only the siding needed to reach the repair and protect nearby material from unnecessary damage. Panels that remain sound are left in place, reducing disruption and preserving the existing exterior wherever practical.
Material-Matched Replacement
Replacement pieces are selected to suit the existing siding type, profile, and exposure. We fit and fasten them to allow appropriate movement and maintain alignment with adjacent courses, corners, and trim.
Flashing And Joint Review
Where the repair meets a window, corner, or horizontal joint, we check the visible flashing and sealant condition. Correctly layered details shed water outward; caulk is used only where the joint calls for it.
Final Condition Walk-Through
We review the repaired section with you, remove work debris, and point out any nearby issue that should be monitored. You can see what was replaced and understand how to check the area after a storm or seasonal change.
Homes and businesses.
The approach is the same for a home and a business. What changes is the access, the schedule and who needs the paperwork.
Homes And Rentals
We repair exterior siding on houses, condominiums, and rental properties while keeping access and surrounding surfaces orderly. You can review the affected area with us.
Loose panels after a windstorm
Rot near window trim
Cracked boards before winter
Business Properties
We address damaged cladding on small commercial buildings and managed properties, coordinating access around entrances and occupied spaces. We explain the repair area and work sequence.
Impact damage near an entrance
Loose panels on an upper wall
Trim deterioration at storefronts
Siding Repair in Farmington: What the Work Covers
A plain-language look at what Siding Repair involves and when it is needed.
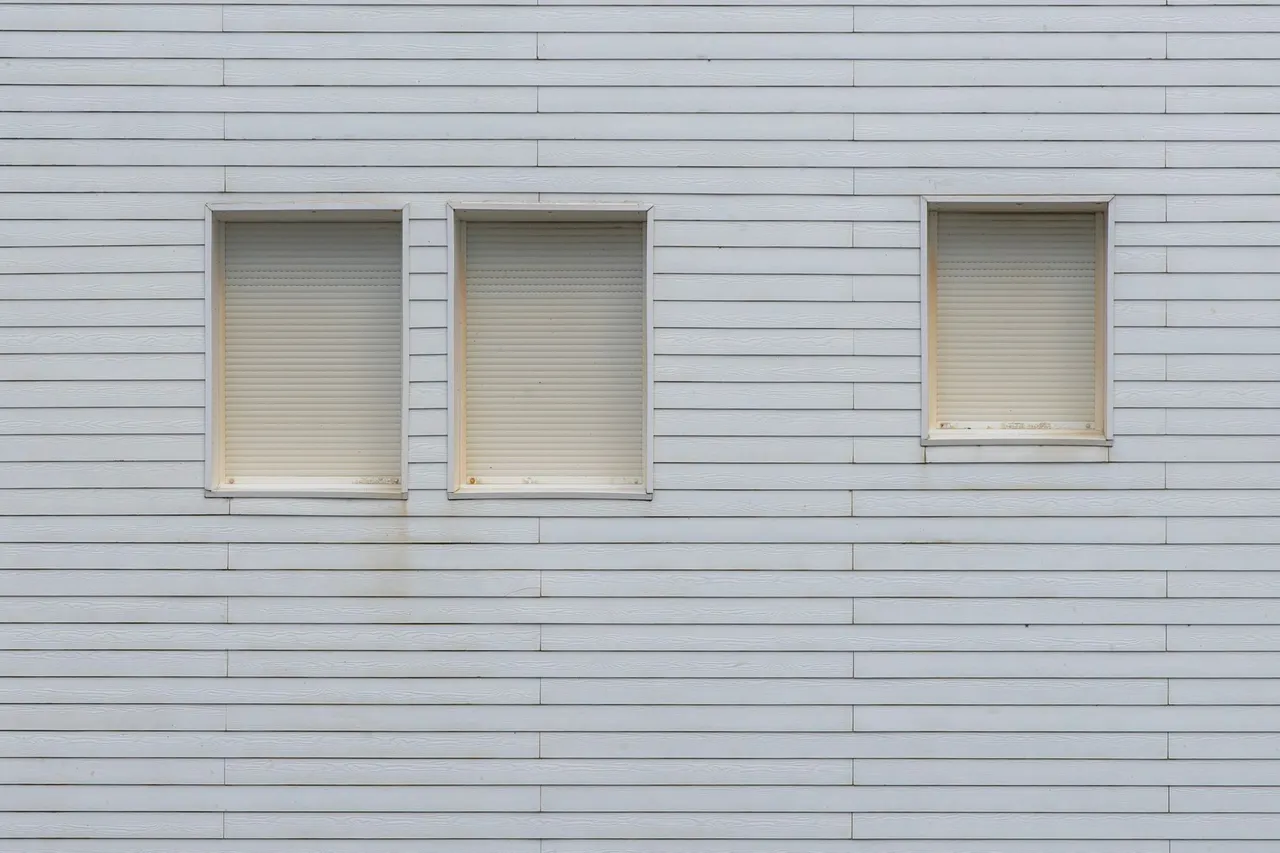
Siding Repair in Farmington, Connecticut is exterior building-envelope work that restores damaged cladding and its water-shedding details so the wall can resist weather. We identify the siding type, locate the source of failure, and remove only the material needed to inspect behind it. Then we replace or refasten panels, repair trim and flashing, renew compatible caulk, and check that water drains away from openings. A sound repair protects the substrate without forcing a full replacement when the surrounding siding remains serviceable.
Farmington's freeze-thaw cycles, wind-driven rain, summer humidity, and falling branches stress joints and exposed edges. Older homes in the Farmington Historic District may have layered repairs or wood details that need careful matching, while newer homes often use vinyl or engineered products. Our Farmington Connecticut siding repair work addresses the cause, whether it is failed sealant, movement at a window, or trapped moisture. For a localized problem, affordable Siding Repair in Farmington Connecticut starts with a measured inspection and a repair plan matched to the wall.
A durable siding repair closes the water path and secures the damaged material without disturbing sound sections.
What it is
Repair or replacement of damaged siding and related exterior details.
When needed
When panels crack, loosen, rot, or allow water behind the wall.
What to expect
Inspection, controlled removal, material-matched repair, and a final walk-through.
Our Repair Process, Step By Step
Siding repair in Farmington follows a practical sequence: inspect first, open only what is needed, correct the water-management detail, and verify the finished section. Small repairs often take a few hours; concealed rot or extensive trim damage adds time.
Inspect The Exterior
On the first visit, we walk the affected wall with you, examine the visible damage, and note nearby windows, corners, soffit, and fascia. We use a tape measure and level to assess panel alignment and repair dimensions. This inspection often takes 30 to 60 minutes, depending on access and how many elevations show damage.
Walk-through
Measure
Document
Trace The Entry Point
We look for the route water or wind used to reach the damaged area, not just the loose or split piece. That can mean checking a flashing lap, failed caulk joint, fastener pattern, or a window frame transition. If hidden damage is suspected, we explain where a small, controlled opening will reveal the condition.
Trace water
Check joints
Locate cause
Protect And Remove
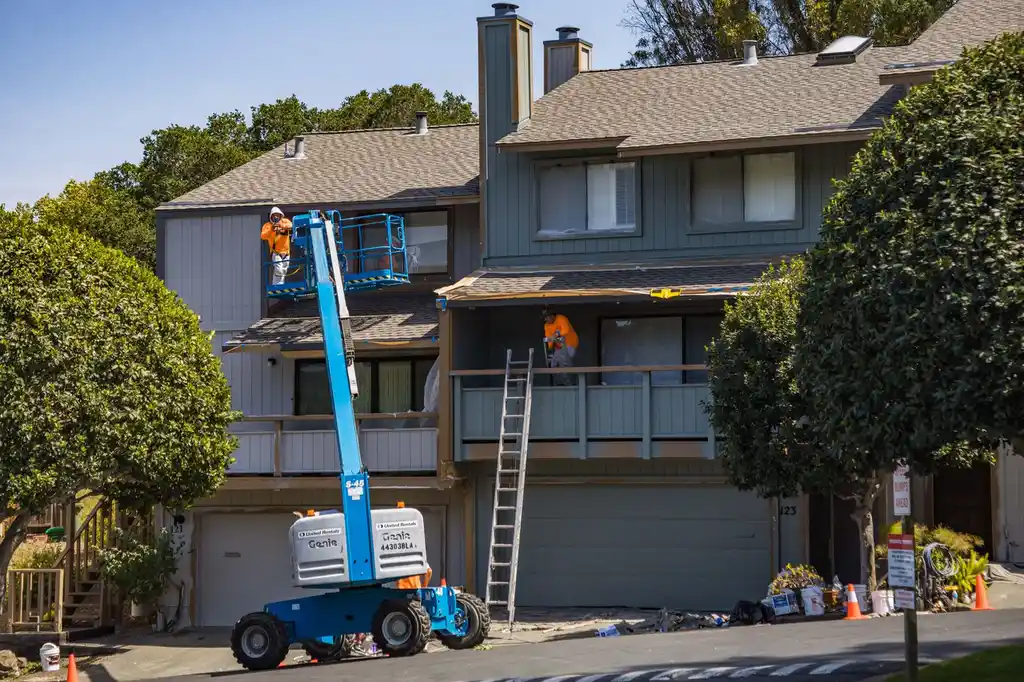
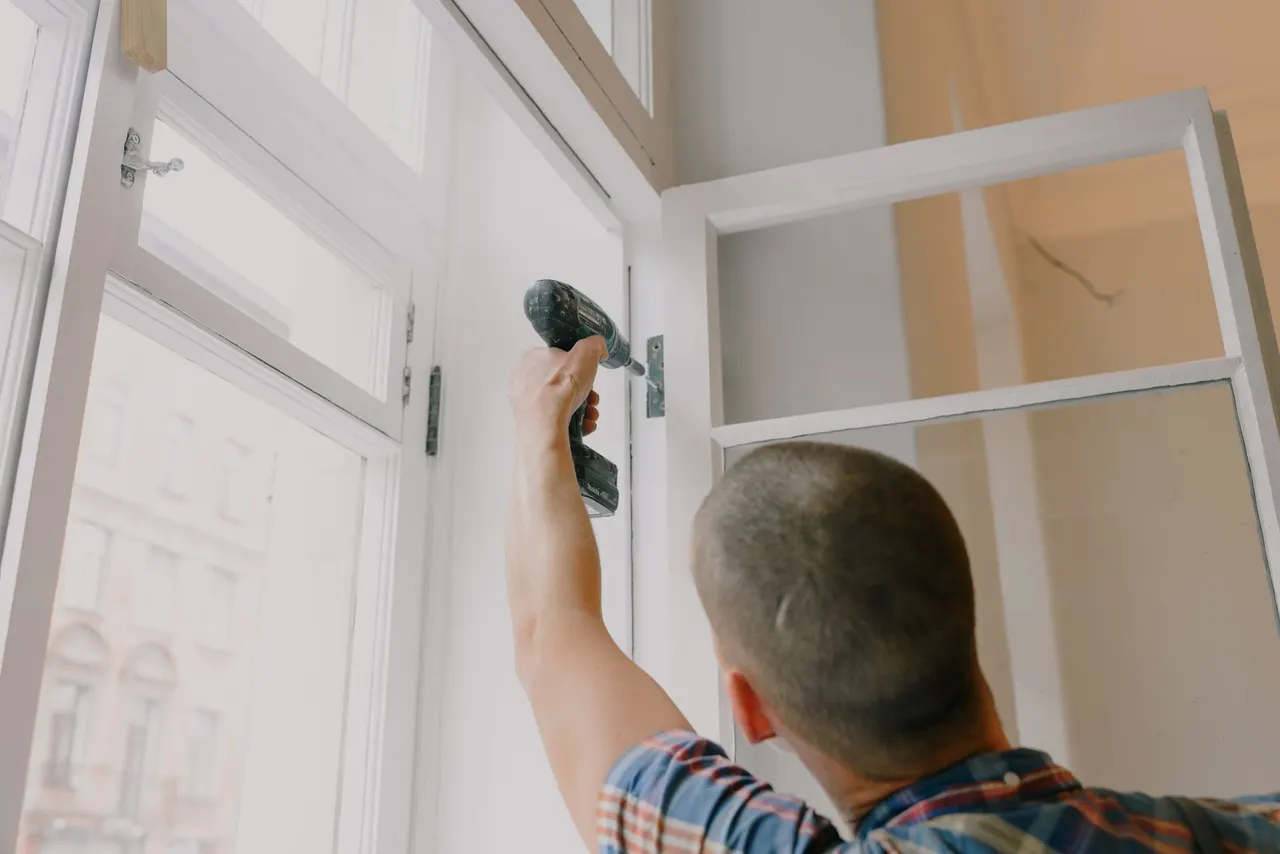
Before work begins, we protect nearby landscaping and surfaces, then remove only the siding needed to reach the repair. A siding nailer or window pry bar helps release fasteners without tearing sound panels. For elevated work, ladder or scaffolding setup is planned around safe footing and the height of the affected wall.
Protect area
Remove panels
Prepare access
Repair The Wall Detail
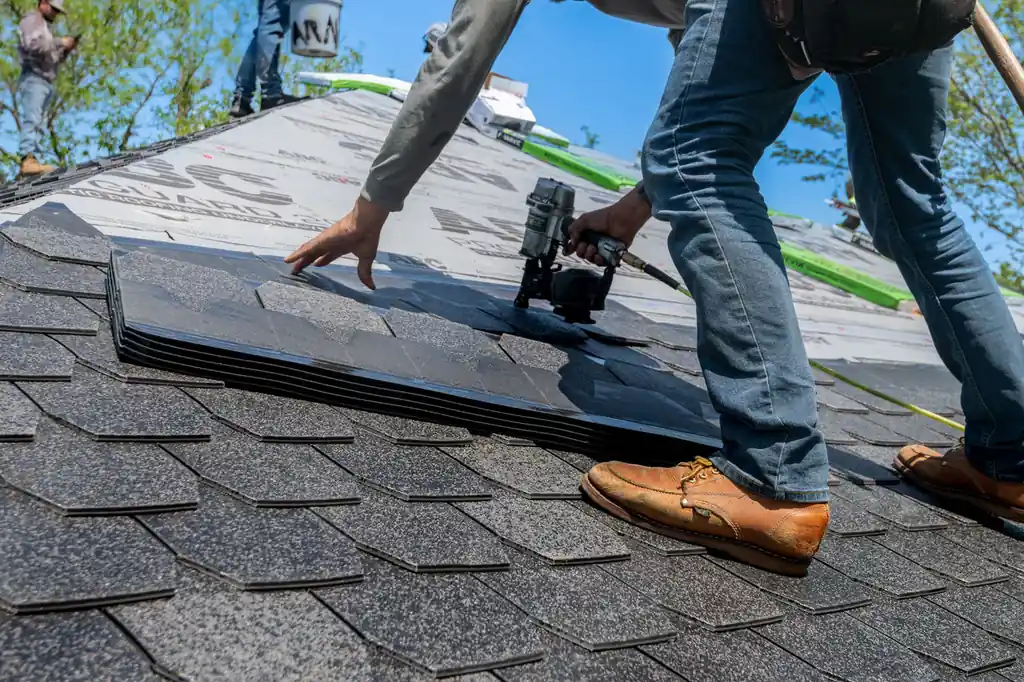
We replace unsound backing where accessible, restore flashing or house wrap laps as needed, and fit replacement siding to the existing course. A circular saw and utility knife make controlled cuts; compatible fasteners allow panels to move as designed. We keep joints aligned and avoid sealing drainage paths that need to remain open.
Fit material
Restore flashing
Fasten correctly
Check And Clean Up
We check that repaired pieces sit flat, trim is secure, and exposed joints are finished appropriately. You can review the completed section with us before tools and debris are cleared. We explain any remaining maintenance point, such as checking a caulk joint after seasonal movement or watching a previously damp area.
Check alignment
Clear debris
Review work
Tools And Repair Methods
Move across a circle, or focus it and press Enter, for an illustrative thermal view of the photograph.
Siding nailer
We use a siding nailer for controlled fastening where the product allows it, keeping the panel secure without pinning it so tightly that normal expansion is blocked.
Window pry bar
A window pry bar helps release siding and trim carefully around openings, reducing the chance of cracking neighboring pieces or damaging the frame during access.
Tape measure and level
We measure replacement widths and check course alignment before cutting or fastening. Consistent dimensions help a patch sit flush with adjacent siding and trim.
Circular saw and utility knife
These tools make controlled cuts in appropriate materials. We select the cutting method for the siding type and keep the opening limited to the damaged section.
Ladder and scaffolding
We choose access equipment based on the wall height, ground condition, and repair location. Proper setup gives the crew stable access while limiting contact with landscaping and exterior features.
Thermal views are illustrative, generated from the photographs.
Methods
Water-path tracing
We follow visible staining, failed joints, and the direction of overlapping materials to identify how water reaches the wall. At a window or corner, we inspect the flashing sequence and drainage route. The repair corrects the entry point where accessible rather than relying on a surface bead of caulk.
Controlled panel removal
We release fasteners and interlocks in a planned order, preserving sound siding whenever possible. This exposes enough of the wall to check for wet backing or damaged wrap without opening a wider section than the repair requires. Replacement pieces are then fitted to the existing course.
Material-specific fastening
Different siding products require different fastening locations, clearances, and movement allowances. We identify the material before installing a replacement and avoid overtightening panels that need to move. The finished repair is checked for alignment, secure attachment, and a clear drainage path.
Safe elevated access
For upper-wall repairs, we plan ladder or scaffolding placement on stable ground and keep tools organized at the work position. A safety harness is used where the access and task call for fall protection. We protect the work zone below and avoid rushing elevated cuts.
When Siding Repair Makes Sense
Wind-lifted panels
A windstorm lifts vinyl panels on a west-facing wall in Farmington.
We inspect the full loose run, identify failed locks or fasteners, and check whether the edge or corner was exposed to wind. We secure sound panels and replace cracked pieces with compatible material. If the wall is open, we check the visible wrap and flashing before closing it.
Outcome: The affected siding sits securely and the water-shedding line is restored. You know whether nearby panels need attention or routine observation.
Window rot
A homeowner finds soft wood siding below a window after a rainy week.
We check the sill, trim, flashing, and boards above the soft area to trace moisture. Unsound wood is removed and replaced, and the window transition is corrected where accessible. We avoid sealing drainage paths and explain any concealed damage uncovered during removal.
Outcome: The repair replaces weakened material and addresses the entry route. The window-area wall can dry and be monitored rather than covered with a cosmetic patch.
Historic siding
A Farmington Historic District home has cracked or mismatched exterior boards.
We measure the existing profile and exposure, then look for replacement material that suits the wall's appearance and function. Careful removal protects adjacent boards and trim. We also check whether a previous repair created a seam or trapped moisture behind the visible surface.
Outcome: The repaired area follows the existing courses more closely and the wall remains consistent. You receive a clear explanation if exact finish matching is limited by weathering.
Branch impact
A branch impact leaves a hole before winter weather reaches the wall.
We assess the opening and any split or displaced material around it, then protect the work area and remove loose edges. The repair restores backing or flashing where needed and installs a fitted siding section. We check the immediate area for additional impact damage before finishing.
Outcome: The exposed wall is closed with a durable repair suited to the existing siding. You can avoid leaving insulation or sheathing open to repeated rain and freeze-thaw cycles.
Siding repair in Farmington has to account for cold winters, freeze-thaw movement, spring rain, humid summers, and wind-driven storms. Those cycles can open caulk joints, loosen fasteners, and make brittle panels more vulnerable during cold-weather handling. We inspect the material before removing it and follow manufacturer guidance for cutting, fastening, and sealant temperature.
Older homes around the Farmington Historic District can have layered trim and prior repairs that require a careful opening; newer walls still need correct flashing at every window and corner. Our crew checks the visible house wrap and flashing where access allows, then restores the wall's drainage path. If damage follows a storm, we assess whether the opening needs temporary protection before permanent work.
For professional siding fixing Farmington Connecticut homeowners need, we explain the source, the repair sequence, and any related issue such as soft trim or water staining. We serve Downtown Farmington, Farmington Village, Farmington Woods, and nearby neighborhoods, coordinating safe access around each home's slope, landscaping, and elevation.
Farmington Historic District: Older profiles and layered trim can make matching and careful removal important. We measure existing exposure and inspect prior repairs before fitting replacement pieces.
Downtown Farmington: Homes with varied exterior materials need a repair method suited to each wall. We check window transitions and lower courses where splashback can affect siding.
Farmington Woods: Tree exposure and shaded elevations can leave siding damp longer after rain. We inspect nearby branches, wall joints, and trim for recurring moisture paths.
Farmington Hills: Sloped ground can change access and ladder placement around a home. We plan the setup before removing upper-wall panels or working near a roofline.
Freeze-thaw cycles stress caulk joints and panel edges.: Water entering a small opening can freeze and expand, widening the defect. We check seams and fasteners, then select materials and application conditions that suit the temperature and siding type.
Wind-driven rain tests corners and window transitions.: Rain can move sideways beneath loose panels or failed flashing. We inspect the overlap sequence around openings and corners, correcting the drainage path rather than sealing every visible seam.
We walk the wall with you and explain visible damage.
We protect nearby surfaces and set up safe access.
We check the repair, clear debris, and review next steps.
From problem to finished result.
IllustrativeThe thermal view is generated from the photograph. It is not a measurement. Drag the handle, or use the arrow keys once it is focused.
Wind-Lifted Vinyl Panels
Before: Three vinyl panels on a side wall had lifted after a storm, leaving the course uneven and allowing wind to catch an exposed edge. One panel had a cracked locking strip. The homeowner also noticed a small water mark inside near the wall but could not see where rain entered.
After: We replaced the cracked panel, reset two sound sections, and checked the nearby corner and flashing. The repaired run measured about 12 feet and sat aligned with the surrounding courses. We also identified a separate interior stain area for the homeowner to monitor after the next rain.
After strong winds, look along the wall for lifted edges, rattling, or shifted courses. Keep branches clear of the siding and call if a panel moves again; repeated movement often points to a fastening or transition issue.
Rot Near A Window
Before: Two wood boards and a section of trim felt soft below a window. The paint had peeled, and caulk at one side joint was split. Water marks followed the trim line, suggesting moisture was entering around the opening rather than coming through the glass.
After: We removed the soft boards, checked the accessible flashing, and replaced the damaged siding and trim. The repaired section covered roughly 6 square feet, with the side joint restored to shed water. The homeowner could see the condition behind the opening before the area was closed.
Inspect painted wood and window trim each spring for soft spots, split caulk, and peeling finish. Keep the sill drainage clear, and address any recurring stain promptly instead of applying paint over damp material.
Branch-Damaged Fiber Cement
Before: A fallen branch chipped two fiber cement boards and cracked the finish near a corner. The damaged edge was exposed to winter weather, and a nearby piece of trim had shifted. The rest of the wall remained firm, so a full elevation replacement was not needed.
After: We removed the two damaged boards, checked the backing, and installed matching replacement pieces with aligned joints. The repair covered one vertical section approximately 4 feet high. We secured the shifted trim and confirmed the adjoining boards remained stable.
After trimming nearby trees, inspect the wall for fresh chips and loose trim. Keep gutters and downspouts clear so water does not repeatedly run over the repaired area, and check the finish during routine exterior maintenance.
Fix Common Farmington Siding Problems
Open joints, cracked boards, and wet trim can let water reach the wall assembly and increase repair needs. We correct the visible fault and the contributing detail where accessible.
Loose panelsLoose panels rattle and lift during Farmington wind gusts.Movement can loosen fasteners further, break adjoining edges, and expose the wall to wind-driven rain. Water behind the panel may damage trim or sheathing. We check the panel locks, fastening points, and nearby corners to determine why the siding has shifted. Our team refastens or replaces affected sections using a method suited to the material, then checks the adjacent run for movement. If the wall behind it is exposed, we inspect the visible water-management layer before closing the repair.
Cracked boardsCracked siding leaves a direct path for rainwater.A crack can widen with temperature changes and allow repeated wetting of the wall. Damp sheathing or insulation can remain hidden until staining or odor appears indoors. We identify whether impact, age, or stress at a fastener caused the crack, then remove the damaged piece without disturbing sound courses. Replacement material is fitted to preserve alignment and appropriate movement. We also check the nearby joint and flashing so the new piece is not installed over an unresolved leak path.
Peeling or rotSoft or peeling boards signal moisture and coating failure.Rot weakens the board and can spread into trim or the substrate, making later repairs more involved. Peeling finish also leaves wood exposed to repeated wetting. We probe the affected area, trace likely water entry, and replace unsound siding or trim. If the opening reveals broader deterioration, we explain the additional work before proceeding. Once the source is addressed, the repaired surface can be prepared for an appropriate finish rather than painted over while damp or soft.
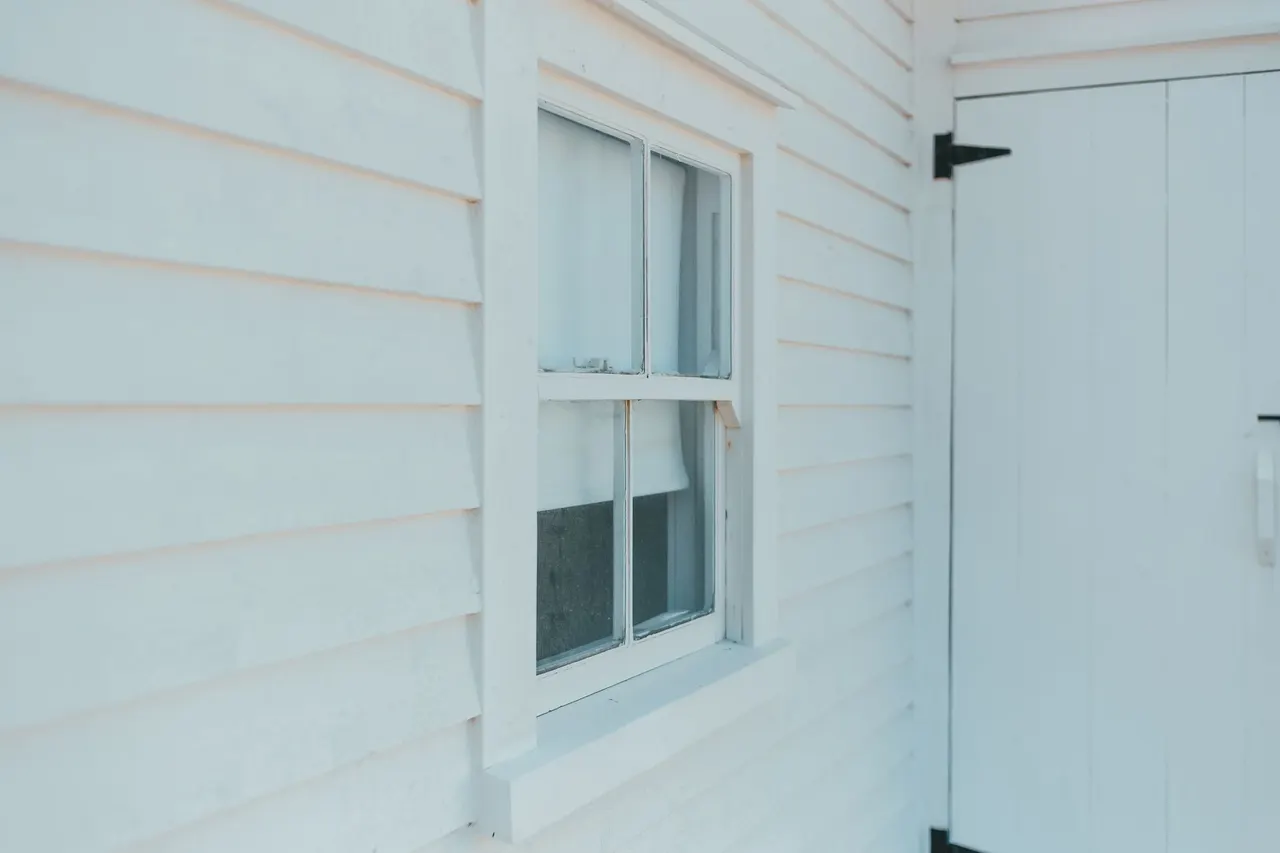
Window gapsWindow-edge gaps let drafts and water reach the wall.A failed transition can wet the framing and contribute to staining, window drafts, or deteriorated trim. Adding caulk over a drainage opening can trap water instead of stopping it. We inspect the frame-to-siding transition, sill, trim, and visible flashing. The repair restores the correct water-shedding layers and renews caulk only at joints designed to be sealed. If window glass or the frame itself is failing, we explain that separate issue so the exterior repair is not mistaken for a window fix.
Practical Results From A Sound Repair
A properly fitted repair restores the wall's water-shedding path and secures sound siding.
Keep Water Outside
A lifted panel or split seam can direct rain behind the cladding and wet sheathing. We trace the opening, check adjacent flashing, and close the water path rather than simply filling the visible gap. On a limited repair, correcting even one vulnerable joint can prevent damage from spreading into a larger wall section.
Preserve Sound Material
When damage is confined to a few boards, replacement of the whole elevation is unnecessary. We compare the affected pieces with surrounding siding and retain sections that remain firm and correctly fastened. Matching profile, exposure, and finish helps a repair blend while keeping usable material in place.
Reduce Draft Paths
Gaps near trim and window frames can leave air and moisture routes open. We inspect the transition, repair the siding edge, and renew compatible caulk where the joint calls for it. The work targets the exterior opening; it does not substitute for diagnosing a separate window seal failure or insulation problem.
Plan The Next Step
You receive a clear explanation of repaired areas and any nearby deterioration that needs attention later. We photograph concealed conditions when access allows and identify whether routine maintenance or a larger replacement should be considered. That record makes it easier to track changes after the next storm season.
What a written scope covers.
What a written scope covers and what shapes it. Prices are set by the business after the first look.
Typical 2026 pricing in Farmington depends on siding material, access, matching stock, and whether flashing or sheathing needs repair. We inspect the damaged area, explain the work, and provide upfront pricing before starting. A clear photo and the approximate number of affected panels help us understand the issue before a visit.
Farmington Siding and Windows Pro handles local siding repairs; call (860) 744-9803 to discuss the damaged area. We work on loose panels, cracked boards, trim transitions, and storm openings, and we check for the water path behind the visible fault. Share the siding material, wall location, and whether damage followed a storm. Those details help us prepare for the right repair method and replacement pieces.
Yes, many siding repairs can be completed in winter when temperatures and surface conditions suit the material and sealants. Cold can make vinyl more brittle, and some caulks require application temperatures listed by the manufacturer, often around 40 degrees Fahrenheit or higher. We assess the forecast, material handling, and safe access before proceeding. For an exposed opening, temporary protection may be used until a durable repair is practical.
Freeze-thaw movement, wind, branch impact, moisture, and poor fastening commonly damage siding in Farmington. Water entering behind a failed flashing detail can also cause rot or peeling that appears far from the original opening. We inspect panel edges, corners, window trim, and lower wall sections to trace the source. Correcting that detail is essential; replacing the visibly damaged piece alone may not stop the problem from returning.
Loose, cracked, or storm-damaged siding should not stay open to the weather. Call our Farmington team at (860) 744-9803, describe the affected wall, and we will help you plan the next step.
Call (860) 744-9803 or email [email protected] to describe the siding or window issue at your Farmington home. Our listed office hours are Monday through Friday, 8:00 a.m. to 6:00 p.m.; calls are routed to independent companies. Share the affected area, any visible damage, and whether water is entering so the conversation starts with useful details.