Metal Siding Installation in Farmington, Connecticut
Metal Siding Installation in Farmington, Connecticut gives homeowners a durable exterior that stands up to changing seasons and everyday exposure. Farmington Siding and Windows Pro installs metal siding for houses with worn, loose, or aging cladding, with metal siding fitting Farmington homeowners can plan around. We inspect the wall, address the layers beneath the panels, and fit each section for a clean finish that sheds water and protects the structure.
Measured coursesReference lines checked as panels advance
Protected openingsWindow and door edges covered during work
Clear work zonesMaterials staged away from walkways
Final walk-throughReview finished edges together
What Metal Siding Installation Includes
Our service covers the planned installation from exterior review through panel fitting and cleanup. We assess the wall, prepare the surface, install appropriate weather-management layers, and fit panels with compatible trim. Concealed structural repairs, window replacement, or major changes to insulation are separate work items when required, and we explain their relevance before proceeding.
Wall and Opening Review
We inspect visible siding, corners, window frames, doors, and roofline transitions, then measure wall areas and openings. This helps identify loose panels, failed caulk, and likely repair locations before material is cut.
Removal and Surface Prep
We remove existing siding as needed and examine the exposed substrate. Sound, even surfaces are important for a straight installation; damaged sheathing or framing is identified for repair before the new exterior covers it.
Weather Layer Details
We install or repair suitable house wrap and flashing at affected areas according to the wall assembly and product requirements. These layers direct water outward and protect vulnerable transitions around windows, doors, and corners.
Panel and Trim Fitting
We cut and fasten panels to the selected layout, checking alignment and the movement clearances required by the product. Compatible corner, opening, and edge trim completes the visible system.
Final Review and Cleanup
We check the finished courses, transitions, and exposed edges, remove job debris, and walk the completed work with you. We also explain practical cleaning and inspection steps for the installed siding.
Homes and businesses.
The approach is the same for a home and a business. What changes is the access, the schedule and who needs the paperwork.
For Homes
We plan panel layout around your home's windows, doors, corners, and roofline. You can discuss access, exterior concerns, and how the work affects daily routines.
Loose siding near a window
Aging exterior on a detached garage
New cladding planned with window work
For Properties
We coordinate wall access and material staging with owners or property managers. You can identify active entrances, tenant routes, and areas needing careful protection.
Metal panels on a small office
Exterior update between tenant turnovers
Trim repairs around storefront openings
Metal Siding Installation in Farmington, Connecticut
A plain-language look at what Metal Siding Installation involves and when it is needed.
Metal Siding Installation in Farmington, Connecticut is an exterior cladding service that covers and protects a home's walls with properly fastened metal panels. We start by checking the existing siding, wall condition, window frames, trim, and points where water can enter. After removing unsuitable material, we prepare the substrate, install house wrap and flashing where needed, and lay out panels with room for thermal movement. Careful alignment matters: panels must remain straight without being fastened so tightly that seasonal expansion causes buckling.
Farmington homes face winter freeze-thaw cycles, wind-driven rain, summer humidity, and snow that can collect near lower walls. Those conditions expose loose panels, siding rot, and failed caulk around openings. Our team assesses the wall before choosing panel profiles, trim, and fastening details; Farmington Connecticut metal siding installation should account for each elevation rather than treating every wall alike.
The wall beneath metal panels must manage water and allow the product's specified movement.
What it is
Exterior wall cladding installed over prepared layers to protect the building and finish its facade.
When needed
Consider replacement when siding is loose, failing, extensively worn, or no longer protecting the wall.
What to expect
Inspection, preparation, panel fitting, trim work, cleanup, and a final review of completed elevations.
What to Expect During Installation
Metal siding installation contractor Farmington homeowners choose should make the work sequence clear. We explain what we will inspect, how the wall will be prepared, and what changes you may notice each day.
Inspect and Measure
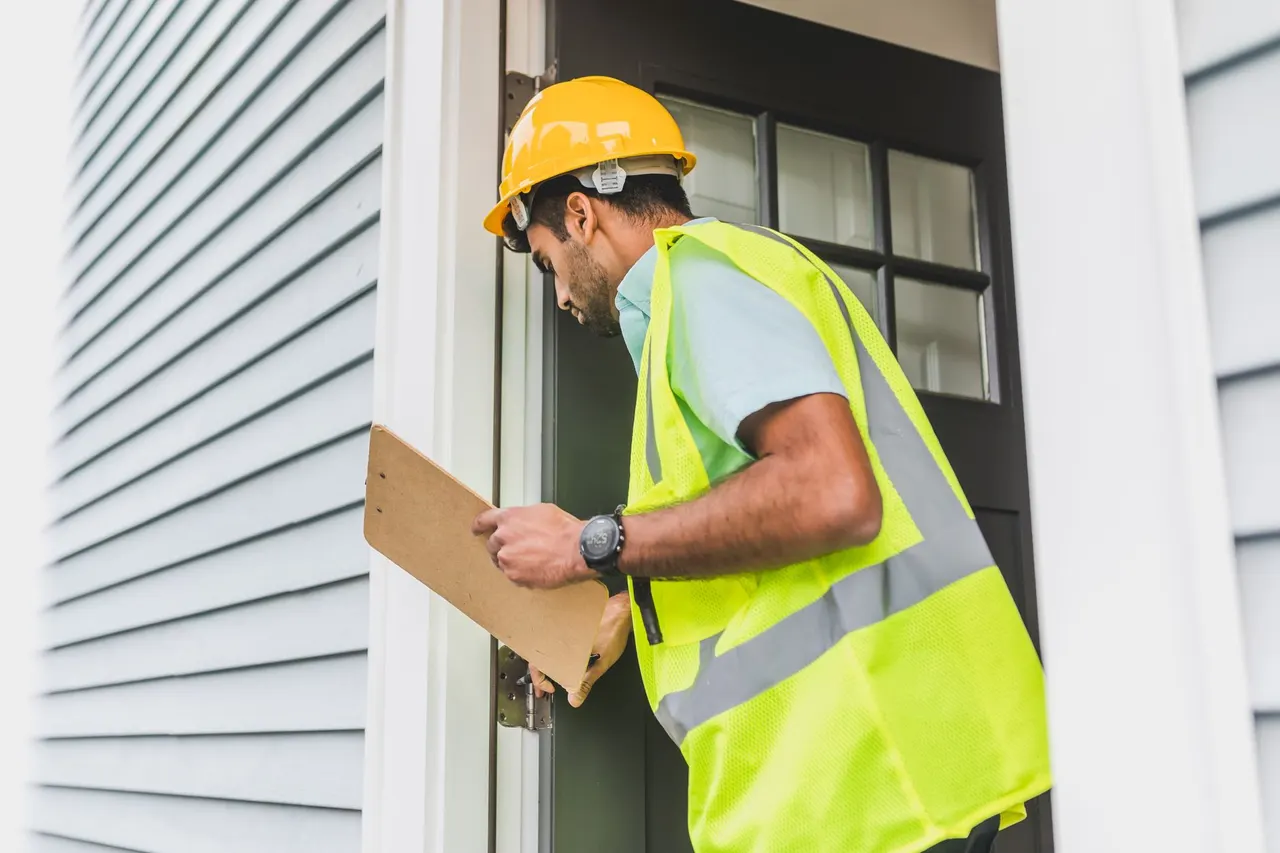
We walk the exterior with you, note damaged panels and trim, and measure the wall areas, openings, and corners. A tape measure and level help establish quantities and check the wall plane. The visit usually takes 60 to 90 minutes for a typical house; we also discuss access, material profile, color, and visible concerns.
Inspect walls
Measure areas
Review options
Prepare the Site
Before removal, we protect nearby paths, plants, and window glass, then set ladders or scaffolding for safe access. We identify the work zones and arrange material staging so you know which entrances remain clear. On the first workday, our crew removes siding in manageable sections and keeps the exposed wall protected.
Protect paths
Stage materials
Set access
Repair and Weatherproof
We inspect the exposed sheathing and framing for soft spots, water marks, and loose fasteners. Necessary substrate repairs are completed before house wrap, flashing, or insulation work is closed in. A window pry bar and utility knife help remove old trim cleanly; we use a caulking gun only where the assembly calls for a sealed joint.
Check sheathing
Repair layers
Detail openings
Fit Panels and Trim
We establish level reference lines, cut panels with a suitable circular saw, and secure them using a siding nailer or specified fasteners. The crew checks spacing and alignment as each course advances, leaving the movement clearance required by the panel system. A typical straightforward installation takes several working days, with wall repairs or complex trim adding time.
Set reference
Fit panels
Check spacing
Check and Clean Up
We review corners, openings, transitions, and the bottom edge for consistent fit and water-shedding details. You can walk the completed elevations with us while we remove debris and discuss basic care. We note any follow-up items, explain the installed finish, and answer questions about what you should inspect after the next major storm.
Review edges
Remove debris
Discuss care
Tools and Installation Methods
Move across a circle, or focus it and press Enter, for an illustrative thermal view of the photograph.
Circular saw
We use a suitable blade and controlled cutting setup to size panels and trim accurately. Correct cutting limits rough edges and helps maintain a clean fit at corners and openings.
Siding nailer
A siding nailer helps place fasteners consistently where the selected panel system allows it. We follow product requirements for fastener type, location, and spacing rather than driving panels tight.
Level
We use a level and reference lines to keep courses straight across the elevation. Small alignment errors become obvious over long walls, so we check progress as each section is installed.
Caulking gun
We apply compatible caulk at joints that require a seal, such as selected trim transitions. Caulk is not a substitute for flashing or a functioning drainage path behind the siding.
Scaffolding and safety harness
We select safe access equipment for elevated walls and roofline details. Stable platforms let the crew handle long panels and trim with control while reducing risk around high or uneven work areas.
Thermal views are illustrative, generated from the photographs.
Methods
Wall-plane preparation
We remove loose material and check whether the substrate is sound and reasonably even before panels go up. Where the wall needs repair, we address it first. A consistent plane helps panels sit flat and keeps long courses from telegraphing dips or humps.
Flashed opening integration
At windows and doors, we inspect the existing water-management details and install or repair flashing as needed for the assembly. Panels and trim are fitted so water drains outward. We avoid relying on surface caulk alone to protect an opening.
Movement-aware fastening
Metal expands and contracts with temperature changes, so the panel system must retain the clearance specified by its manufacturer. We place fasteners correctly and avoid pinning panels at unintended points. This reduces buckling, distortion, and stress at joints as seasons change.
Elevation-by-elevation layout
We establish reference lines and plan seams, corners, and openings on each wall before installation. The approach accounts for the home's shape and visible sightlines, helping the finished courses remain consistent even where the elevations differ.
When Metal Siding Makes Sense
Loose wall panels
A Farmington homeowner finds loose panels and recurring water marks after a winter of freeze-thaw weather.
We inspect the affected elevation, check adjoining trim and window details, and open the wall where necessary to look for moisture damage. If the existing siding has widespread movement, we remove it and prepare the surface for a correctly spaced metal panel system.
Outcome: The repaired wall sheds water more effectively, and the new panels remain aligned without concealing damage beneath the surface.
Historic facade update
An older home in the Farmington Historic District needs a durable exterior update that respects its proportions.
We measure the elevations, note original trim depths, and plan panel direction and corner details before installation. Our team discusses visible transitions with you and coordinates trim around existing openings so the updated siding does not overwhelm the facade.
Outcome: You receive a refreshed exterior with deliberate lines and trim that fits the house's established character.
Window project
A homeowner planning window replacement wants to avoid disturbing new siding later.
We coordinate the window and cladding sequence, checking frame dimensions and flashing requirements before panels are cut. If the windows go in first, we can finish the metal siding around the openings with compatible trim and carefully sealed transitions.
Outcome: The windows and siding meet cleanly, reducing the chance of repeated exterior work around the same openings.
Worn painted siding
A property owner wants to replace painted wood siding with a lower-maintenance metal finish.
We inspect for peeling paint, siding rot, and soft sheathing, then remove failed material and prepare sound wall surfaces. We review metal profiles and finish choices, fit the selected panels, and explain routine cleaning and visual checks.
Outcome: The exterior gains a consistent finish and avoids the recurring repaint cycle associated with many painted wood surfaces.
Metal siding installation in Farmington must account for freeze-thaw weather, winter snow, spring rain, and humid summers. Those changes make drainage and movement clearance important; rigidly fastened panels can buckle, while poorly detailed openings invite water infiltration. We inspect wall exposure and roofline runoff, then plan panel joints and trim around each elevation.
Homes in Downtown Farmington and the Historic District may have more intricate window and corner details, while additions and garages elsewhere can present simpler wall runs. We protect exposed sheathing as work progresses and avoid closing in known moisture damage. For Farmington Connecticut metal siding installation, we also coordinate flashing at window frames and doors, plus edges near soffit and fascia.
If you are comparing metal siding fitting near me Farmington, our team can assess the existing exterior and explain how access, wall height, and substrate condition affect the work sequence. We follow product instructions and applicable local requirements, and we keep the work area organized so your entrances and paths remain as usable as the job allows.
Downtown Farmington: Older facades can have varied trim depths and window proportions. We measure those transitions carefully before deciding panel layout and corner treatment.
Farmington Historic District: Distinctive exterior details call for deliberate planning. We review how new panel profiles and trim will meet existing architectural features.
West Farmington: We assess exposure, wall height, and access around each home, then stage panels to keep installation and cleanup orderly.
Farmington Woods: For homes with multiple elevations or additions, we map each wall separately so panel courses and transitions remain consistent.
Freeze-thaw cycles stress exposed joints and older flashing: Repeated temperature swings can reveal loose trim, cracked sealant, and water entry around openings. We inspect those areas during removal and restore the drainage details before fitting new panels.
Snow and roof runoff collect near lower wall edges: Water sitting against siding can damage trim and reach the wall assembly. We check lower clearances and nearby drainage conditions so panels and edges are fitted with the exposure in mind.
We walk the elevations with you and explain visible wall conditions.
We protect nearby paths and organize the work area.
We review finished details and discuss routine inspection.
From problem to finished result.
IllustrativeThe thermal view is generated from the photograph. It is not a measurement. Drag the handle, or use the arrow keys once it is focused.
Loose Rear Wall Panels
Before: The rear elevation had several loose panels that shifted in gusts, plus a gap near a service door. The homeowner also saw water marks on the inside wall after heavy rain. Inspection found worn trim and a small area of softened sheathing that the old siding had concealed.
After: We repaired the affected substrate, corrected the opening detail, and fitted new metal panels across the wall. Courses were checked against a level, and the service-door trim was rebuilt to meet the panel edges cleanly. The wall now has a continuous surface with the water-management detail restored.
Inspect the door trim and lower wall after storms, and keep soil or stored items from pressing against the panels. Rinse surface dirt with gentle water and report any new impact damage promptly.
Weathered Window Elevation
Before: A front wall had faded cladding, cracked caulk, and uneven trim around three windows. The homeowner planned window work but did not want to disturb new siding later. Several joints showed signs of water exposure, so the sequence needed to address the openings first.
After: We coordinated the window work and siding layout, repaired flashing, and installed metal panels with consistent trim around all three openings. The finished elevation has straighter lines and fewer mismatched transitions. Each window edge was checked before the final panel cuts were completed.
Check window trim and caulk during a spring exterior walk-around. Keep gutters clear so runoff does not repeatedly soak the wall, and watch for movement or dents after severe weather.
Worn Garage Cladding
Before: A detached garage had peeling and cracked siding, loose corner trim, and exposed edges near the roofline. The owner wanted a durable finish but needed the structure checked before selecting panels. The wall area was modest, though ladder access and corner details required careful layout.
After: We removed the failed siding, checked the wall surface, and installed metal panels with new corner and roofline trim. The crew completed the straightforward enclosure in about three working days, including cleanup and a final walk-through. The garage now has a consistent exterior finish.
Wash the panels with a soft brush and mild cleaner approved for the finish. Check fasteners and corner trim once a year, especially after winter, and keep branches from rubbing the surface.
Solve Exterior Problems Before They Spread
Metal siding can address worn cladding, but a durable result starts by finding why the old exterior failed. We inspect the wall and details so your repair or replacement addresses the source rather than covering visible symptoms.
Panel movementLoose panels rattle and leave gaps during gusty weatherOpen edges let wind-driven rain reach the wall and can loosen nearby trim. Continued movement may damage adjacent panels and expose the house wrap. We remove or refasten affected sections as appropriate, inspect the substrate, and determine whether the fastening pattern or panel layout caused movement. For broader failure, we plan a complete metal installation with the correct movement allowance and secure trim. You get a stable wall surface instead of a recurring patch.
Hidden rotSiding rot appears near windows, doors, or lower wallsRot signals that moisture has reached vulnerable material. Covering it can trap decay, weaken attachment points, and allow water infiltration to continue behind new cladding. We trace the visible damage to nearby openings, edges, and drainage paths, then expose the affected area during removal. We replace damaged substrate where needed and correct the flashing or water-management detail before installing metal panels. You see the repair area and understand what changed before it is covered.
Faded finishFaded siding and peeling surfaces make the exterior look unevenWorn finishes reduce curb appeal and can leave older materials more exposed to moisture and repeated maintenance. Mixed replacement pieces often make the mismatch more obvious. We assess whether selective repairs can blend or whether full replacement will provide a cleaner result. If you choose metal, we plan the panel profile and trim across each elevation for a consistent appearance. Our team also checks for underlying damage, so the new finish is not hiding a failing wall.
Water entryWater infiltration stains sheathing behind aging claddingMoisture behind siding can damage sheathing and insulation and may lead to recurring interior staining. The visible stain is often away from the original entry point. We examine seams, roofline transitions, windows, and lower-wall details to locate likely entry paths. Once siding is removed, we inspect the exposed layers and repair affected areas before fitting new panels. That method helps restore the water-shedding assembly rather than simply covering the stain.
Practical Benefits for Your Home
A well-prepared wall and carefully fitted panels help protect your exterior.
A Tough Exterior Layer
Metal panels resist many of the dents, peeling, and cracking problems that affect older cladding. We check panel thickness, finish, and fastening requirements before installation, then align courses across the wall. The result is an exterior built to handle normal weather exposure without asking you to repaint it every few years.
Better Water Management
Panels are only one part of a dry wall assembly. We detail openings with flashing, maintain the drainage path behind the cladding, and seal suitable joints with caulk. If we find damaged house wrap or concealed decay, we address the affected area before closing the wall rather than hiding the source of water infiltration.
Cleaner Lines and Trim
A new installation can correct uneven courses, mismatched corners, and worn edges that make an exterior look neglected. We measure each elevation and coordinate trim around doors, windows, soffit, and fascia. That careful layout gives your Farmington home a consistent appearance instead of a patchwork of replacement pieces.
Less Routine Upkeep
Metal siding does not need routine repainting like many painted wood surfaces, though it still benefits from periodic inspection and gentle cleaning. We explain which cleaners and methods suit the selected finish. A yearly visual check, especially after winter, helps you catch loose trim or impact damage before it spreads.
What a written scope covers.
What a written scope covers and what shapes it. Prices are set by the business after the first look.
We measure your elevations and inspect the substrate before pricing the work. Removing old siding, replacing damaged sheathing, or adding complex window and corner details increases labor and material needs. Straight wall runs with sound sheathing are usually simpler. We explain the cost drivers and provide upfront pricing for your home's actual conditions.
Farmington Siding and Windows Pro installs metal siding for homeowners in Farmington and nearby neighborhoods. We inspect the exterior, measure wall sections, and plan panel and trim details around doors, windows, and corners. If you are comparing providers, ask how they handle flashing, substrate damage, panel movement, and cleanup. Those details affect whether the new cladding protects the wall as well as it looks from the street.
Most straightforward homes take about 3 to 7 working days after materials and site access are ready. A small detached garage can take 1 to 3 days, while larger homes, complex elevations, or sheathing repairs take longer. Weather and safe access also affect the work sequence. We explain the planned stages before starting, then keep the exposed wall protected as siding is removed and replaced.
Yes, correctly selected and installed metal siding handles Farmington's snow, rain, and seasonal temperature changes well. Panels must be fastened according to the product instructions and left room to expand and contract. Proper flashing and a drainage path behind the siding are just as important as the panel itself. We also check lower-wall clearances and vulnerable openings so water does not collect behind the new cladding.
Give your exterior a durable, carefully fitted finish. Call Farmington Siding and Windows Pro at (860) 744-9803 to arrange a visit and talk through your home's panels, trim, and wall condition.
Call (860) 744-9803 or email [email protected] to describe the siding or window issue at your Farmington home. Our listed office hours are Monday through Friday, 8:00 a.m. to 6:00 p.m.; calls are routed to independent companies. Share the affected area, any visible damage, and whether water is entering so the conversation starts with useful details.