Wood Siding Installation in Farmington, Connecticut
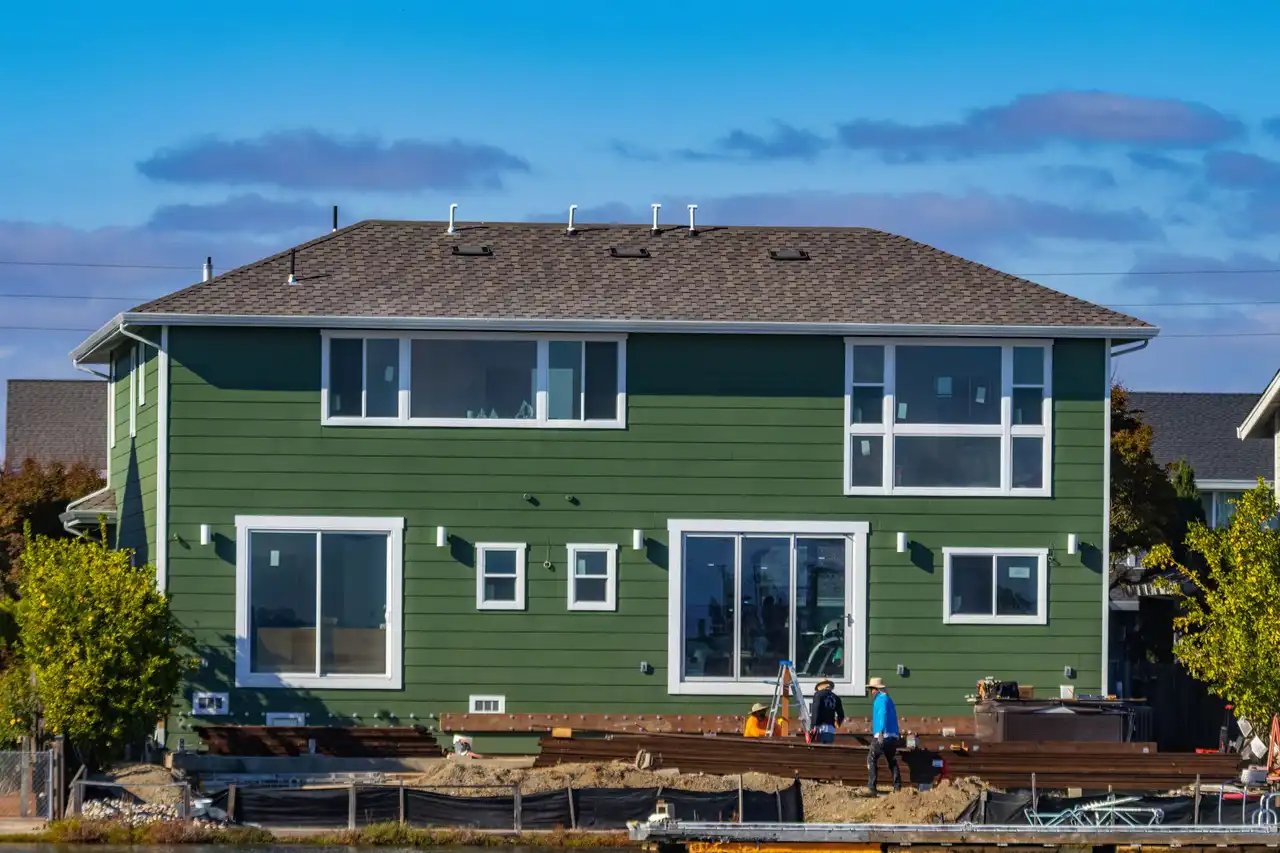
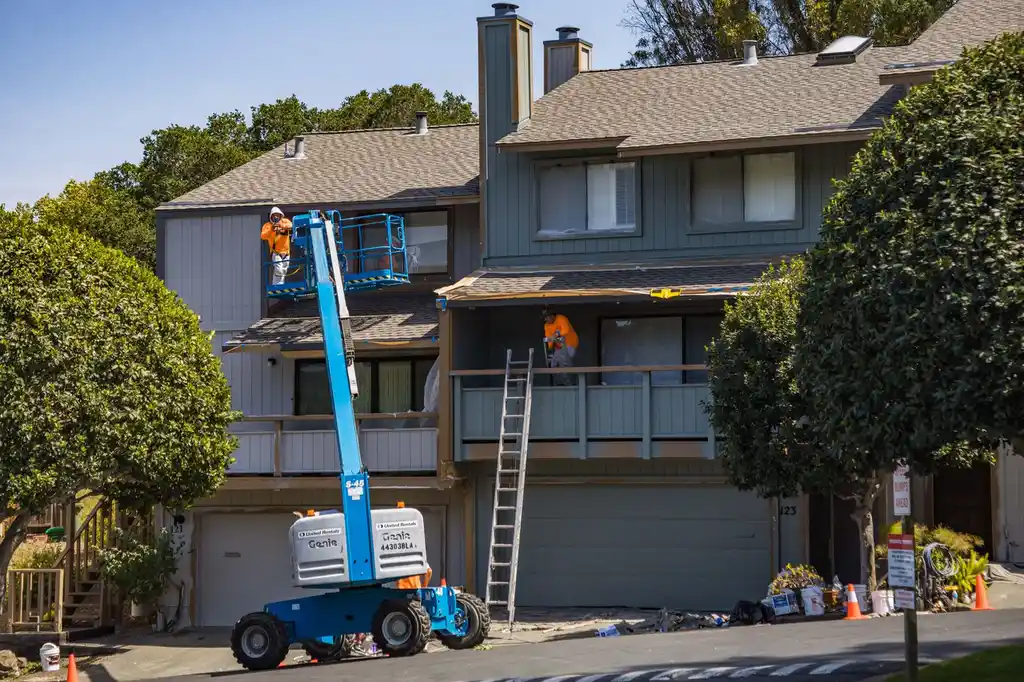
Wood Siding Installation in Farmington, Connecticut gives homeowners a clean, durable exterior when old boards peel, crack, or let water reach the wall. We install wood siding for full-home projects, additions, and damaged elevations, matching the profile and trim to your house. Our wood siding fitting Farmington service includes careful measurements, sound weather barriers, and clear guidance on material choices, so you know what your home needs before work begins.
Measured coursesWe check alignment as boards go up.
Protected openingsWe cover nearby glass and trim.
Clear work areaWe keep paths and staging orderly.
Final walk-throughWe review the finished elevations together.
What Wood Siding Installation Includes
A standard installation covers measuring the specified elevations, preparing the wall surface, fitting the selected wood boards, and completing agreed trim and opening details. We check accessible sheathing and coordinate house wrap and flashing at the work area. Extensive framing repairs, window replacement, painting, and changes beyond the selected elevations are separate project decisions; we explain those items before they are added to the work.
Wall Measurements
We measure the selected elevations and note windows, doors, corners, and transitions that affect board layout. Accurate dimensions help calculate material needs and reduce awkward narrow cuts. You can confirm which walls are included before preparation begins.
Surface Preparation
We remove the siding included in the project and inspect the exposed substrate for visible damage. Preparation includes addressing specified surface conditions and coordinating house wrap where required. Hidden structural repair is identified and discussed rather than concealed behind new boards.
Board Installation
We install the selected wood siding profile with consistent exposure and appropriate fastening. Courses are checked for alignment, and board ends are fitted with attention to the product's installation directions. The material and wall layout determine exact cuts and fastening details.
Opening Details
We fit siding and agreed trim around doors, windows, and corners, paying attention to flashing and water-shedding transitions. Openings receive careful cuts so the new courses meet the surrounding frame cleanly. Window or door replacement is not assumed as part of siding work.
Final Walk-Through
We review completed elevations with you, check visible alignment and cleanup, and explain the next finish or maintenance step. If painting or staining is part of the project, its timing depends on the selected material and site conditions. You leave knowing what was installed and what care it needs.
Homes and businesses.
The approach is the same for a home and a business. What changes is the access, the schedule and who needs the paperwork.
Homes and Rentals
We plan around household access, windows, landscaping, and the walls you want repaired or replaced. You receive a clear explanation of preparation and installation steps.
Peeling boards on a shaded wall
Loose siding after a windstorm
New addition needing a matched exterior
Business Properties
We coordinate exterior work around entrances, customer paths, and building operations. Property managers can review affected elevations and sequencing before the crew begins.
Weathered boards at a storefront
Trim repairs around office windows
Exterior update between tenant periods
Wood Siding Installation in Farmington, Connecticut
A plain-language look at what Wood Siding Installation involves and when it is needed.
Wood Siding Installation in Farmington, Connecticut is exterior cladding work that replaces or adds wooden boards to protect a home's wall assembly and create a finished facade. We inspect the sheathing, remove failed material where needed, check flashing and house wrap, then install siding with the correct clearances and fastening pattern. A tape measure and level help keep courses straight; a siding nailer secures each board without crushing its edge. We finish corners, openings, soffit transitions, and trim so rain has a controlled path away from the structure.
Farmington's freeze-thaw cycles, wind-driven rain, shaded walls, and older homes can expose weak joints and concealed siding rot. We look for soft wood around windows, loose siding panels, failed caulk, and places where water infiltration has stained the wall. Our Farmington Connecticut wood siding installation plan suits both historic profiles and newer additions. If you are comparing affordable Wood Siding Installation in Farmington Connecticut, we identify repairable sections first and explain where replacement prevents repeat patching.
Sound siding depends on a dry wall, planned water paths, and boards fitted to the home's actual dimensions.
What it is
Installing or replacing exterior wood boards to protect and finish the wall.
When needed
When boards fail, walls need new cladding, or an addition needs an exterior finish.
What to expect
Inspection, wall preparation, board installation, detail work, and a final review.
What to Expect During Installation
Wood siding installation in Farmington follows a measured sequence: inspect, prepare, install, detail, and review. We explain what happens at each stage, protect access paths, and keep you informed about progress. A straightforward wall can move faster than a project with hidden decay or custom trim, so we establish the work plan after examining the actual assembly.
Inspect and Measure
We walk the exterior with you, mark affected elevations, and check window frames, corner boards, and ground clearances. A tape measure and level help us record wall dimensions and identify transitions that need custom cuts. This visit usually takes 60 to 90 minutes for a typical house. You can point out drafts, water stains, or boards that loosened after a storm.
Walk-through
Measure walls
Check openings
Prepare the Wall
Before new boards go up, we remove the specified siding and inspect exposed sheathing for softness, staining, or failed fasteners. We correct the approved preparation items, then integrate house wrap and flashing where the wall assembly requires them. You will see the condition beneath the old cladding instead of having new siding conceal a known moisture problem.
Remove siding
Inspect sheathing
Prepare surface
Set the Courses
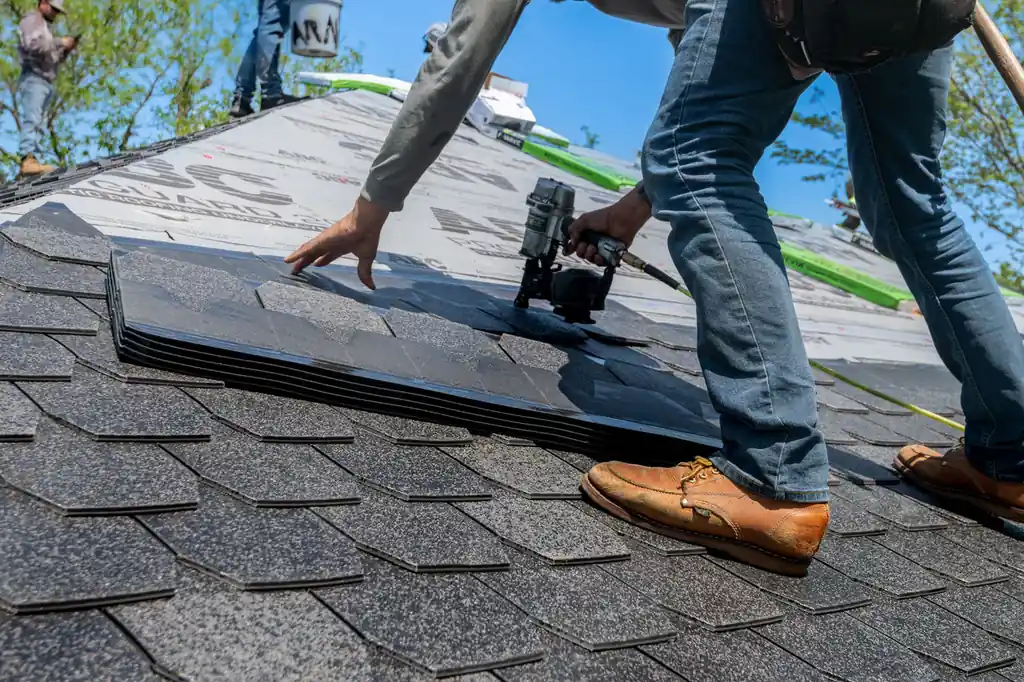
We establish a straight starter line and check the first courses frequently with a level. The crew cuts boards with a circular saw and fastens them with a siding nailer at the locations and spacing suited to the product. On a standard elevation, installation commonly spans one to three working days, with access and detailing affecting the schedule.
Set starter
Align courses
Fasten boards
Detail Openings
At doors, windows, and corners, we fit trim and flashing so water can drain outward rather than behind the siding. A utility knife and caulking gun help with controlled finish work, while cuts and end grain receive the treatment specified for the selected material. We keep joints neat and avoid sealing drainage paths that need to remain open.
Fit trim
Check flashing
Finish joints
Review and Clean
We inspect alignment, fastening, clearances, trim joints, and the cleanup area before wrapping up. You can walk the finished wall with us and ask about paint or stain timing and routine checks. We remove job debris from the work area and leave you with a clear account of completed work and any follow-up finishing step.
Review walls
Clear debris
Discuss care
Tools and Installation Methods
Move across a circle, or focus it and press Enter, for an illustrative thermal view of the photograph.
Circular saw
We use it for straight board cuts and controlled sizing at corners and openings. Cut edges are handled according to the selected siding product's finishing requirements.
Siding nailer
The siding nailer places fasteners consistently while the installer follows the product's specified location and spacing. Correct fastening helps avoid crushed edges and unwanted board movement.
Tape measure and level
We measure elevations, verify opening dimensions, and check course alignment. Frequent level checks keep small layout errors from carrying across the whole wall.
Caulking gun
We apply compatible caulk at specified joints where the design calls for a seal. We do not block intentional drainage openings or use caulk as a substitute for flashing.
Scaffolding
For elevated walls, suitable scaffolding provides a stable work platform for measuring, fastening, and trim work. Access equipment is selected for the building height and site conditions.
Thermal views are illustrative, generated from the photographs.
Methods
Water-shedding wall sequence
We coordinate the layers so water moves outward: wall protection, flashing at openings, and siding installed in the correct relationship to those layers. The order matters. A neat board surface cannot compensate for a missed flashing transition beneath it.
Course alignment checks
We establish a level starting course and recheck alignment as installation progresses. Measurements at corners and openings help keep the exposure consistent across changing wall lengths. This method limits cumulative drift and makes trim intersections easier to finish cleanly.
Material-specific fastening
Wood profiles and manufactured siding products have different fastening requirements. We follow the selected product's installation directions for fastener placement, edge distance, and spacing rather than applying one pattern to every wall. That protects the material and supports a stable installation.
Controlled access and protection
We plan ladder or scaffolding placement, protect nearby windows and landscaping, and keep cutting and fastening organized. Safe access reduces rushed work at elevated corners and helps the crew maintain consistent details from the lower courses to the roofline.
When to Install Wood Siding
Soft wall boards
A Farmington home has several soft boards after a winter of freeze-thaw and repeated runoff.
We inspect the affected wall, identify the source of moisture, and check the exposed sheathing if boards need removal. Then we explain whether a focused repair or broader replacement is appropriate. New courses are fitted with attention to drainage, clearances, and trim transitions.
Outcome: The damaged wall gets a planned repair instead of another surface patch, and you know which details need routine attention.
Historic profile match
A homeowner in the Farmington Historic District is updating siding while retaining the house's original visual proportions.
We measure the existing board exposure, corner details, and window trim before selecting a replacement profile. Our team discusses material and finish choices, then lays out courses to preserve the facade's rhythm. We coordinate opening details and inspect the wall beneath the removed siding.
Outcome: The refreshed exterior respects the home's established lines while replacing worn or failing boards with a consistent installation.
Addition transition
A new addition in East Farmington needs siding that connects cleanly to the original exterior.
We compare the addition's wall dimensions with the existing elevations and review available profiles and trim. The crew plans the transition at the connection, sets a straight starter line, and fits courses around windows and corners. We explain where a close match is practical and where the materials will differ.
Outcome: The addition receives a finished exterior that relates to the main house, with transitions planned rather than improvised on site.
Rain marks
Recurring water marks appear below a shaded wall in Farmington Woods after heavy rain.
We check the siding joints, window flashing, roof-edge transitions, and nearby trim for a water path. If boards are opened, we inspect the substrate before installing replacements. The work focuses on the cause as well as the visible stain, reducing the chance of simply covering an active route.
Outcome: You get a clearer explanation of the water path and an exterior repair that addresses the affected siding details.
Farmington's cold winters, spring rain, summer humidity, and fall leaf buildup all affect how an exterior dries and performs. We pay particular attention to shaded elevations, roof runoff, and low wall areas where soil or plants hold moisture against boards. Farmington homes range from older facades with distinctive trim to newer additions that need a clean transition between materials.
Our exterior wood siding installation Farmington work starts with the actual wall assembly, not an assumed template. We check house wrap, flashing, window frames, and visible sheathing as the project opens. For wood siding installation cost Farmington Connecticut questions, the main variables are wall area, access, board profile, finish details, and the condition beneath old siding.
We also plan around cold-weather limits: coatings and sealants need product-approved temperatures, and damp surfaces should not be closed in. In the Farmington Historic District, we discuss matching profiles and proportions before cutting. Across West Farmington and Farmington Meadows, we adapt staging and material handling to the lot and elevation.
Farmington Historic District: Older facades can have distinct board exposures and trim proportions. We measure existing details before recommending a profile for replacement elevations.
Downtown Farmington: Narrow access and close-set exterior features can affect staging. We plan material handling and protect nearby windows, walks, and planting beds.
West Farmington: Shaded walls can stay damp longer after rain. We check lower courses, end grain, and trim joints for signs of recurring moisture.
Farmington Woods: Tree cover and roof runoff make drainage details important. We examine siding clearances and water paths before closing the wall.
Freeze-thaw cycles stress paint, joints, and exposed board ends.: Water that enters a small crack can expand as it freezes, widening the opening over time. We check failed finish and vulnerable end cuts, then address the damaged material before installing new courses.
Shaded elevations dry slowly after rain and snowmelt.: Longer damp periods increase the chance of swelling, staining, and concealed rot where joints are weak. We inspect those walls closely and keep siding clear of grade and persistent vegetation.
We walk the elevations with you and explain visible concerns.
We protect nearby windows, landscaping, and access paths.
We review finished work and discuss maintenance steps.
From problem to finished result.
IllustrativeThe thermal view is generated from the photograph. It is not a measurement. Drag the handle, or use the arrow keys once it is focused.
Replacing a Failing North Wall
Before: Several courses on a shaded north wall had peeling paint, split board ends, and soft spots near the lower corner. Water marks appeared inside after heavy rain, but the exterior damage did not show how far moisture had traveled. A quick coat of paint would have covered the symptoms without correcting the compromised boards.
After: We removed the affected siding, checked the exposed sheathing, and replaced the specified boards before installing aligned courses. The wall now has consistent board exposure, clear ground separation, and corrected flashing at the nearby opening. The interior stain source was addressed at the exterior transition, not hidden under new cladding.
Inspect that elevation each spring and after wind-driven storms. Keep shrubs from touching the boards, watch the lower edges for finish failure, and address any new stain or soft spot before it spreads.
Bringing an Addition Into Line
Before: A rear addition had a different siding profile from the main house, with an uneven junction and trim that stopped short at the connection. The mismatch drew the eye and left an awkward exposed seam. Window flashing at the addition also needed review before new boards could cover the wall.
After: We measured both elevations, selected a compatible board exposure, and planned a clear transition at the connection. New siding courses were aligned around the addition's windows, and the trim was carried through the corners. The updated wall now reads as a coordinated part of the house instead of a separate patch.
Check the transition joint, trim, and window perimeter twice a year. Keep the finish maintained on exposed end grain and clear leaves from ledges where water can sit.
Repairing Storm-Loosened Boards
Before: Wind loosened boards along one gable, leaving visible gaps and a rattling sound during gusts. Several fasteners had pulled near board ends, while surrounding courses remained sound. The homeowner needed the open area secured without replacing siding across every elevation.
After: We checked the gable support and removed the damaged sections, then installed replacement boards with consistent alignment and fastening. The repair covered the affected courses and restored the trim edge. The rest of the wall stayed in place after inspection confirmed it was secure and serviceable.
After strong winds, look for lifted edges, new gaps, or loose trim from the ground. Avoid pulling on boards; arrange a closer inspection if movement or water entry is visible.
Resolve Common Wood Siding Problems
Siding problems often begin at a joint, opening, or exposed board end, then spread when water remains trapped. If you are looking for wood siding fitting near me Farmington, we inspect the visible symptoms and the wall details around them. That helps us distinguish a limited repair from a larger installation need.
Peeling finishPeeling paint exposes board edges to repeated rain.Unprotected wood absorbs moisture, then swells and cracks as it dries. Continued exposure can leave the finish failing across a larger part of the elevation. We identify the extent of failed finish and inspect the boards for softness or splitting. Sound siding can be prepared for refinishing, while damaged boards are replaced where appropriate. We also check nearby joints and trim so the repair addresses the conditions contributing to repeated peeling.
Soft window areaSoft siding near windows signals possible water entry.Moisture around an opening can affect trim and sheathing, and the visible stain may not show the full extent. Delayed repair allows damage to reach concealed layers. We examine the window perimeter, flashing, caulk, and adjacent boards before covering the area. If installation is needed, we integrate the siding with the opening details so water can drain outward. Any exposed damage is discussed as the work proceeds.
Loose boardsLoose boards rattle during wind and leave gaps.Movement can widen joints and expose the wall to wind-driven rain. Boards that pull away from fasteners may also crack at their ends or corners. We check the loosened courses, fastener condition, and underlying support. The crew secures or replaces affected boards and checks alignment against adjacent courses. If multiple elevations show movement, a broader installation review can identify repeated fastening or substrate problems.
Mismatched repairsFaded, mismatched boards make repairs stand out.Patchwork repairs can leave the facade uneven, particularly when older finish has weathered at different rates. The mismatch may persist even after the damaged section is sound. We compare the affected area with surrounding profiles and explain whether selective board replacement or a full elevation provides a more coherent result. We discuss finish options and how new material may look before weathering. That lets you choose a repair scale that suits the house.
Practical Benefits for Your Home
Properly fitted boards protect the wall and give your exterior a consistent finish.
Better Moisture Control
A properly layered wall sheds water instead of trapping it behind the boards. We check the house wrap and flashing at openings, then keep siding clear of grade and roof surfaces. Those details reduce the routes that lead to damp sheathing, swelling, and siding rot, especially on shaded elevations that dry slowly after rain.
A Consistent Exterior
New boards can correct uneven courses, mismatched repairs, and faded siding across a whole elevation. We measure each run, set the starter line level, and align trim at windows and corners. The result is a more even facade, whether you select cedar siding or another wood profile suited to the home's design.
Repairable Board Sections
Wood siding allows a damaged board to be addressed without automatically removing every course on the wall. We match the profile as closely as practical and explain where replacement boards will show until paint or stain blends them. That targeted approach can preserve sound material while restoring the affected area.
Clear Upkeep Planning
Wood needs routine inspection and a maintained finish to limit moisture exposure. We point out vulnerable joints, end cuts, and trim transitions before the crew leaves. You receive practical guidance on checking the exterior each spring and after severe storms, rather than a vague promise that siding requires no attention.
What a written scope covers.
What a written scope covers and what shapes it. Prices are set by the business after the first look.
Typical 2026 pricing in Farmington changes most when crews uncover damaged sheathing or extensive detailing. We measure the elevations and review the wall condition before explaining the cost drivers. A smaller section repair is priced differently from full-house installation, so the project size matters.
Farmington Siding and Windows Pro provides wood siding fitting in Farmington for homes with damaged, aging, or newly planned exteriors. We inspect the wall, discuss the siding profile, and explain how flashing, trim, and preparation fit the job. Call (860) 744-9803 to talk through your project and arrange a site review. We serve neighborhoods including Downtown Farmington, West Farmington, and Farmington Village.
A typical home installation takes about 5 to 10 working days, while one elevation can take 1 to 3 days. Preparation, number of stories, custom trim, weather, and concealed repairs affect the schedule. We explain the sequence before work starts and keep you updated as the wall is opened and prepared. Paint or stain timing can add a separate finishing stage.
Inspect wood siding at least twice a year and after major storms, checking joints, finish, and board ends for water entry. Keep soil and vegetation clear of the lower courses, and repair peeling or cracked paint before bare wood stays exposed. Wash gently rather than directing high pressure at seams. We can point out vulnerable areas during installation and explain the finish schedule for your selected product.
Peeling boards, soft trim, and recurring water stains deserve a close look before another season passes. Call our Farmington crew at (860) 744-9803 to discuss the affected walls and arrange a project review. We explain the work and provide upfront pricing before installation begins.
Call (860) 744-9803 or email [email protected] to describe the siding or window issue at your Farmington home. Our listed office hours are Monday through Friday, 8:00 a.m. to 6:00 p.m.; calls are routed to independent companies. Share the affected area, any visible damage, and whether water is entering so the conversation starts with useful details.