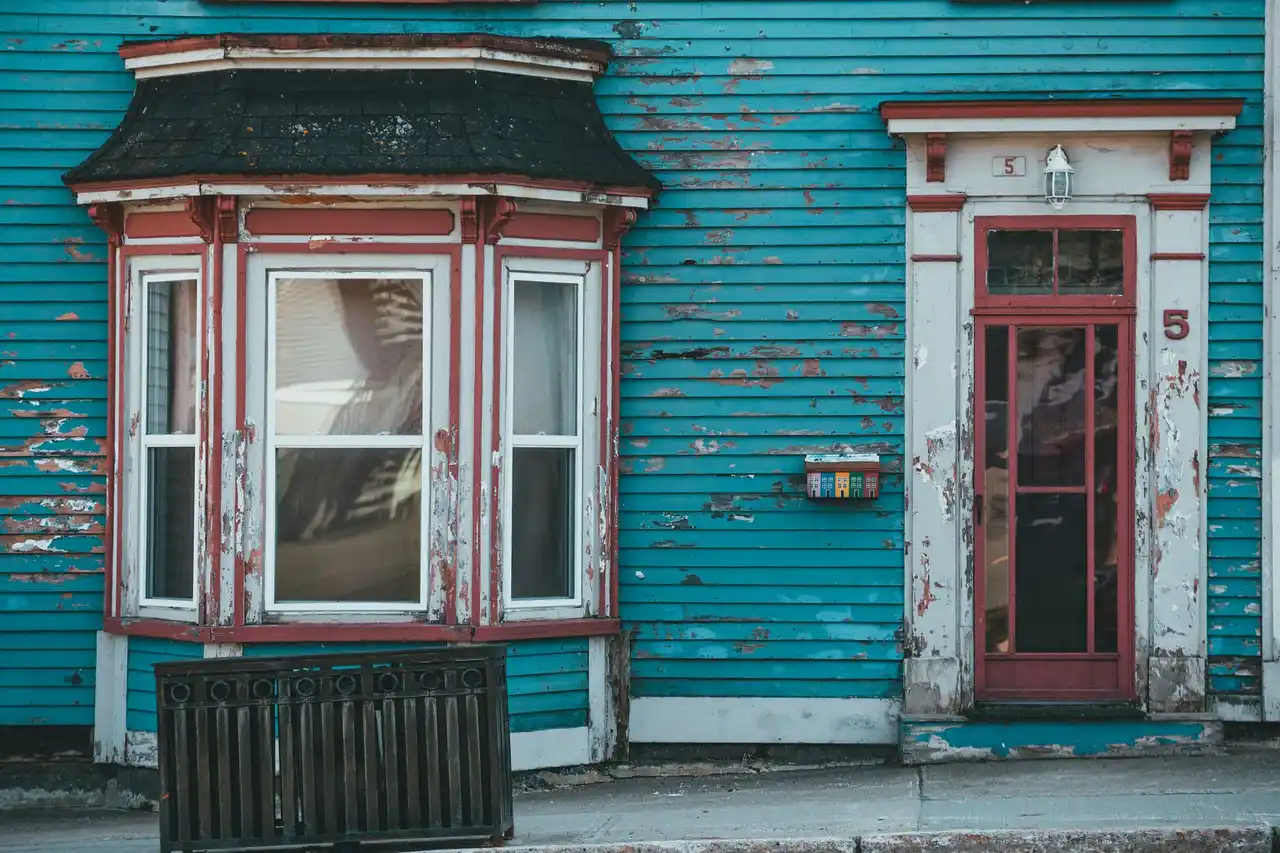
Bay Window Installation in Farmington, Connecticut
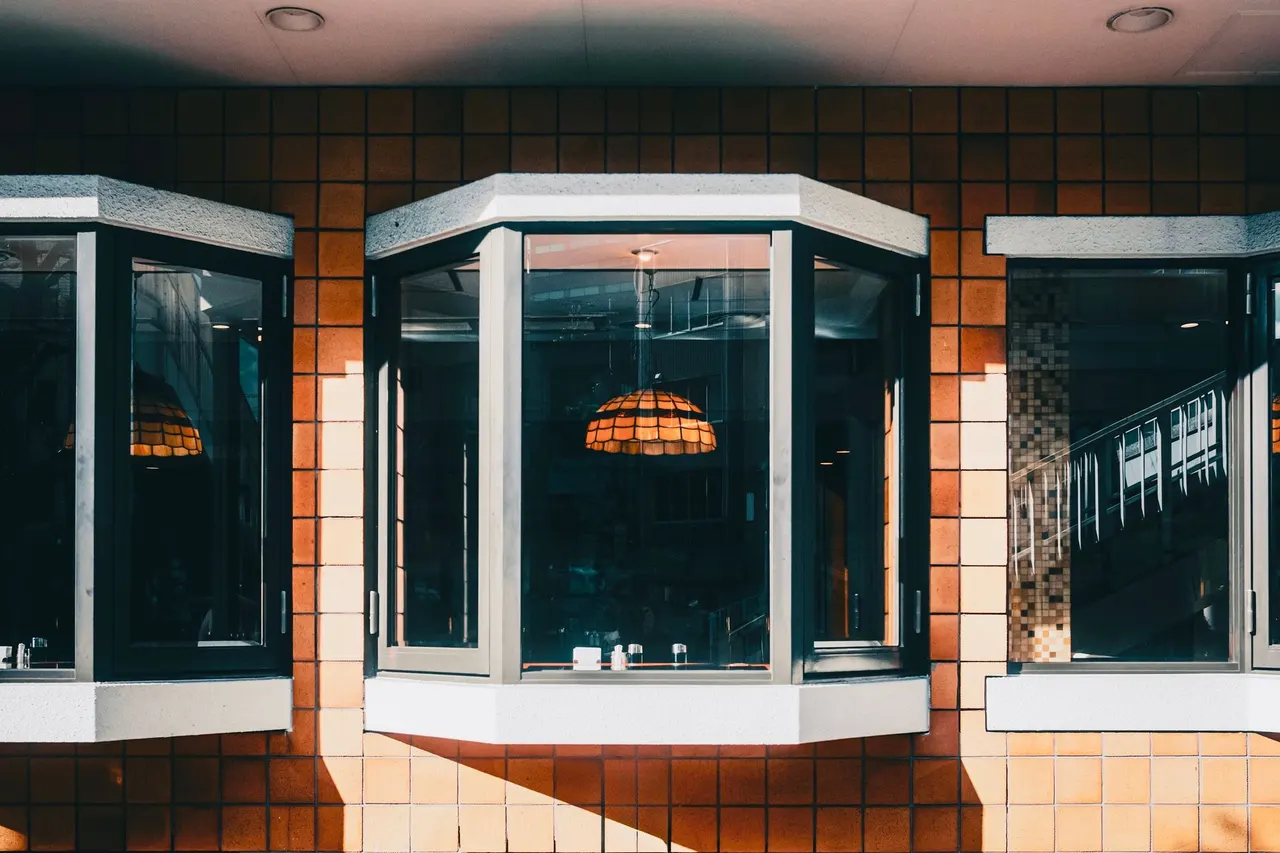
Bay Window Installation in Farmington, Connecticut gives your living room, dining area, or bedroom more daylight and a useful shelf or seating nook. We fit homeowners replacing a drafty, fogged, or deteriorated unit, as well as those changing a flat window to a projecting design. Our bay window fitting Farmington service starts by checking the opening, wall structure, and exterior finish so the new assembly sheds water and suits your home.
Protected floorsNearby surfaces covered before removal
Measured openingDimensions checked at several points
Clear work areaTools and materials kept organized
Final walkthroughOperation and visible joints reviewed
What's Included in a Bay Window Project
A standard installation covers opening measurements, removal of the existing unit when needed, preparation, setting, perimeter insulation, flashing, and basic interior and exterior finish coordination. We test operable sections and review the completed work with you. Custom carpentry, concealed structural repairs, major siding replacement, and interior seat construction change the scope; we identify those needs as the opening is assessed.
Opening Measurement
We record the rough opening at multiple points and check whether the wall is plumb and level. Those measurements guide product selection and help prevent forced fitting, uneven reveals, or trim gaps.
Existing Unit Removal
We remove the old frame and accessible trim carefully, protecting nearby floors and furnishings. Once exposed, we check the sill and framing for visible rot, staining, and movement before preparing the opening.
Flashing and Insulation
We manage the opening's water-shedding layers and fill appropriate gaps around the installed frame. Proper flashing laps and insulation reduce vulnerable paths for moisture and air without obstructing the window's drainage details.
Level Setting and Fastening
We position the assembly, confirm it is level and square, and secure it according to the product requirements. Bay projection and support are considered so the unit remains aligned and operates as intended.
Trim and Operation Check
We finish accessible trim transitions and test each operating sash, latch, and lock. Before leaving, we walk through visible joints and explain basic care for the frame and sealant.
Homes and businesses.
The approach is the same for a home and a business. What changes is the access, the schedule and who needs the paperwork.
At Home
We coordinate the work around your household, protect nearby floors, and explain each stage before removing the existing window. You can keep clear access to the work area.
Drafts near a living-room sill
Fogged panes in a dining area
A deeper window-seat nook
At Work
We plan with owners and property managers around room access, occupant movement, and the exterior work area. The installation sequence keeps the opening secure between work stages.
A brightened reception area
Replacement in an occupied office
Exterior trim coordination
Bay Window Installation in Farmington, Connecticut
A plain-language look at what Bay Window Installation involves and when it is needed.
Bay Window Installation in Farmington, Connecticut is the placement and weatherproofing of a projecting window assembly that creates a wider view and more interior space. We measure the rough opening, confirm the support and projection requirements, remove the existing unit when needed, and set the frame level and square. The work also includes insulation at the perimeter, flashing at vulnerable joints, and properly finished interior and exterior trim. A sound installation keeps water outside and helps limit drafts without hiding damaged framing behind new materials.
Farmington homes range from older properties with distinctive trim to newer houses where a failed seal or undersized picture window makes a room feel dim. Freeze-thaw cycles, wind-driven rain, and changing temperatures expose weak caulk and flashing at projecting windows. Our Farmington Connecticut bay window installation addresses those details instead of covering them with trim. If you are comparing affordable Bay Window Installation in Farmington Connecticut, we assess the opening and explain which conditions affect the work before setting a plan.
A bay installation succeeds when support, flashing, and frame alignment work together.
What it is
A projecting window assembly that adds angled glass and interior depth.
When needed
When a failing unit leaks, drafts, fogs, or no longer suits the room.
What to expect
Measurement, removal, opening preparation, installation, sealing, and operation checks.
What to Expect During Installation
Our installation process keeps measurements, preparation, setting, and finish work in sequence. We explain what we find at your Farmington home, protect the work area, and check operation and weather-sealing details before wrapping up.
Opening Review
We inspect the existing window, interior trim, exterior siding, and visible sill for rot, water infiltration, or movement. A tape measure and level help us record width, height, and alignment at several points; we also discuss projection, glass configuration, and access. The initial visit usually takes 30 to 60 minutes, depending on the opening and the condition of the surrounding finish.
Inspect
Measure
Discuss
Product and Scope
We match the selected frame and glass package to the rough opening, desired projection, and exterior finish. You can compare options from manufacturers such as Andersen or Pella, while we explain how fixed and operable sections affect ventilation and cleaning. We identify whether siding or trim work is needed and clarify the sequence before the unit is ordered.
Compare
Select
Plan
Protect and Remove
On installation day, we cover nearby floors and furnishings, then remove interior trim and the old unit carefully. A window pry bar and utility knife help separate materials without tearing up sound siding. We expose the opening far enough to inspect the framing; if hidden damage appears, we show you the affected area and explain the repair needed.
Protect
Remove
Check
Set and Seal
We prepare the opening, install flashing, and position the new assembly with the support specified for its size and projection. The crew checks level and square before fastening, then fills appropriate gaps with insulation and seals the perimeter with caulk. This stage takes several hours on a straightforward opening; structural repairs or extensive finish work add time.
Flash
Set
Seal
Finish and Test
We reinstall or replace trim, complete exterior transitions, and check each operable sash for smooth movement and secure latching. A final walk-through covers visible sealant joints, cleanup, and basic care. You see how the window operates and where to watch for seasonal changes, rather than being left to guess what was completed.
Finish
Test
Review
Tools and Installation Methods
Move across a circle, or focus it and press Enter, for an illustrative thermal view of the photograph.
Tape measure and level
We use them to record the opening at multiple points and check that the frame sits level and square before fastening.
Window pry bar
This tool helps separate old trim and frame components while limiting damage to sound siding and surrounding finishes.
Caulking gun
We apply compatible sealant at specified joints, keeping drainage openings clear and maintaining an even, continuous bead.
Scaffolding and safety harness
For elevated or difficult exterior access, stable work platforms and fall protection help the crew reach upper trim and flashing safely.
Andersen and Pella
We discuss available manufacturer configurations and product requirements when comparing frame styles, glass packages, and operating sections.
Thermal views are illustrative, generated from the photographs.
Methods
Measure, verify, and dry-fit
We compare the opening dimensions with the selected unit and check wall alignment before setting anything permanently. A dry fit reveals interference at the sill or returns, helping us correct the preparation before fastening and finish work.
Layered flashing
We install flashing so upper layers overlap lower ones and water moves outward. The sequence ties the window perimeter to the wall's water-shedding plane rather than trapping moisture behind trim or siding.
Insulated perimeter
After the frame is secured, we fill appropriate gaps with insulation while preserving the window's operation and drainage paths. The perimeter is then sealed where specified, reducing air leakage without relying on caulk as the only weather barrier.
Final operation test
We open and close each operable sash, check locks and latches, and inspect visible joints. This confirms the frame was not distorted during fastening and gives you a chance to see how each section functions.
When a New Bay Makes Sense
Dim living room
A Downtown Farmington living room feels dim despite a wide wall facing the yard.
We measure the existing opening and review whether a projecting unit fits the room and exterior. We compare center glass and operable side sections, then plan trim and flashing around the wall's existing finish.
Outcome: You gain a broader view and daylight from angled panes, with a finished exterior that follows the home's existing lines.
Historic trim
A Farmington Historic District home has a failing bay with distinctive older trim.
We document the opening and existing trim proportions before choosing a replacement configuration. Our team identifies which details can be retained and which need new material, then coordinates the finish with the surrounding wall.
Outcome: The replacement addresses drafts and failed joints while respecting the home's established exterior character.
Window-seat plans
A family in Farmington Meadows wants a window seat but needs clear walking space.
We discuss projection depth, sill height, and nearby furniture before recommending a unit. Measurements help establish how much usable interior space the new bay creates without crowding the room's normal path.
Outcome: The finished area provides room for plants or a compact seat while leaving the room practical for everyday use.
Rain-related damage
A homeowner finds peeling caulk and soft trim after repeated wind-driven rain.
We inspect the window perimeter, adjacent siding, and exposed sill to locate the water entry route. If replacement is needed, we rebuild the weather layers and replace affected trim rather than relying on a surface patch.
Outcome: The new assembly has a properly detailed perimeter, and damaged material is not concealed behind fresh finish work.
Farmington's cold winters, thaw cycles, and periods of wind-driven rain put repeated stress on projecting windows. We pay close attention to the sill, corner joints, and flashing because water trapped at those points can reach framing or siding. In older parts of town, existing openings and trim may not be perfectly square, so our crew measures in several places instead of assuming uniform dimensions.
For a Farmington Connecticut bay window installation, we also consider exterior access, nearby landscaping, and whether the home's cladding can be removed and reinstalled cleanly. We explain the product's installation requirements, check applicable local requirements, and keep the work area protected.
November planning also means accounting for cold-weather handling and suitable sealant conditions; we follow product instructions rather than rushing a joint that needs proper application conditions.
Downtown Farmington: Older exterior details can call for careful trim matching. We measure the opening and inspect the siding edges before selecting a replacement configuration.
Farmington Historic District: Distinctive proportions and existing finishes deserve close attention. We discuss the visible frame and trim details before removing the old unit.
West Farmington: Wind and rain exposure can reveal weak corner joints. We inspect the sill and flashing path before beginning exterior finish work.
Farmington Meadows: For rooms with broad exterior walls, we review the desired projection and nearby landscaping so the unit can be installed and accessed safely.
Freeze-thaw cycles stress exposed sealant and exterior trim joints: Repeated temperature changes can open small gaps at corners or along the sill. We inspect those joints and use installation materials suited to the product and application conditions.
Older openings may be out of square or conceal wood deterioration: Uneven framing affects how the bay sits and how the trim lines meet. We expose and assess the opening before setting the new unit, so repairs are handled rather than hidden.
We walk through the room and review the existing frame and exterior.
We protect nearby surfaces and organize tools before removal begins.
We test operation, review visible joints, and explain basic care.
From problem to finished result.
IllustrativeThe thermal view is generated from the photograph. It is not a measurement. Drag the handle, or use the arrow keys once it is focused.
Drafty Front Room Restored
Before: A homeowner near Downtown Farmington had a fogged center pane and a cold strip of air along the sill. The side sashes stuck, and cracked caulk covered gaps at the exterior trim. The room was difficult to use during cold mornings, while the cloudy glass blocked the view.
After: We replaced the assembly, corrected the perimeter, and tested both operating side sections. The center glass measured about 6 feet across, and the finished unit sat level with consistent trim reveals. The room gained a clear view and a more comfortable seating area without the old visible gaps.
Check the exterior sealant and trim each spring and fall. Keep weep or drainage openings clear, and clean the frame with methods approved for its material.
Water-Damaged Sill Rebuilt
Before: In West Farmington, staining appeared below a bay after heavy rain. The sill trim felt soft at one corner, and repeated caulk patches had not stopped the discoloration. The owner wanted the leak source addressed before installing new interior flooring.
After: We removed the old unit, found damaged material at the sill, and repaired the affected opening before installation. New flashing was layered to direct water outward, and the finished trim covered the repaired area without blocking drainage. The final walk-through included a check of the operating sash and visible joints.
Watch for fresh staining after strong rain and inspect the corner joints twice a year. Promptly address peeling finish or soft trim rather than covering it with another sealant bead.
Dim Dining Area Opened Up
Before: A Farmington Meadows dining room had a narrow flat window that brought in limited side light. The owner wanted more glass and a deeper sill but needed to preserve the room's walking clearance and existing siding layout.
After: We installed a projecting unit with a broad center pane and angled side sections, checking the clearances before setting the frame. The new sill created approximately 10 inches of additional depth, and the room received light from three directions. Exterior trim followed the existing cladding lines.
Clean glass and frame surfaces with manufacturer-approved products. Check that side sashes latch fully and inspect the lower corners for debris or sealant separation during seasonal cleaning.
Problems Solved by Bay Window Replacement
A failing bay often shows trouble before the frame gives way: cold air at the sill, staining at trim, or glass that stays cloudy. We trace the problem to the window, opening, or surrounding exterior before choosing a repair or replacement approach.
Drafty frameCold drafts collect around the frame during Farmington wintersAir leakage makes seating near the window uncomfortable and can indicate gaps at the frame, failed seals, or deteriorated insulation around the opening. We inspect the frame and rough opening, then fit and seal the new assembly with insulation at appropriate gaps. If the wall shows water damage or loose siding, we address the transition rather than sealing over a symptom. You get a tighter perimeter and a clear explanation of the work completed.
Clouded glassClouded panes block the view and reduce usable daylightWindow fogging between panes usually signals a failed insulated-glass seal; cleaning the surface will not clear moisture trapped inside the unit. We check whether the glass or entire frame is the source of the failure and discuss suitable replacement options. If a new bay is appropriate, we measure the opening and review the glass configuration, frame material, and operation of side sections before ordering.
Water stainingWater stains appear below the bay after heavy rainWater infiltration can damage trim and framing, and a fresh bead of caulk will not correct missing or poorly layered flashing. We examine the sill, corner joints, trim, and adjacent siding for the water path. During replacement, we prepare the opening and install flashing in a shingle-style sequence so runoff moves outward. We also identify visible rot that needs repair before the new frame is set.
Loose projectionAn aging projection feels loose or sits out of levelMovement can interfere with sash operation, open finish joints, and place extra stress on the frame or surrounding trim. We check the support and framing before recommending a new unit. The replacement is positioned level and square, with support appropriate to the selected projection. We then test each operating section and finish the exterior transitions to reduce movement-related gaps.
Practical Improvements You Can See
Gain more daylight and a properly supported, weather-managed window opening.
More Natural Light
A projecting assembly typically combines a broad center pane with angled side windows, bringing daylight in from more than one direction. That can brighten a reading corner or dining area without changing the room footprint. We check sightlines and opening dimensions before ordering, so the glass layout suits your wall rather than forcing an awkward fit.
A Useful Interior Nook
The added projection creates room for a low shelf, plants, or a compact window seat, depending on sill height and interior layout. Our bay window fitting Farmington work accounts for the unit's depth and support before installation. You get a defined feature, not a deep ledge that blocks a walkway or interferes with furniture.
Fewer Draft Paths
A new frame, correctly packed insulation, and sealed joints address common leakage around an aging unit. We inspect the sill and rough opening for signs of window drafts or window seal failure before closing the assembly. The result is a more controlled perimeter, especially noticeable during cold Farmington weather when air movement near glass becomes uncomfortable.
Cleaner Exterior Transitions
Bay projects meet siding, trim, and sometimes soffit or fascia details at several angles. We plan those joints so water has a clear path away from the wall instead of collecting at exposed edges. That reduces the chance that a new window simply transfers an old leak to the surrounding finish.
What a written scope covers.
What a written scope covers and what shapes it. Prices are set by the business after the first look.
Typical 2026 pricing in Farmington rises when the opening needs structural work, custom dimensions, or extensive siding and trim changes. We inspect the opening and explain the cost drivers before scheduling the installation. The window configuration and glass package also affect the total.
Farmington Siding and Windows Pro provides bay window fitting Farmington homeowners can arrange by calling (860) 744-9803. We review the existing opening, surrounding cladding, desired projection, and access before recommending a replacement approach. Bring any concerns about drafts, leaking trim, or fogged glass to the first conversation; those details help us focus the inspection and product discussion.
A straightforward replacement usually takes one workday, while structural repairs or extensive trim work can extend the job to two days. The crew spends time protecting the room, removing the old unit, preparing the opening, setting and sealing the assembly, and finishing both sides. Product lead time happens before installation and varies by configuration, so we discuss that separately from on-site work.
Yes, a bay window suits many Farmington homes when the wall can support its projection and the opening is properly flashed. It adds light and usable interior depth, but exposed corners need careful water management through freeze-thaw seasons. We check framing, siding, roof or overhang conditions, and drainage before recommending a configuration. A well-matched unit can work in both traditional and newer home designs.
Get more light and a properly finished window opening with a clear installation plan. Our team checks the frame, wall, and exterior transitions, then explains the work and upfront pricing. Call Farmington Siding and Windows Pro at (860) 744-9803 to talk through your project.
Call (860) 744-9803 or email [email protected] to describe the siding or window issue at your Farmington home. Our listed office hours are Monday through Friday, 8:00 a.m. to 6:00 p.m.; calls are routed to independent companies. Share the affected area, any visible damage, and whether water is entering so the conversation starts with useful details.