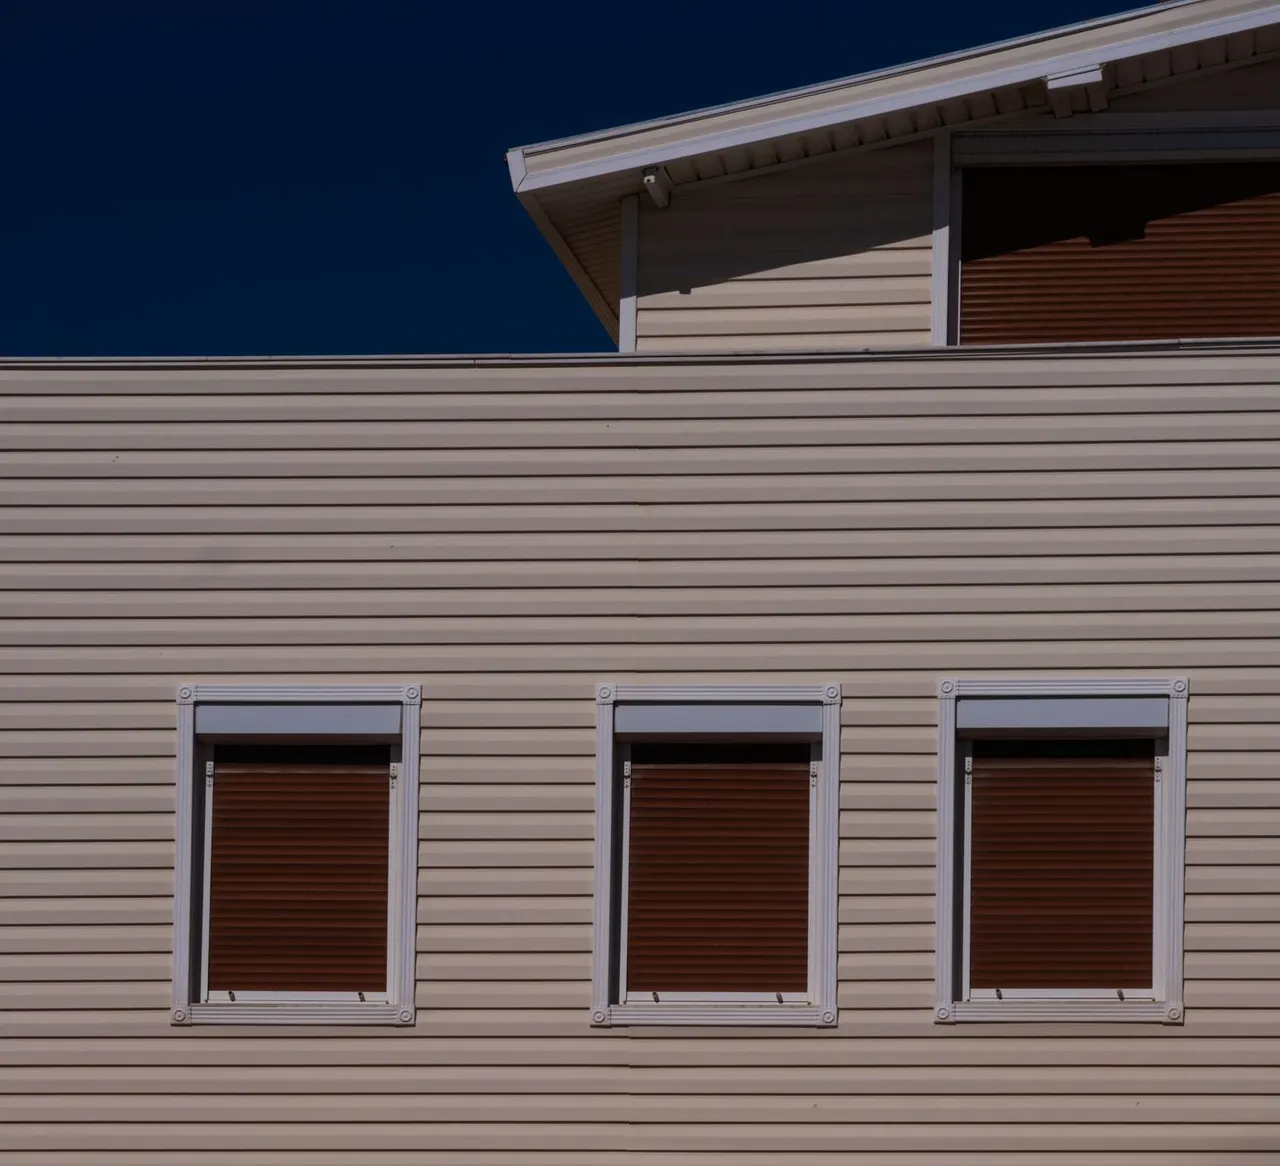
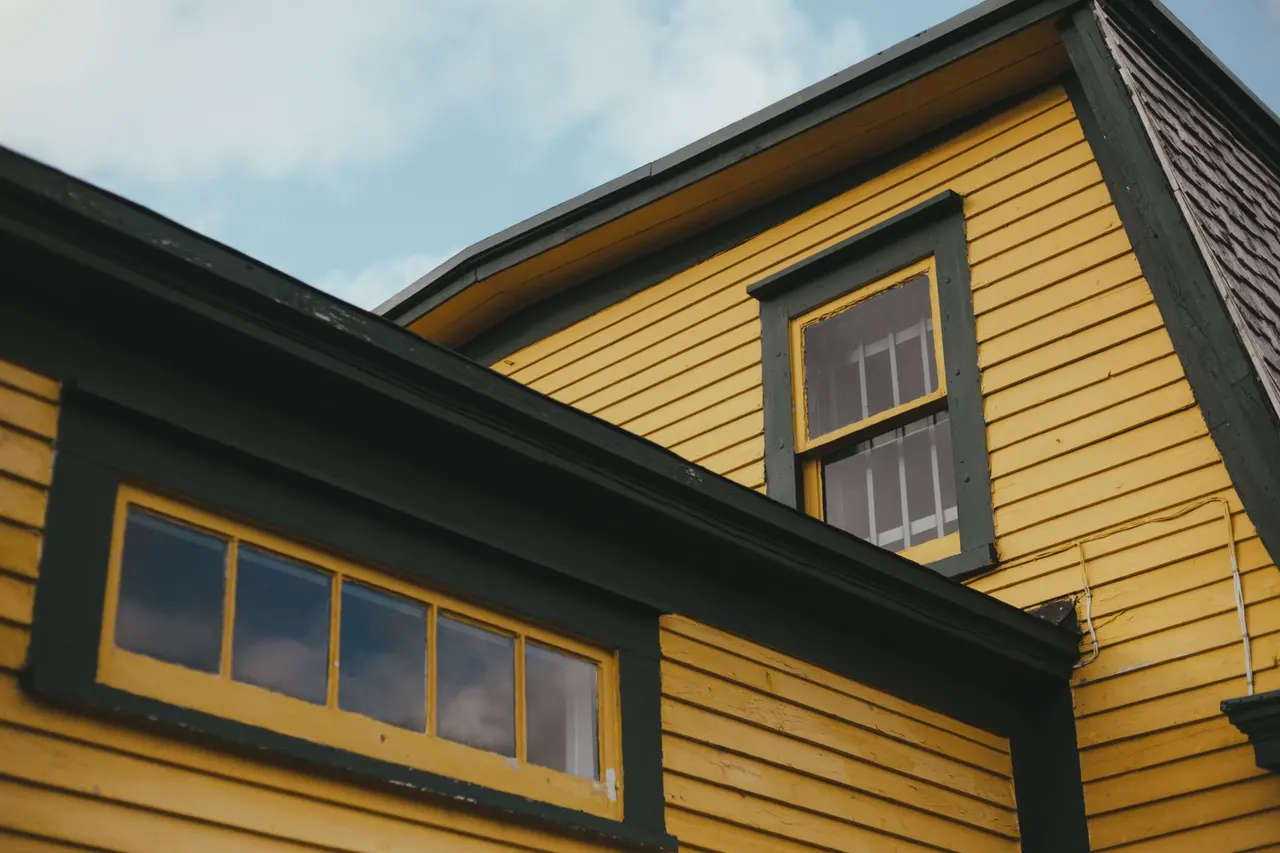
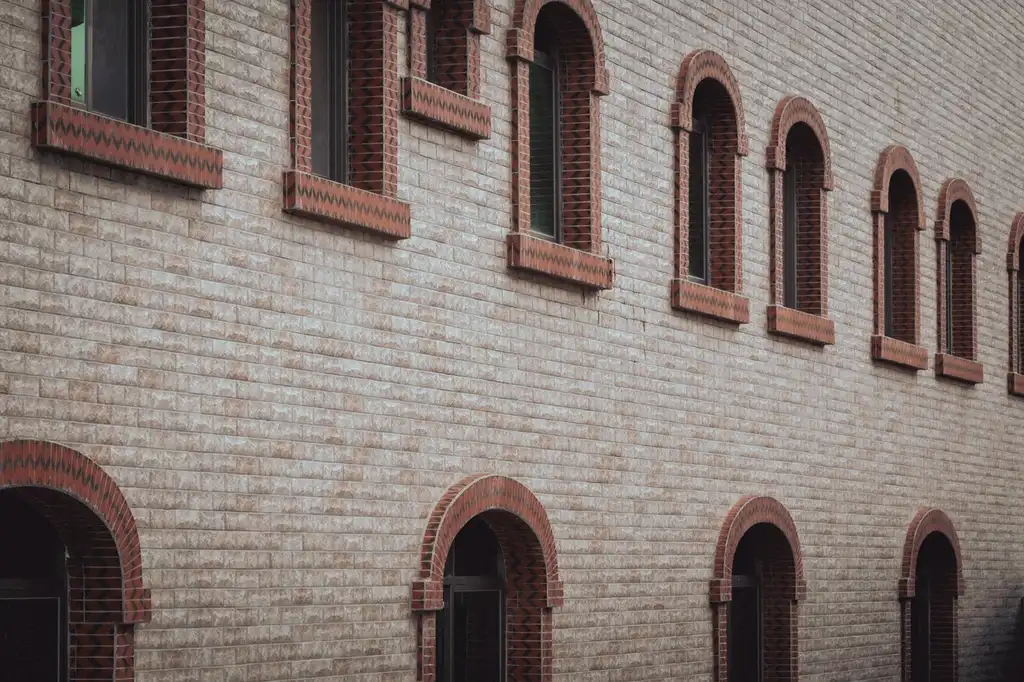
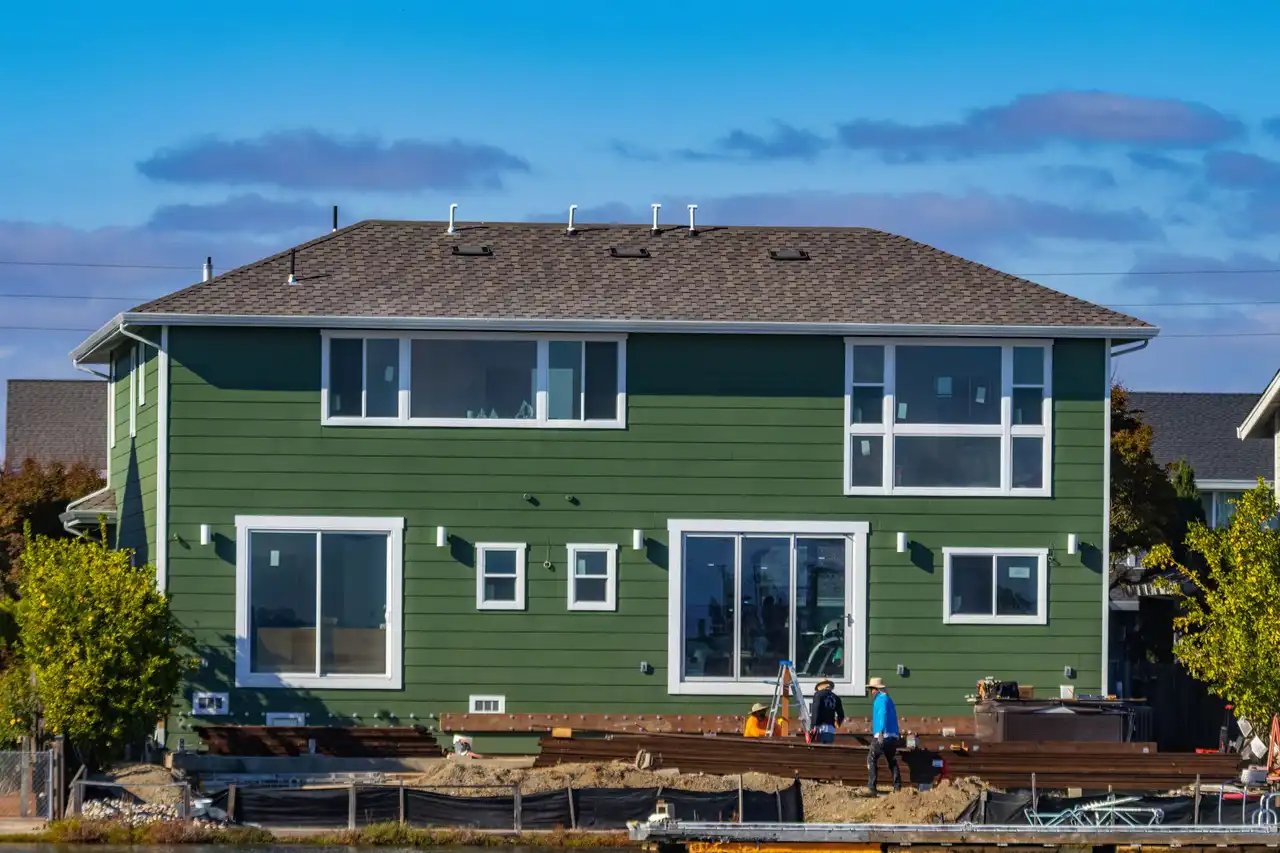
Picture Window Installation in Farmington, Connecticut
Picture Window Installation in Farmington, Connecticut gives homeowners a broad, fixed-glass view while helping address drafts, fogged panes, and worn frames. Our team measures the opening, checks the surrounding wall, and fits the window to suit your home and its exterior. For picture window fitting Farmington residents need in a living room, stairwell, or renovated facade, we explain the choices and the work before installation begins.
Protects flooringCovers nearby work areas before removal
Checks alignmentMeasures level and square before fastening
Keeps paths clearLeaves drainage routes open at the sill
Reviews finishChecks interior and exterior edges with you
What's Included with Picture Window Installation
A standard installation covers measurements, removal of the existing unit, inspection of the exposed opening, setting and fastening the replacement, perimeter insulation, flashing integration, and basic interior or exterior trim finishing. We explain any framing or siding condition that changes the work before addressing it. Specialty glass, extensive structural repair, and broad siding replacement are separate project needs, not assumed parts of every window replacement.
Opening measurements
We record the opening dimensions at multiple points and check whether the frame is square, plumb, and level. These measurements guide the replacement size and reveal whether adjustment or framing repair is needed before the new unit can sit correctly.
Old unit removal
We remove the existing window and nearby trim with care, protecting floors and furnishings inside. Once the frame is exposed, we check for visible rot, moisture staining, failed insulation, and damaged fasteners before preparing the opening.
Frame setting and fastening
We place the new fixed unit in the prepared opening, check alignment, and fasten it according to the manufacturer's instructions. Correct support and a balanced reveal help prevent frame distortion and keep the glass seated as intended.
Perimeter sealing
We insulate the frame gap and seal the exterior joint while preserving drainage at the sill and flashing. Careful application matters: too little leaves air paths, while excessive foam can bow a frame or interfere with operation nearby.
Trim and final review
We reinstall or fit trim, clean the glass, and inspect the finished edges from both sides. You can review the sightline and perimeter with us, and we explain basic maintenance for the glass, sealant, and surrounding siding.
Homes and businesses.
The approach is the same for a home and a business. What changes is the access, the schedule and who needs the paperwork.
Homes and rentals
We plan around your room, furniture, and daily routine, then protect the work area before removing the existing unit. You can review frame and trim details with us.
Drafty living-room picture window
Cloudy glass facing the yard
Daylight needed in a stairwell
Business properties
We coordinate access and room use with owners or property managers before work begins. We protect nearby finishes and keep the opening and surrounding area orderly.
Fixed glass in a reception area
Large window in a meeting room
Replacement during interior updates
Picture Window Installation in Farmington, Connecticut
A plain-language look at what Picture Window Installation involves and when it is needed.
Picture Window Installation in Farmington, Connecticut is a window replacement service that fits a fixed, non-opening glazed unit into a prepared exterior opening to bring in daylight and frame an unobstructed view. We check the opening for square, inspect the sill and framing for rot, and select a unit that matches the measured dimensions. The installation includes setting and leveling the frame, fastening it appropriately, insulating the perimeter, and integrating flashing and exterior trim so water is directed away from the wall.
Farmington homes range from older properties with layered trim to later houses with vinyl siding, and each wall assembly needs a different approach at the opening. Window drafts, failed seals, and water infiltration are signs to inspect the unit and surrounding materials before choosing a replacement. Our Farmington Connecticut picture window installation service accounts for the existing siding and house wrap, rather than covering a hidden problem. If you are comparing affordable Picture Window Installation in Farmington Connecticut, we identify the work that affects the scope before you choose glass, frame material, or finish.
A picture window needs a measured frame, sound flashing, and a sealed perimeter to protect the wall opening.
What it is
A fixed glazed window fitted into an exterior wall opening to provide a broad view and daylight.
When it helps
When glass is cloudy, the frame leaks air, or a room needs more daylight without another opening sash.
What happens
We measure, remove the old unit, prepare the opening, set the frame, seal the perimeter, and finish the trim.
What to Expect During Installation
Picture window installation in Farmington follows a measured sequence, from checking the wall assembly to testing the finished perimeter. We protect flooring and furnishings, explain what we find, and keep the work area organized. A straightforward replacement often fits into one workday; concealed damage changes the repair steps and schedule.
Inspect and measure
We look at the interior trim, exterior cladding, sill, and visible frame before taking measurements at several points. A tape measure and level help us record width, height, and whether the opening is square; we also note access and the size of the glass unit. You see the conditions we find, including signs of rot or prior water entry, before the order is finalized.
Inspect
Measure
Discuss
Protect the room
On installation day, we cover the floor and nearby furnishings, then remove interior trim carefully to expose the frame. A window pry bar and utility knife help separate old caulk and fasteners without tearing up more finish than necessary. We keep the opening covered if work pauses, and we tell you where tools and removed materials will be staged.
Cover
Protect
Prepare
Remove and prepare
We take out the old unit and inspect the rough opening for damaged wood, wet insulation, or failed flashing. Any sound framing is cleaned and made ready for the new window; repairs are addressed before the replacement is set. If exterior siding must be loosened to reach the water-control layers, we work carefully around the cladding and explain the affected area.
Remove
Check
Repair
Set and seal
We center the new unit, check it for level and square, and fasten it according to the window manufacturer's requirements. Insulation fills the perimeter without bowing the frame, while flashing and exterior sealant protect the wall joint. We use a caulking gun for controlled application and check that drainage paths remain open rather than sealing over them.
Set
Seal
Align
Finish and test
We reinstall or replace trim, clean the glass, and inspect the frame from indoors and outside. You can review the sightline, perimeter seal, and finished trim with us before we clear the work area. We also explain basic care, including how to spot window fogging between panes or a new seal failure before it damages surrounding finishes.
Finish
Review
Clean
Tools and Installation Methods
Move across a circle, or focus it and press Enter, for an illustrative thermal view of the photograph.
Tape measure and level
We use these to record the opening at several points and confirm the new frame is level, plumb, and square before fastening.
Window pry bar
This helps remove old trim and fasteners with controlled force, reducing avoidable damage to the surrounding wall and finish.
Caulking gun
We apply compatible sealant in a controlled bead at the specified exterior joint, keeping drainage paths and weep openings clear.
Utility knife
We score old paint and caulk lines before separating trim, which helps produce cleaner edges and limits damage to adjacent finishes.
Scaffolding
Where upper-story access requires it, stable scaffolding provides a work platform for handling the unit and completing exterior flashing and trim.
Thermal views are illustrative, generated from the photographs.
Methods
Measure, then order
We measure width and height in more than one place, check the opening for square, and record the frame depth and exterior conditions. A replacement is selected to suit those measurements, not guessed from the old sash. This reduces fitting problems and helps us plan trim, flashing, and insulation before the old unit is removed.
Continuous water management
We inspect the sill and flashing sequence, then tie the replacement into the wall so water sheds outward. The exterior sealant is one part of the assembly, not the whole water barrier. We avoid blocking drainage routes and check the siding and trim transitions around the frame.
Supported, square setting
We support the frame, verify level and square, and fasten it as directed for the selected window. Insulation is fitted around the perimeter without compressing the frame out of shape. Before trim goes back, we inspect the frame alignment and the visible seal.
Finish protection and cleanup
We cover the work area before removal, gather debris as the job progresses, and protect the glass and finished surfaces from tools. At completion, we inspect the interior and exterior edges with you and explain what to watch for during routine cleaning.
When to Choose a Picture Window
Clearer living room
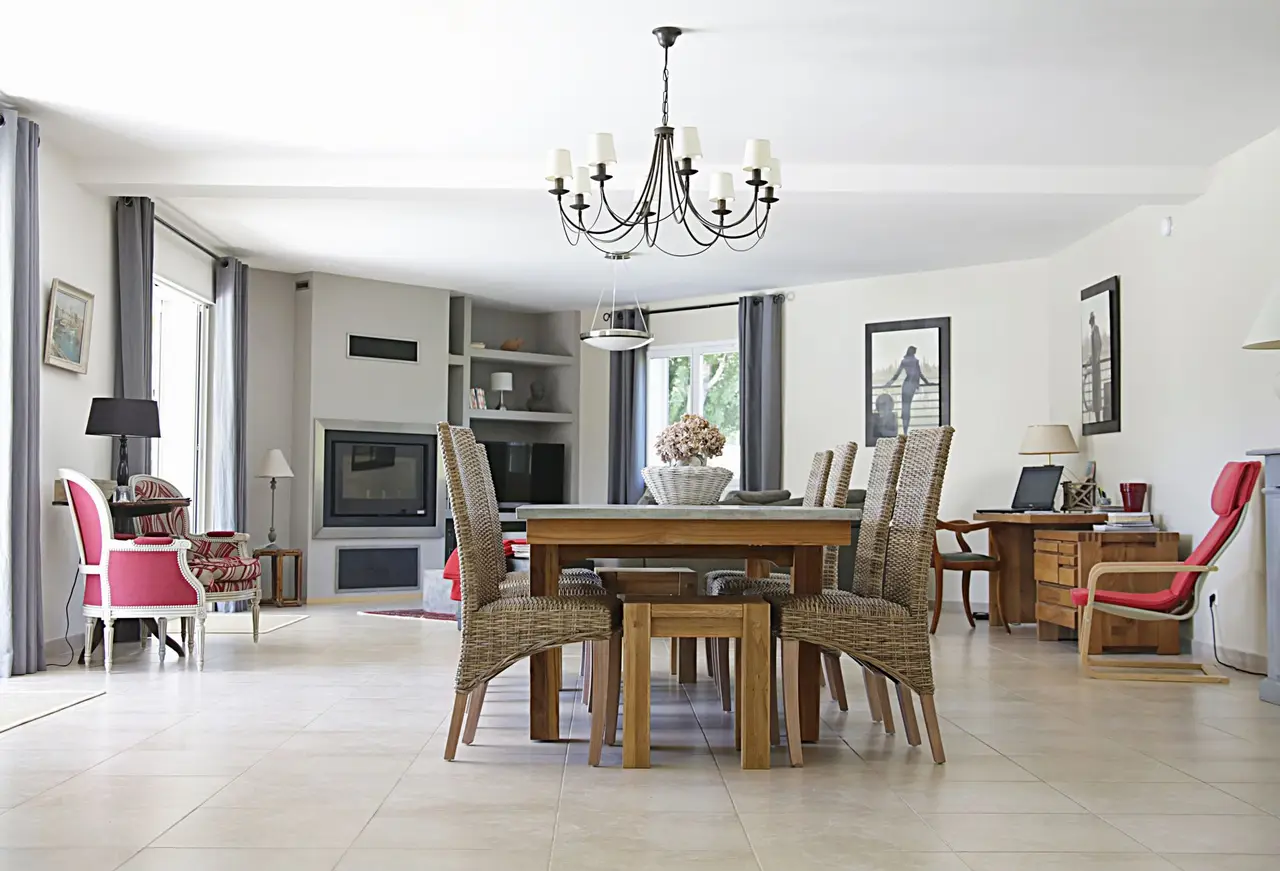
A Farmington living room faces a wooded yard, but a cloudy, drafty unit blocks the view.
We inspect the existing frame and sill, measure the opening, and identify whether the unit can be replaced without changing the wall dimensions. We select a fixed window and glass package suited to the room, then seal and flash the frame carefully.
Outcome: You regain a clear view and reduce the air paths around the old frame, while the surrounding trim is left neat and protected.
Brighter stairwell
A stairwell in an older Farmington home needs daylight without sacrificing wall space to an opening sash.
We assess the exterior access and interior landing, then measure the opening and check the surrounding framing. A fixed unit can bring in daylight without a sash projecting into the stair area, and we coordinate the trim with existing details.
Outcome: The stairwell receives more natural light, with a fixed frame that keeps the interior circulation area clear.
View and ventilation
A renovation in Farmington Meadows calls for one broad view and ventilation from nearby windows.
We plan the picture window alongside operable units so the room has both a wide sightline and a way to ventilate. We align the visible frame heights and coordinate the exterior trim, then install each unit with appropriate perimeter insulation.
Outcome: The finished wall balances a larger fixed view with usable airflow from adjacent windows, instead of asking one window type to do both jobs.
Historic trim
A Farmington Historic District facade needs a replacement window that respects existing trim proportions.
We document the opening dimensions and inspect the trim, siding, and sill before selecting a replacement. Our team discusses frame depth and exterior finishing so the new unit sits appropriately within the existing facade and does not conceal damaged materials.
Outcome: The replacement brings back clear glass while keeping the opening's proportions and surrounding exterior details consistent with the home.
Farmington's cold winters, spring rain, and freeze-thaw cycles put extra demands on the joints around a large fixed window. We check the sill, flashing, sealant, and adjacent cladding rather than treating the frame as an isolated part.
Older properties, including homes near the Farmington Historic District, may have uneven openings or layered trim; newer houses can have vinyl siding details that need room for movement. Our picture window fitting Farmington Connecticut service adapts to those wall conditions, with access and weather exposure considered before the old unit comes out.
If you are searching for same-day picture window installation Farmington, the work still begins with a safe inspection and accurate measurements; a custom-sized unit must be selected for the actual opening. We also consider how winter drafts, summer sun, and nearby operable windows affect comfort in the room. The goal is a clear view with a properly connected, weather-conscious opening.
Farmington Historic District: Older trim profiles and irregular openings call for careful measurement before ordering. We check the surrounding wood and preserve the facade details where the existing materials remain sound.
West Farmington: Large living-room windows often meet broad siding fields. We plan trim width and flashing so the new frame transitions cleanly into the exterior cladding.
Farmington Meadows: Where a renovation pairs fixed glass with operable windows, we coordinate frame lines and ventilation needs before installation.
Farmington Village: Changing site access and varied home layouts affect how we stage a large glass unit and protect interior floors during removal.
Freeze-thaw movement stresses exterior sealant and trim joints: Temperature swings can expose weak joints around the window, especially where old caulk has separated or wood trim has softened. We inspect the edges and flashing before sealing the replacement so a surface bead does not hide a deeper water path.
Wind-driven rain tests the head and sill details: Rain can enter at a poorly integrated upper edge or collect at a blocked sill. We check that flashing and trim direct water away from the frame and keep the intended drainage route open.
We walk through the room and inspect the frame, sill, trim, and exterior access.
We cover nearby flooring and furnishings before staging tools and removing the old unit.
We review the finished frame, seal, trim, and care points with you.
From problem to finished result.
IllustrativeThe thermal view is generated from the photograph. It is not a measurement. Drag the handle, or use the arrow keys once it is focused.
Living room view restored
Before: A Farmington homeowner had a large fixed window with cloudy glass and a cold perimeter. The interior trim looked intact, but the glass blurred the yard and the seating area felt uncomfortable in winter. The old frame had not been checked since the house was purchased, so the condition of the sill and flashing was unknown.
After: We removed the unit, inspected the sill, and fitted a replacement to the measured opening. The clear glass restored the view, and perimeter insulation and flashing addressed the air and water paths. The room's main sightline now spans the yard without the old fogged panes or uneven trim.
Clean the glass with a non-abrasive cloth and inspect the exterior sealant each spring and fall. Keep the sill clear of debris, and report new moisture marks or fogging before they affect nearby finishes.
Drafty frame corrected
Before: A fixed window in West Farmington admitted cold air around one lower corner. The homeowner had added temporary weatherstripping indoors, but the frame-to-wall gap remained. The exterior trim also showed a small separation, leaving the source of the draft and the condition of the flashing uncertain.
After: We removed the old unit and found gaps at the perimeter rather than a problem with the surrounding siding. After preparing the opening, we set the replacement level, insulated the frame gap, and sealed the exterior joint. The temporary interior strip was no longer needed, and the trim finished with a consistent reveal.
Check the lower corners after heavy rain and look for lifted sealant or fresh staining. Avoid attaching adhesive strips to the glass or frame without checking whether they could obstruct drainage or damage the finish.
Historic trim preserved
Before: A homeowner near the Farmington Historic District wanted clearer glass but did not want a replacement that changed the facade's proportions. The old picture window had a worn frame and faded trim, and the opening showed slight variation from side to side.
After: We measured the opening at multiple points and selected a frame that fit the existing proportions. The replacement restored a clear view, while the retained sound trim and carefully matched finish kept the exterior lines consistent. We also addressed the exposed perimeter so the new frame was integrated with the wall.
Use gentle cleaning on the glass and inspect painted trim for cracks or peeling each spring. Keep shrubs from rubbing against the exterior frame, and have any recurring moisture marks checked promptly.
Problems Picture Window Installation Can Solve
A failed picture window affects comfort, visibility, and the wall around it. We look for the cause before replacing the glass or frame, because a damaged sill or failed flashing can keep causing trouble after a new unit is installed. Correctly fitted components address the opening as a whole.
Perimeter draftsCold air moving around an aging, poorly sealed fixed frameDrafts make nearby seating uncomfortable and can leave interior trim cold or damp during winter. The air leak may come from the perimeter, not the glass itself. We inspect the frame-to-wall gap and the surrounding trim, then remove the unit if replacement is needed. During the new installation, we insulate the perimeter without distorting the frame and seal the exterior joint. We also check the flashing and sill so air control does not come at the cost of trapped water.
Fogged glassFog trapped between panes after the window seal failsWindow fogging between panes obscures the view and signals that the insulated glass unit has lost its seal. Surface cleaning will not clear moisture sealed inside the glass. We examine the unit to determine whether the glass assembly or the full frame needs replacement. If the frame and opening remain sound, we explain the available replacement approach; if the frame has deteriorated, we plan a full unit installation and inspect the surrounding wall for moisture marks.
Water marksWater marks or soft wood beneath a large windowMoisture can damage the sill, interior finish, and framing, and the visible stain may be smaller than the affected area behind the trim. We trace visible water signs to the sill, flashing, and exterior joints before setting a replacement. Damaged material is addressed rather than covered. We then integrate the new frame with the wall's drainage details, which helps direct rain away from the opening.
Dim roomA dated small window that leaves a main room dimLimited glass area can make a living room or stair landing feel darker and interrupt an otherwise open view across the yard. We measure the wall and discuss the desired sightline, then check whether the framing can support a wider fixed unit. If the opening needs alteration, we identify the structural and exterior finishing work involved before proceeding. The replacement is set to suit the room while keeping the exterior joint protected.
What a Properly Fitted Window Delivers
A correctly fitted fixed window brings in daylight while protecting the surrounding wall.
More usable daylight
A picture window has no operating sash or meeting rails, so more of the opening can be glass. In a dim living room or stair landing, the added daylight can reduce the need for lamps during daytime hours. We verify the sightline and surrounding wall before ordering, so your new unit fits the intended view instead of simply filling a hole.
Fewer draft paths
A fixed window has no sash tracks or movable seals, which removes several common paths for air leakage. We still insulate the frame perimeter and seal the exterior joint; glass alone does not stop drafts if the rough opening is poorly sealed. During picture window fitting Farmington homes receive, we inspect the frame and wall connection instead of relying on caulk as a cure-all.
A clearer exterior detail
A square frame, even reveal, and properly integrated trim make a large window look intentional from inside and out. We match the opening to nearby siding and preserve drainage at the head and sill. If loose siding panels or faded siding border the window, we flag the connection so the finished installation does not leave mismatched or vulnerable edges.
Less upkeep at the opening
Because a fixed unit has no operating hardware, there are no sash balances, hinges, or locks to adjust. Periodic glass cleaning and seal inspection remain important, especially after severe weather. With a suitable window glass package and sound perimeter detailing, you get a broad view without adding moving parts that need routine adjustment.
What a written scope covers.
What a written scope covers and what shapes it. Prices are set by the business after the first look.
Larger custom units or concealed rot can raise the total. We check the existing frame and exterior details before explaining your options, because an opening with sound framing needs less preparation than one with damaged sill wood or failed flashing. The final price reflects the actual window and work required.
Farmington Siding and Windows Pro installs fixed picture windows and handles the surrounding siding and trim details. We measure the opening, inspect visible framing, and check how the window ties into flashing and exterior cladding. If you are looking for picture window fitting near me Farmington, call (860) 744-9803 to discuss the opening, its condition, and the view or room you want to improve.
A standard replacement usually takes four to eight hours, while a larger unit or framing repair can extend the job into a second day. We protect the room, remove the old unit, prepare the opening, set and seal the new frame, then finish the trim. Weather exposure, access, and concealed water damage affect the work sequence. We explain any change once the opening is visible.
Yes, a picture window can work well where you want a broad view and daylight but do not need ventilation at that opening. Fixed glass has fewer moving seals than an operable sash, though good flashing and insulated frame installation remain essential in Connecticut's cold winters and wet seasons. We check room ventilation needs, sun exposure, the wall condition, and whether a nearby operable window should provide airflow.
Tell us what you want to change: a drafty frame, a cloudy view, or more daylight in a room. Our team will discuss the opening, inspect the surrounding wall, and explain the next step. Call Farmington Siding and Windows Pro at (860) 744-9803.
Call (860) 744-9803 or email [email protected] to describe the siding or window issue at your Farmington home. Our listed office hours are Monday through Friday, 8:00 a.m. to 6:00 p.m.; calls are routed to independent companies. Share the affected area, any visible damage, and whether water is entering so the conversation starts with useful details.