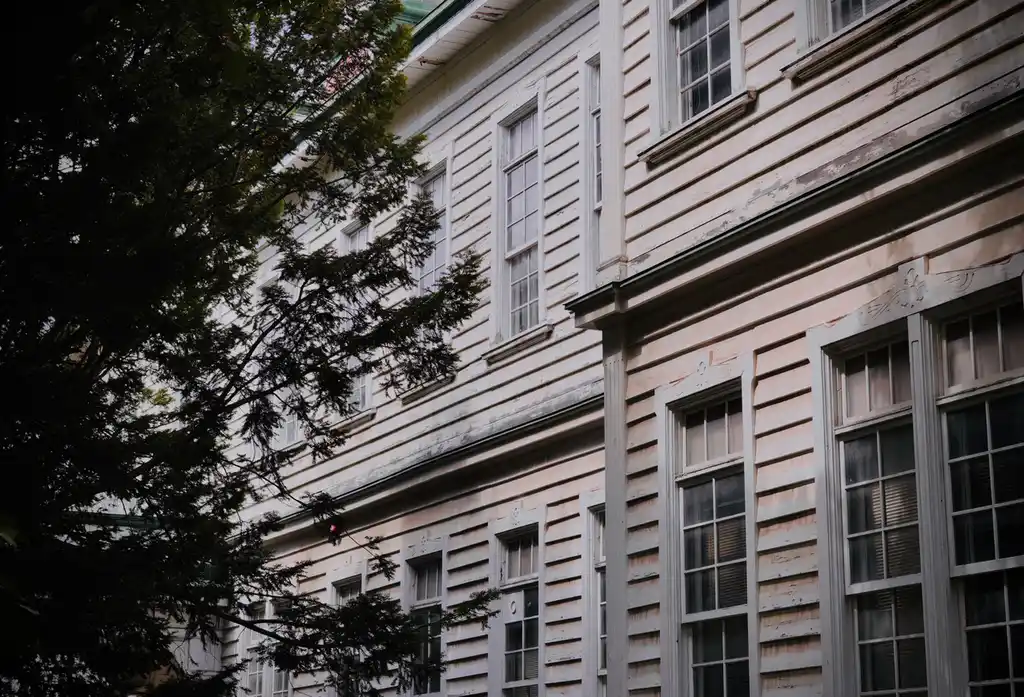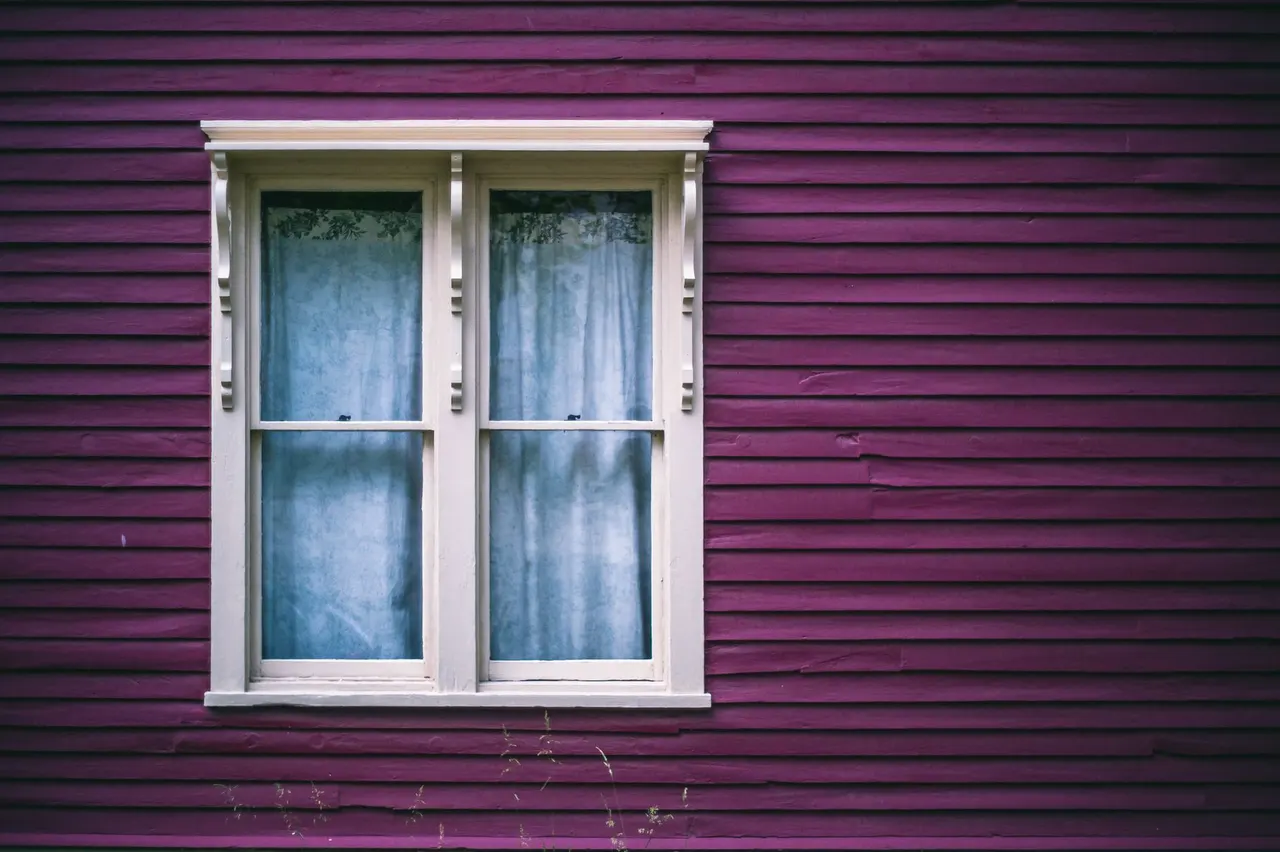
At Home
We protect floors and nearby furnishings while replacing a window in an occupied home. You can review the opening, operation, and finished seal with us before cleanup.
- Drafty bedroom windows
- Fogged living room glass
- Sticking kitchen sash
Aluminum Window Installation in Farmington, Connecticut helps homeowners replace drafty, damaged, or outdated units with properly measured, weather-sealed windows. We install aluminum window systems for houses, rentals, and small commercial properties, coordinating the frame, flashing, insulation, and surrounding trim. If you are comparing aluminum window fitting Farmington options, we explain the work, protect the opening, and test each sash and lock before we leave.
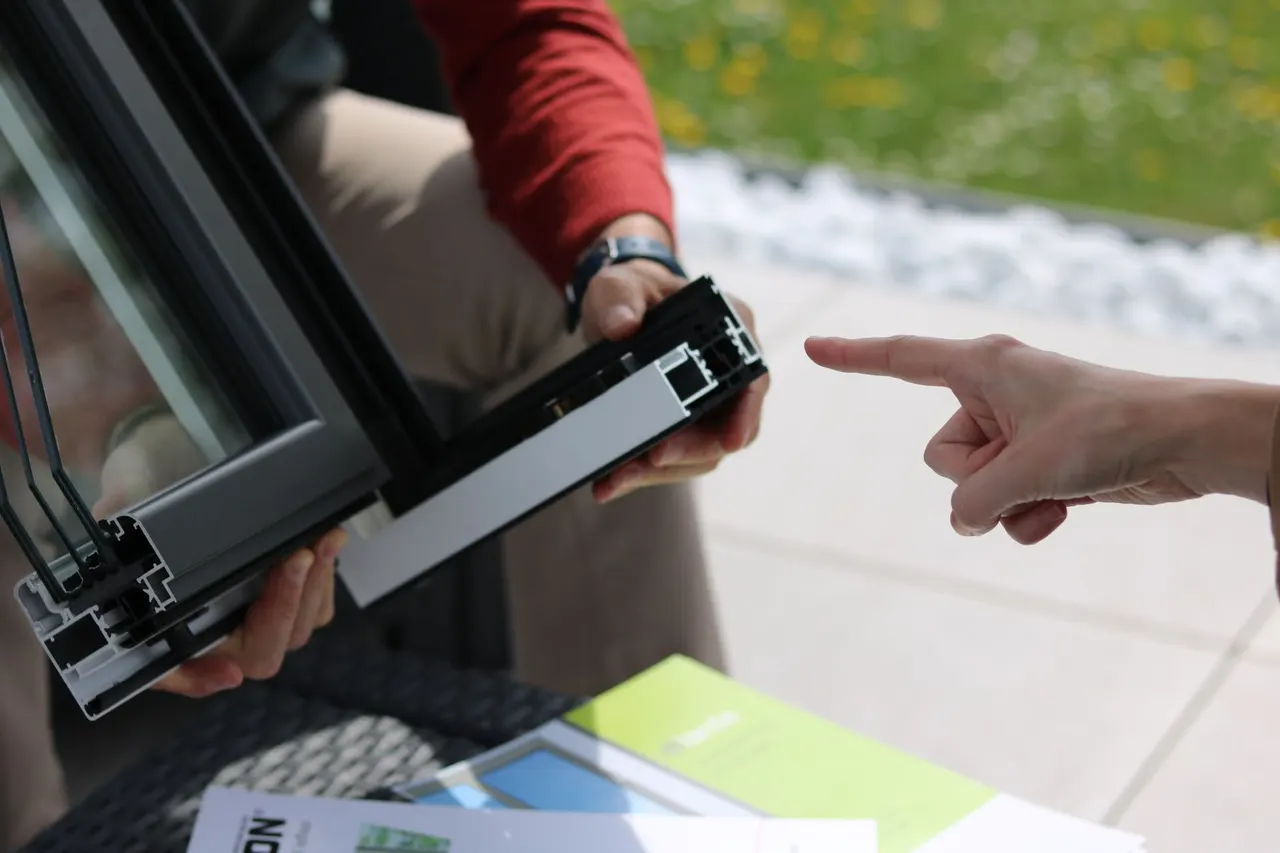 Frame measurementsFlashing checkSash operation
A standard installation covers measuring and preparing the opening, removing the existing unit where required, setting the new aluminum frame, and sealing the frame-to-wall connection. We test operation and clear the immediate work area. Sill reconstruction, substantial rot repair, custom trim fabrication, or changes to the opening are additional work when conditions require them; we explain those needs before proceeding.
We record the opening at multiple points and check for out-of-square conditions. These measurements guide the unit fit and help identify whether the existing frame or trim needs adjustment before installation.
We remove the old window and accessible fasteners while protecting nearby flooring and finishes. The removal method suits the existing construction and aims to preserve sound trim and siding where they remain in use.
We position the aluminum frame, add support shims, and verify level and square before securing it. Correct alignment supports smooth sash movement and even contact at the weather seals.
We integrate flashing, insulation, and exterior caulk at the frame-to-opening joint as appropriate to the wall assembly. This detail manages air and water movement around the new unit.
We test each operable sash and lock, inspect visible seal lines, and remove installation debris from the work area. We also show you how the new window operates and what to observe.
The approach is the same for a home and a business. What changes is the access, the schedule and who needs the paperwork.
We protect floors and nearby furnishings while replacing a window in an occupied home. You can review the opening, operation, and finished seal with us before cleanup.
We coordinate access with owners and property managers so window work fits the building schedule. We check each opening and test operation before the space returns to normal use.
A plain-language look at what Aluminum Window Installation involves and when it is needed.
See how it worksAluminum Window Installation in Farmington, Connecticut is a window replacement service that fits a new aluminum-framed unit into a prepared opening to improve operation, weather resistance, and the finished appearance. We measure width, height, and depth at multiple points, check the sill and framing, then set the frame level and square. Proper shimming prevents binding; compatible flashing, insulation, and exterior caulk help manage water and air movement. The exact installation method depends on whether the existing frame stays in place or the opening is rebuilt.
Farmington homes face freezing winter nights, spring rain, summer humidity, and changing temperatures that expose weak seals and worn trim. Window drafts, window fogging between panes, and window seal failure often show up first around bedrooms, kitchens, and older additions. We inspect the opening and adjacent siding before recommending a replacement, so hidden water infiltration is not covered over. For homeowners searching affordable Aluminum Window Installation in Farmington Connecticut, we explain the factors that affect the work and options for retaining sound trim.
A properly fitted aluminum window depends on a square frame, sound flashing, and a tested perimeter seal.

Aluminum window fitting Farmington projects start with measurements and a review of the existing opening, then move through removal, preparation, setting, and testing. We explain which rooms are affected and what needs to be cleared. A straightforward replacement of one accessible window often takes several hours; opening repairs or multiple units add time.
We examine the existing frame, sill, trim, and nearby siding, then record opening dimensions at the top, middle, and bottom. A tape measure and level help reveal out-of-square conditions before a unit is ordered or fitted. We also ask about sticking sashes, drafts, leaks, and preferred operation so the selected configuration matches how you use the room.
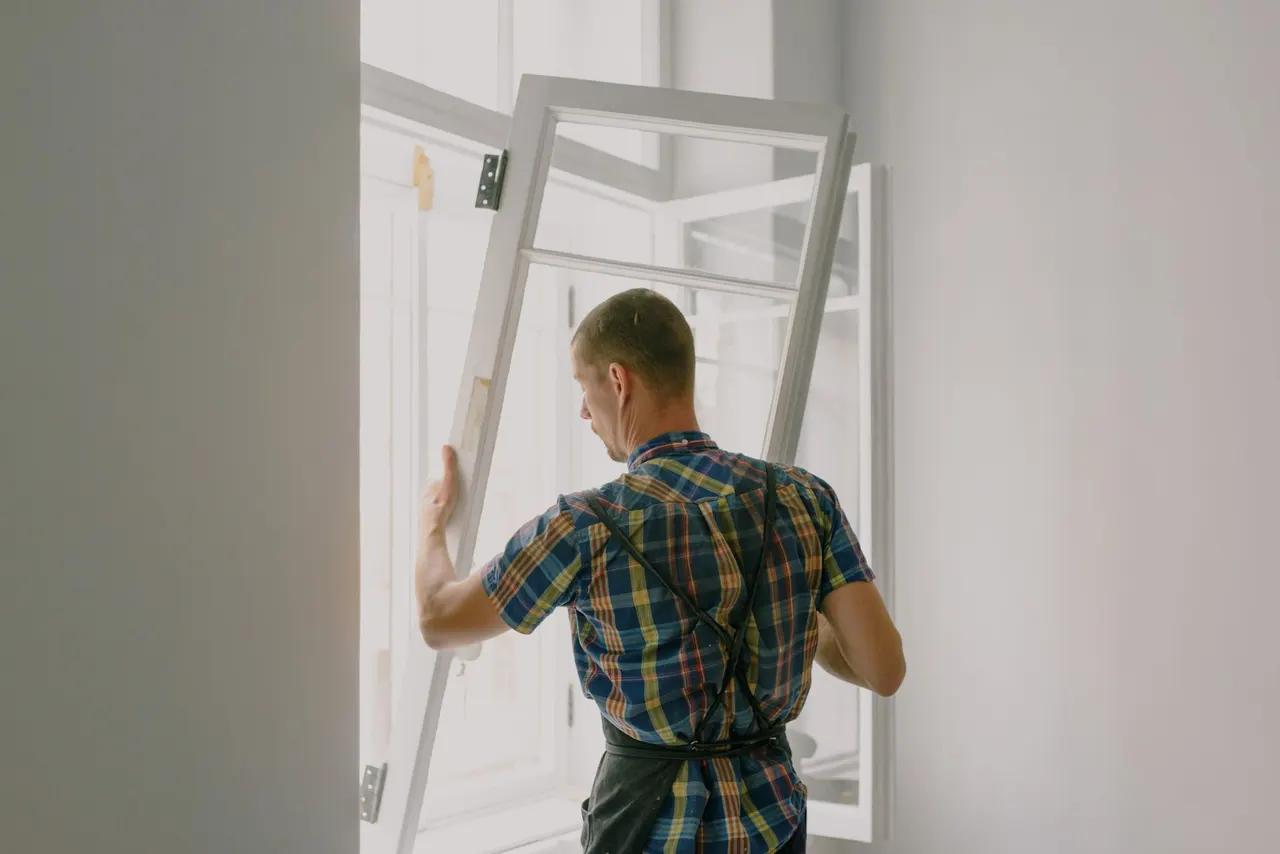
On installation day, we cover nearby flooring and furnishings, establish a clear work area, and confirm access inside and outside. If removal involves older painted surfaces, our work practices account for lead-safe handling requirements where applicable. We use a window pry bar and utility knife carefully to limit damage to retained interior trim and exterior siding.
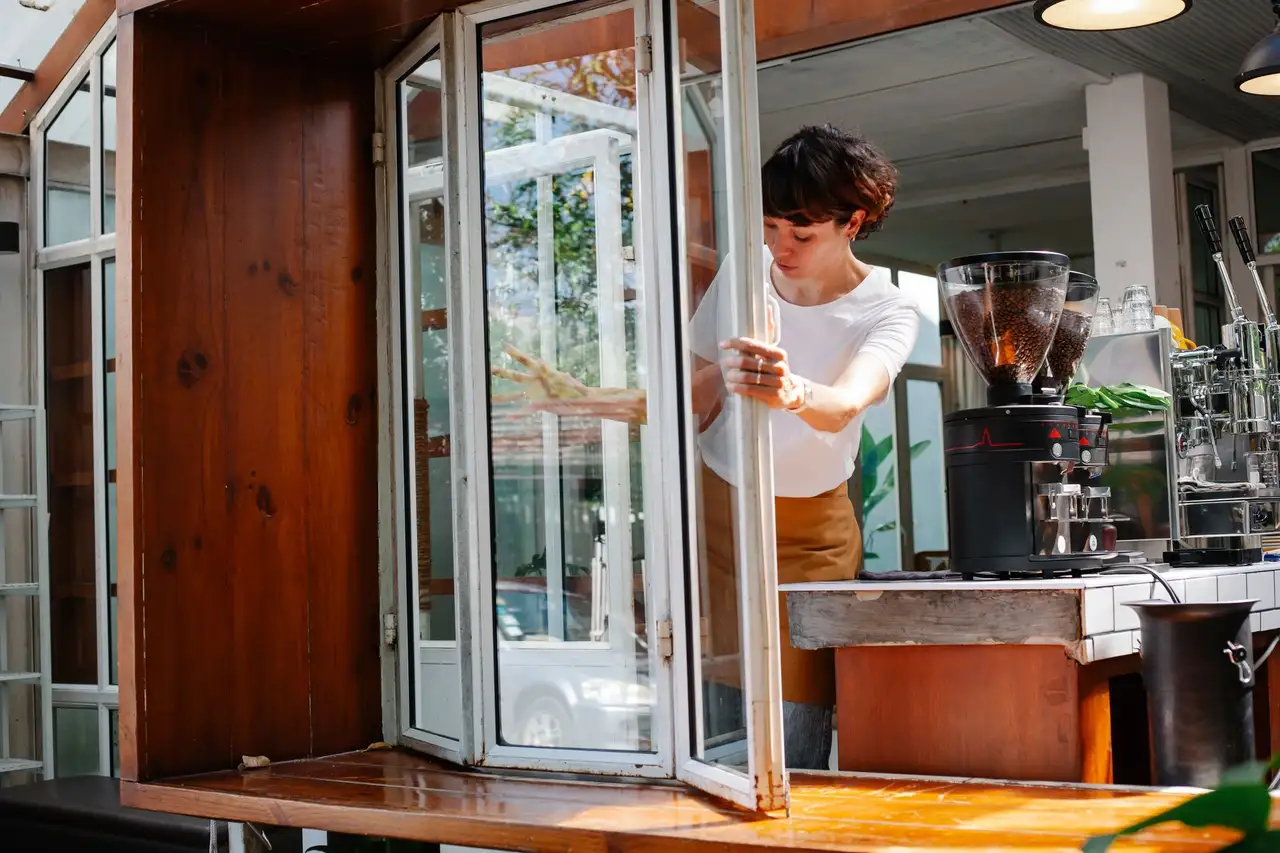
We remove the old unit as needed and inspect exposed framing for softness, moisture staining, or failed fasteners. Loose debris is cleared, and the sill is prepared to support the replacement. If the opening reveals damage beyond the planned installation, we show you the condition and explain the repair needed before setting the new frame.
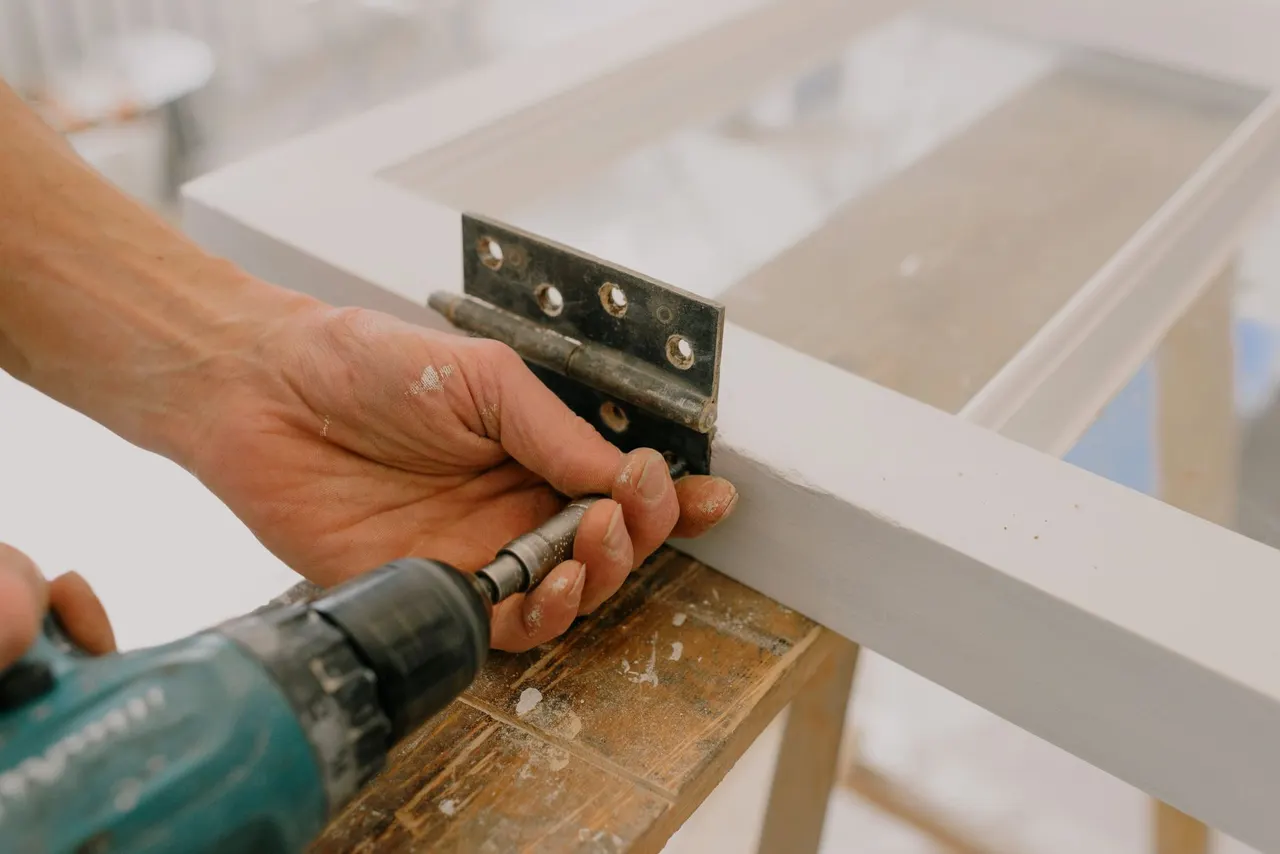
We place the aluminum frame, shim it at support points, and use a level to confirm it remains square while fasteners are installed. Insulation fills the frame-to-opening gap without distorting the jamb. We integrate flashing and apply exterior caulk with a caulking gun, then reconnect trim and siding details around the perimeter.
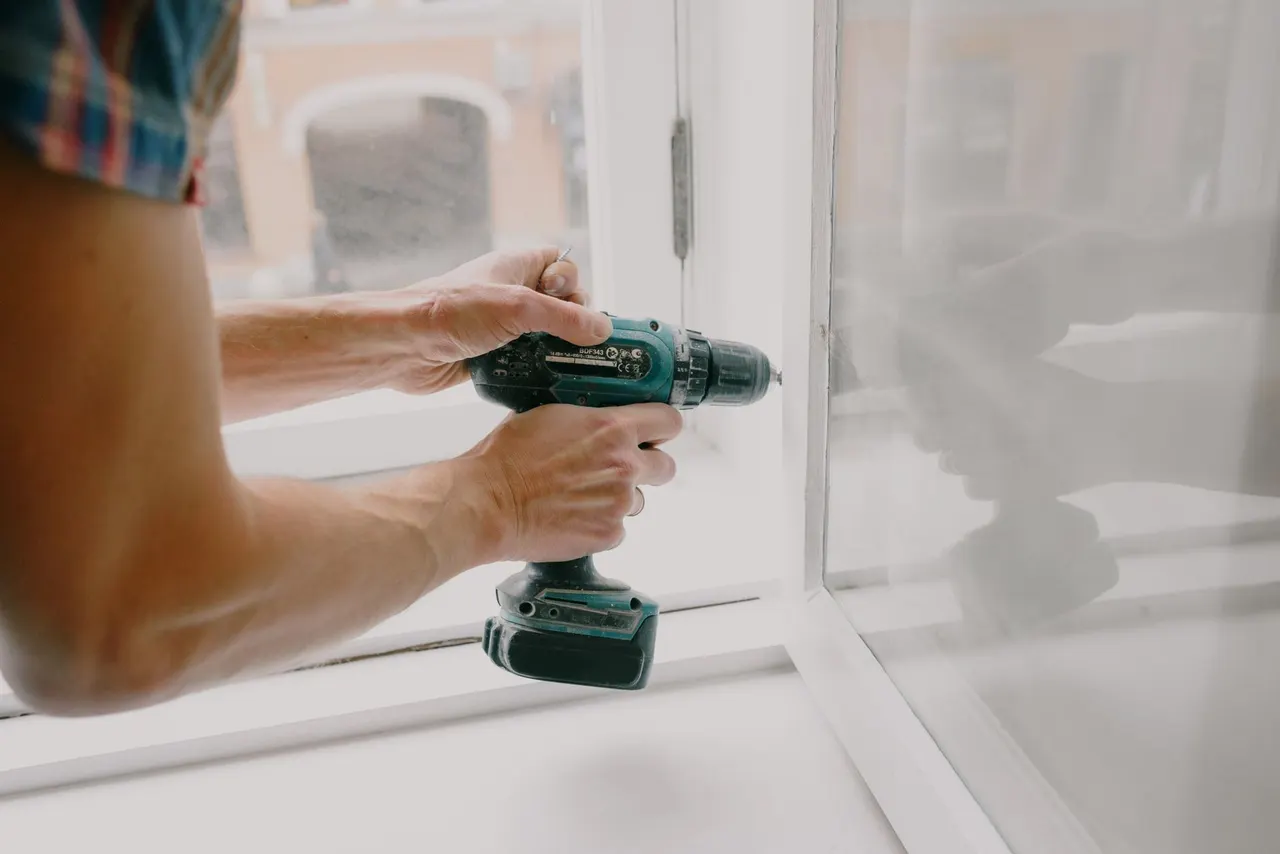
We open and close each moving sash, check the lock, look for even reveals, and inspect the interior and exterior seal lines. Scraps and installation debris are removed from the work area. Before wrapping up, we walk you through operation and basic care, including what to watch for after the first heavy rain.
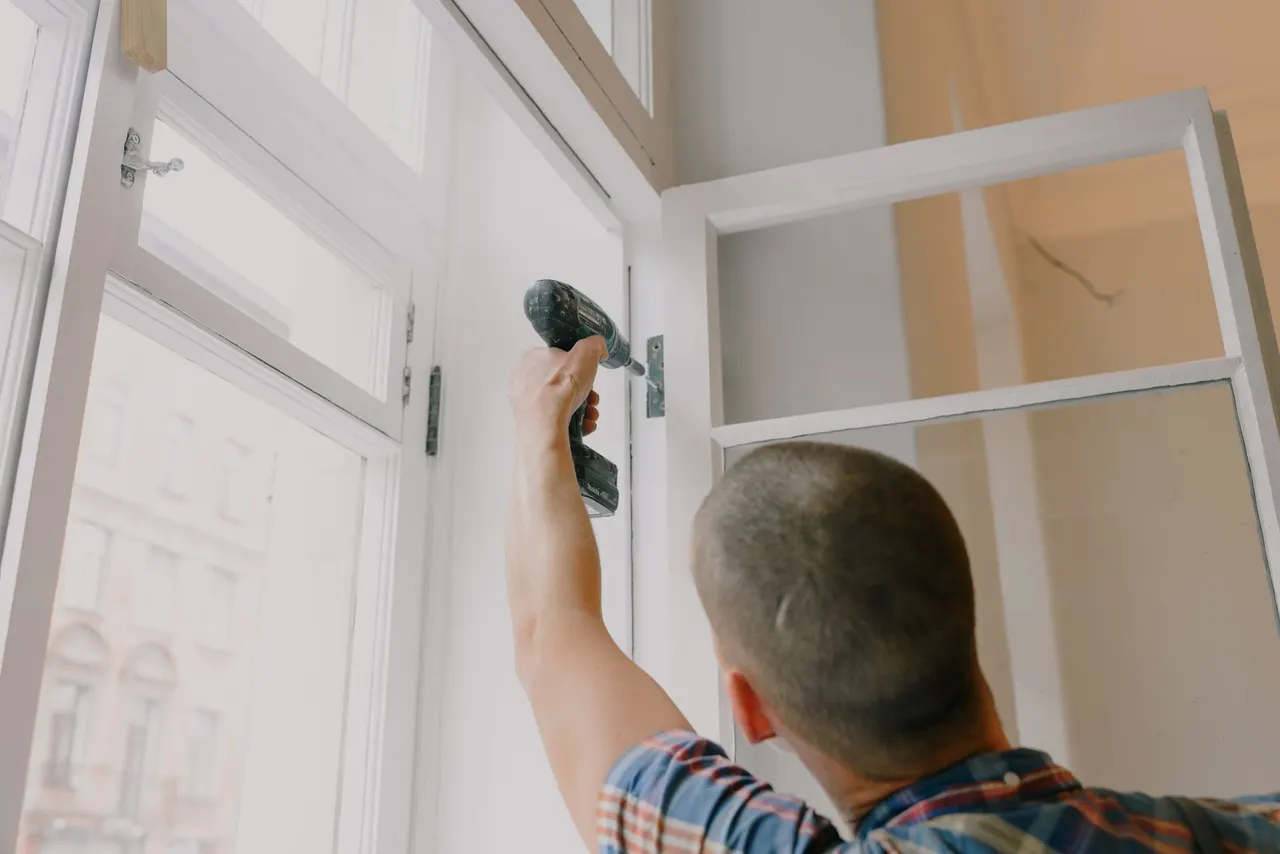
Move across a circle, or focus it and press Enter, for an illustrative thermal view of the photograph.
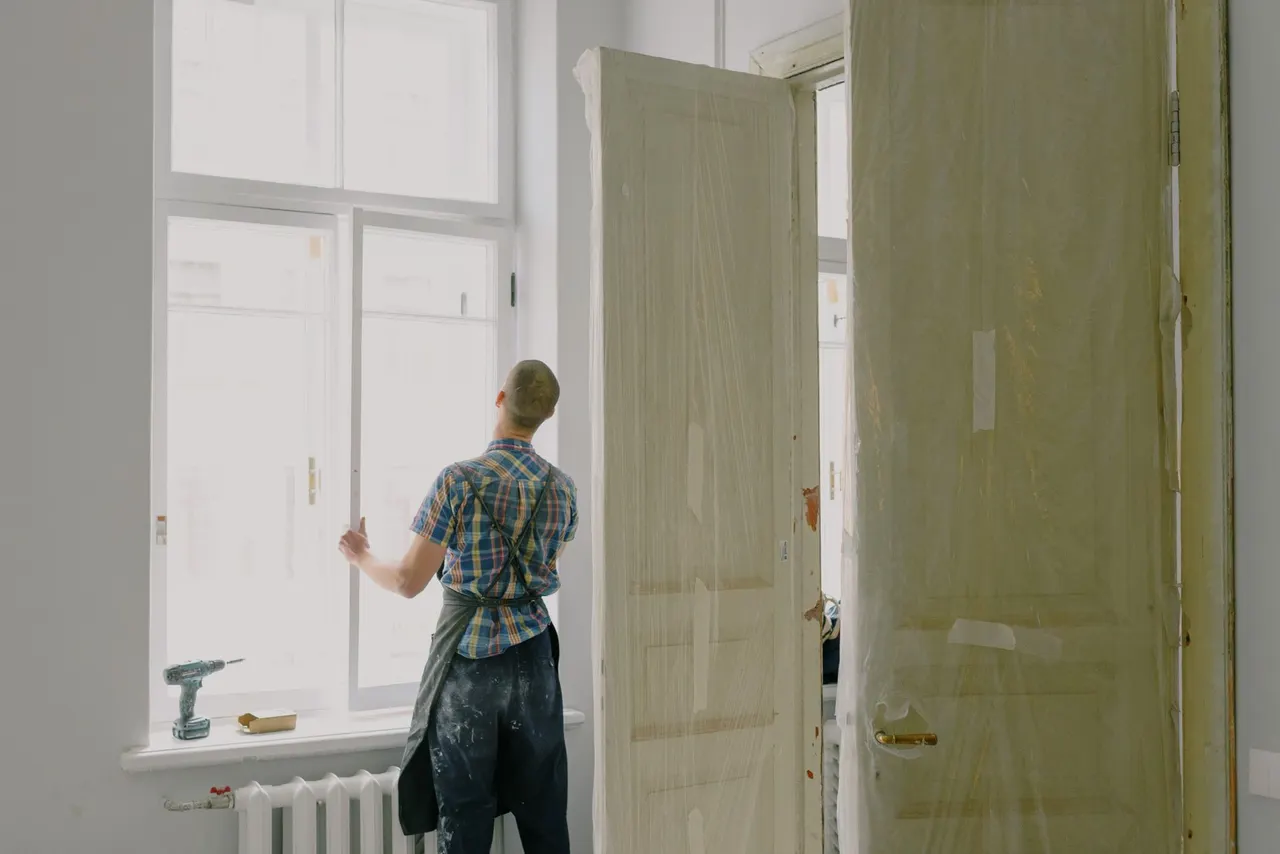
We measure the opening at multiple points and check the frame in both directions. These basic checks reveal an uneven sill or out-of-square jamb before fastening.

We use a window pry bar to release old trim and components in a controlled way, limiting damage to finishes that are intended to remain.
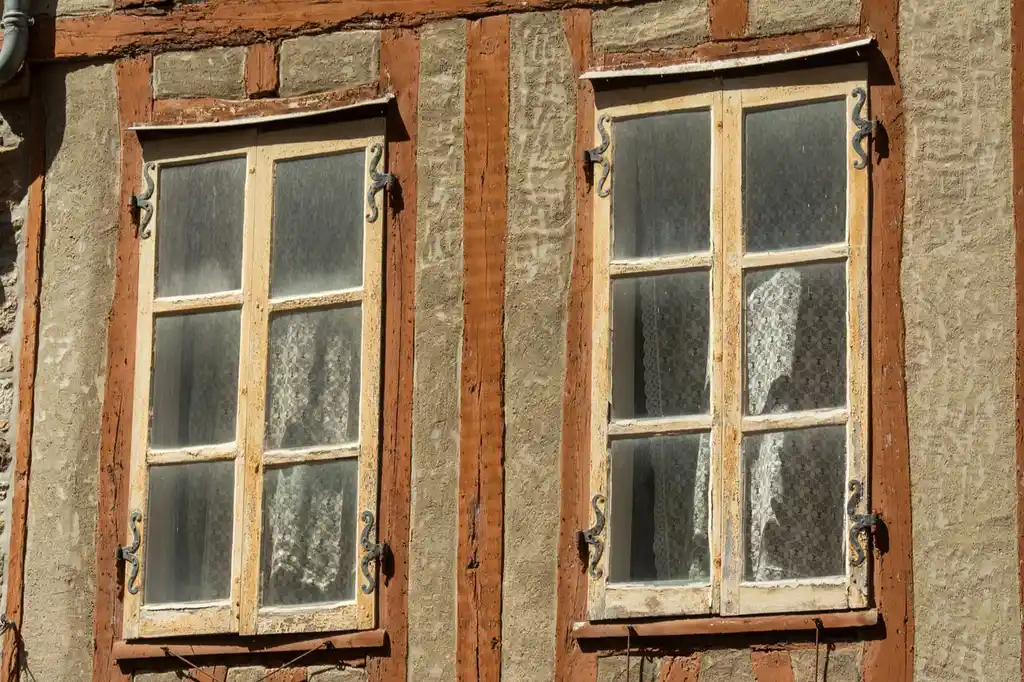
We cut existing sealant and separate painted or caulked joints before removal. Controlled cuts help protect siding, trim, and interior surfaces.
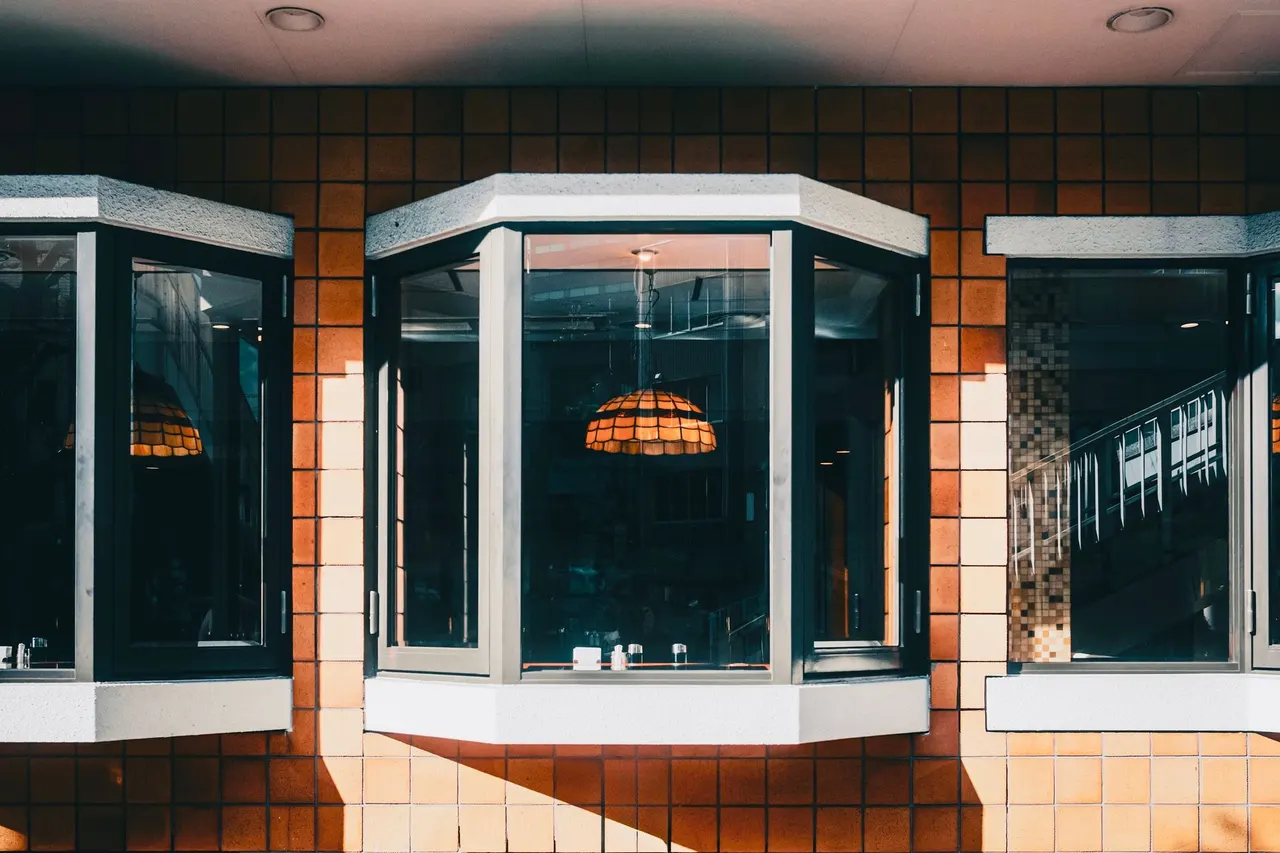
We apply exterior caulk in a steady, continuous bead at appropriate joints. Tooling the bead helps it contact both sides of the seam.

For elevated exterior openings, we select access equipment suited to the work area and use fall protection where required by the task and site conditions.
Thermal views are illustrative, generated from the photographs.
We measure width and height in at least three locations because older openings can taper or bow. The smallest usable dimension informs fit, while diagonal and level checks help reveal whether the frame needs careful shimming. This reduces the chance of forcing a unit into an irregular opening.
We support the frame with shims at appropriate points, check plumb and level, and secure it without pulling the jamb out of alignment. After fastening, we recheck the reveal and operate the sash. The method protects smooth movement and consistent contact at the seals.
We treat flashing, insulation, and exterior sealant as connected parts of the opening rather than substitutes for one another. The details follow the wall assembly and manufacturer instructions, directing water outward while limiting drafts. We inspect the visible junction between frame, trim, and siding before cleanup.
When older painted components are disturbed, we use work practices appropriate to the surface and project conditions. Containment, controlled removal, and careful cleanup help limit dust spread. We discuss the condition of the painted materials and adjust the removal approach before work begins.
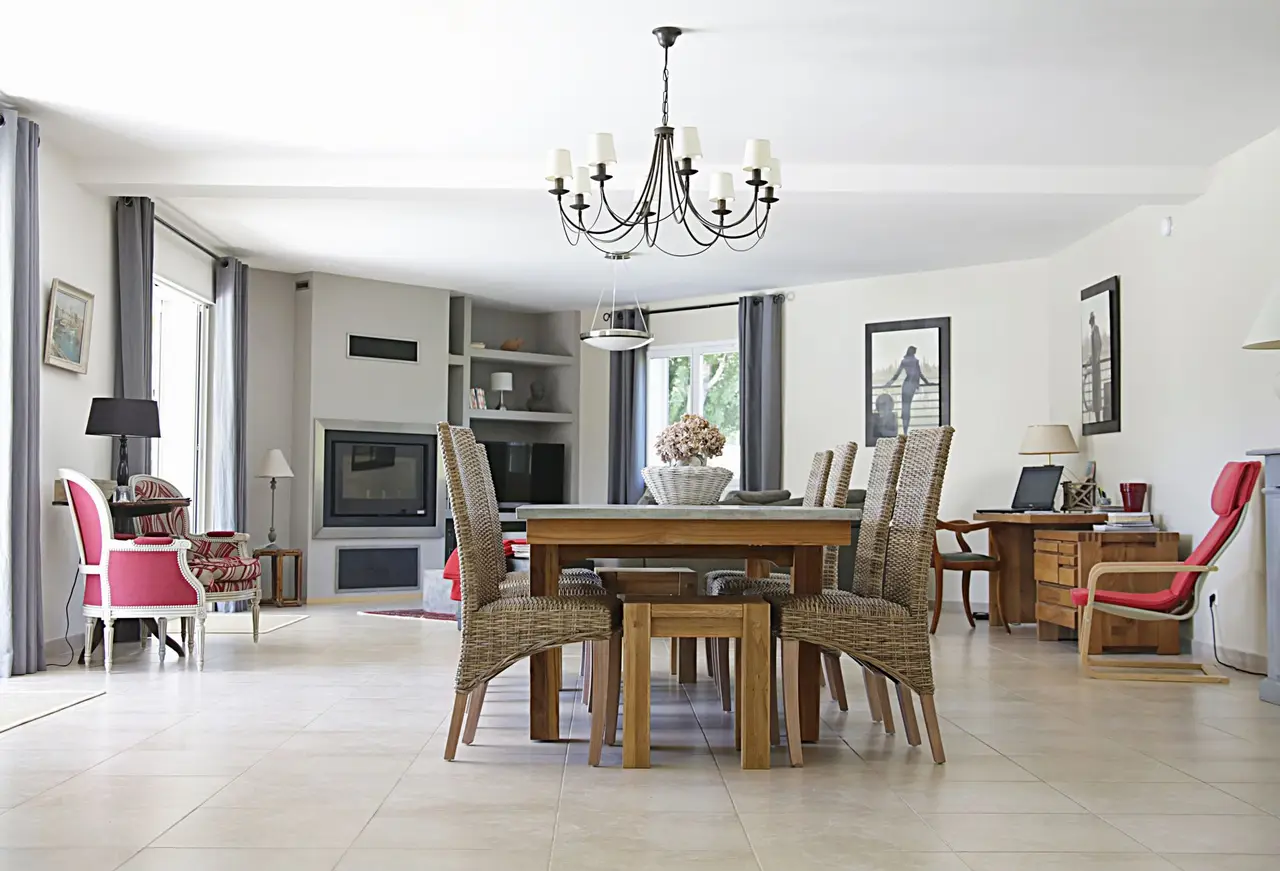
A Farmington bedroom window lets in cold air and its lock no longer pulls the sash tight.
We inspect the sash, frame, latch, and perimeter seal to locate the failure. If replacement is the right repair, we measure the opening, fit the new aluminum unit square, and seal the wall connection. We test the lock and sash movement before restoring the room.
Outcome: You get a window that closes and latches properly, with the perimeter checked for gaps that contribute to drafts.
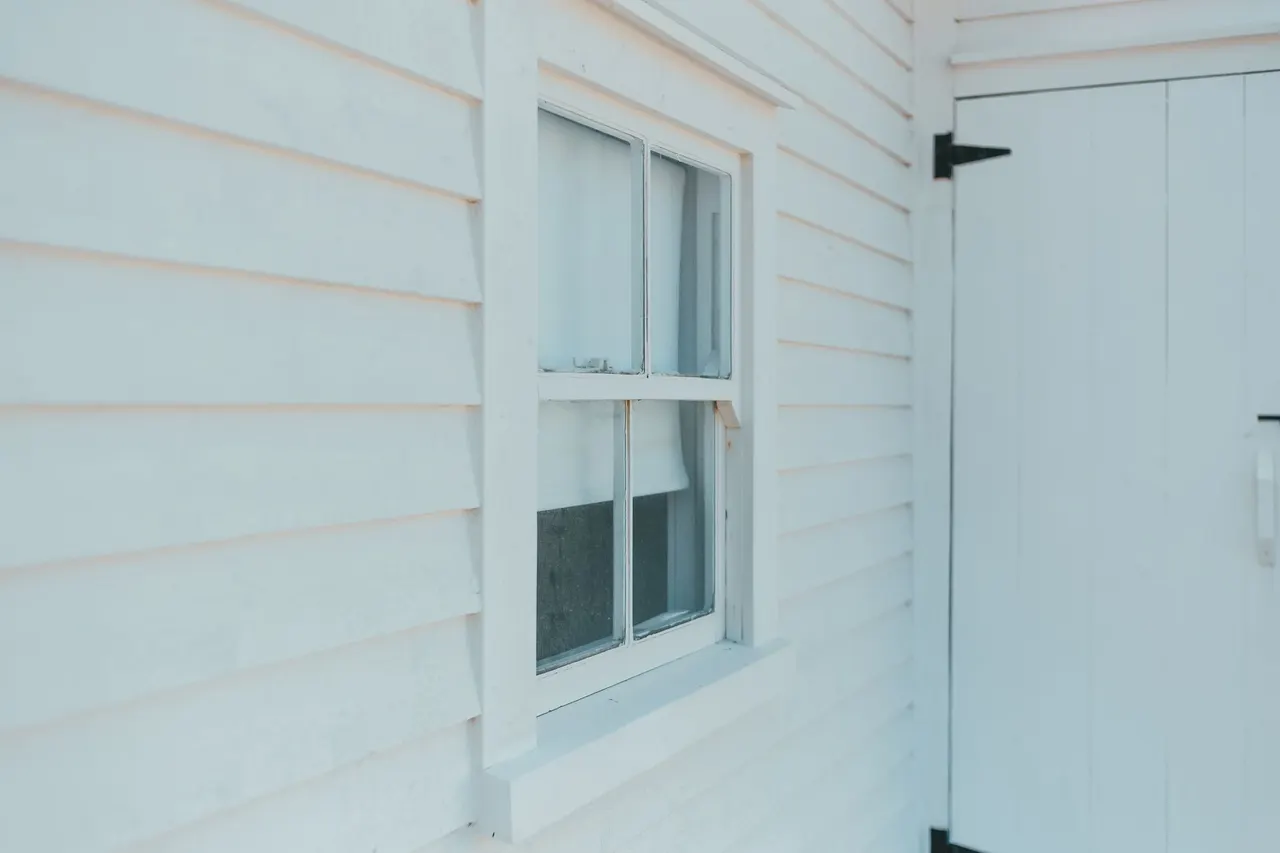
A house in the Farmington Historic District needs a window updated without careless damage to retained trim.
We review the existing opening and identify which trim and exterior details can stay. Removal is controlled, with protection for adjacent finishes. We discuss the frame profile and installation approach before fitting the replacement, then reconnect the perimeter to the existing wall materials.
Outcome: The replacement is integrated with the surrounding finish, and sound trim remains undisturbed where the opening allows.
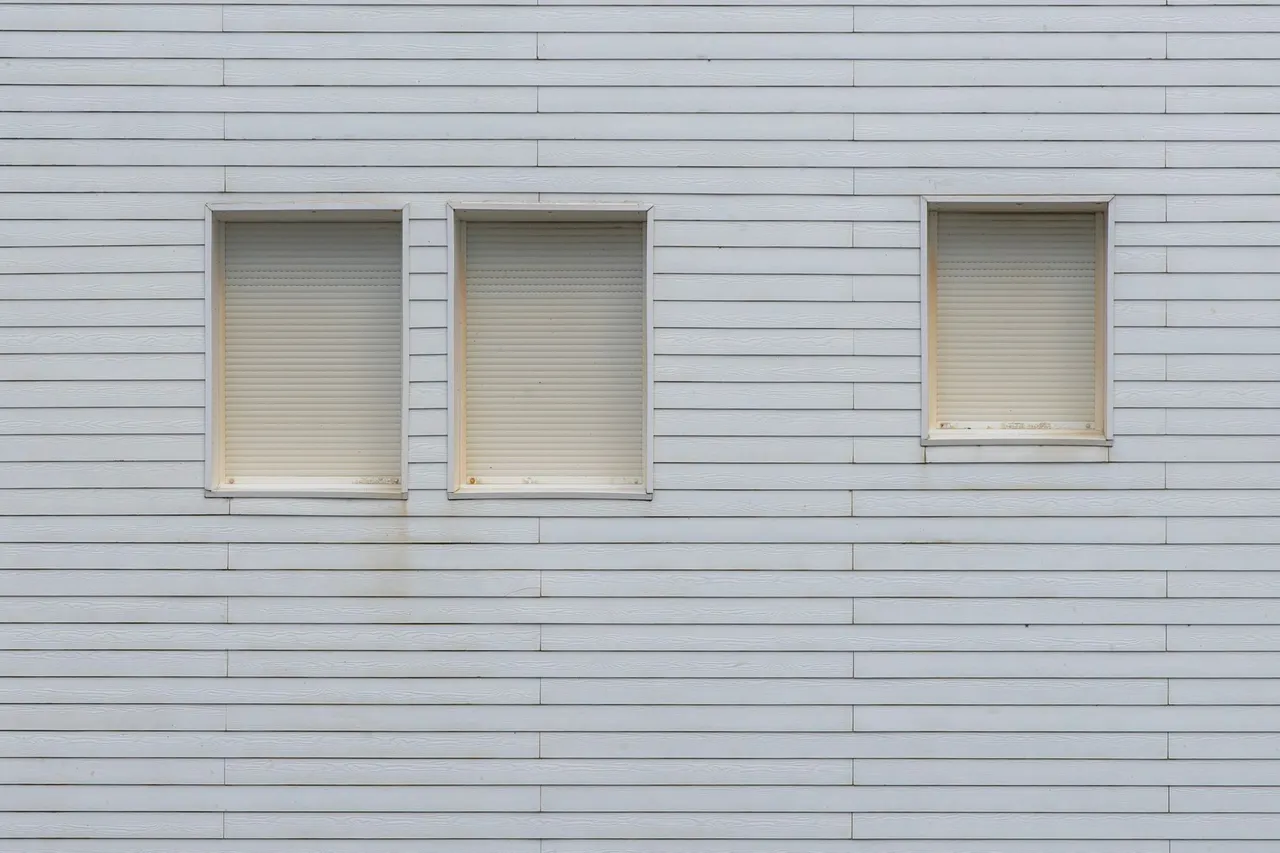
A rental in West Farmington has a fogged pane and a sash tenants struggle to operate.
We check whether the problem is limited to glazing or involves the frame and hardware. When a new unit is needed, we coordinate access, remove the failed window, and install a replacement with tested operation. We keep the work area contained and explain the basic operating steps for occupants.
Outcome: The owner receives a functioning window and a clear account of the work, while tenants can operate the sash normally.
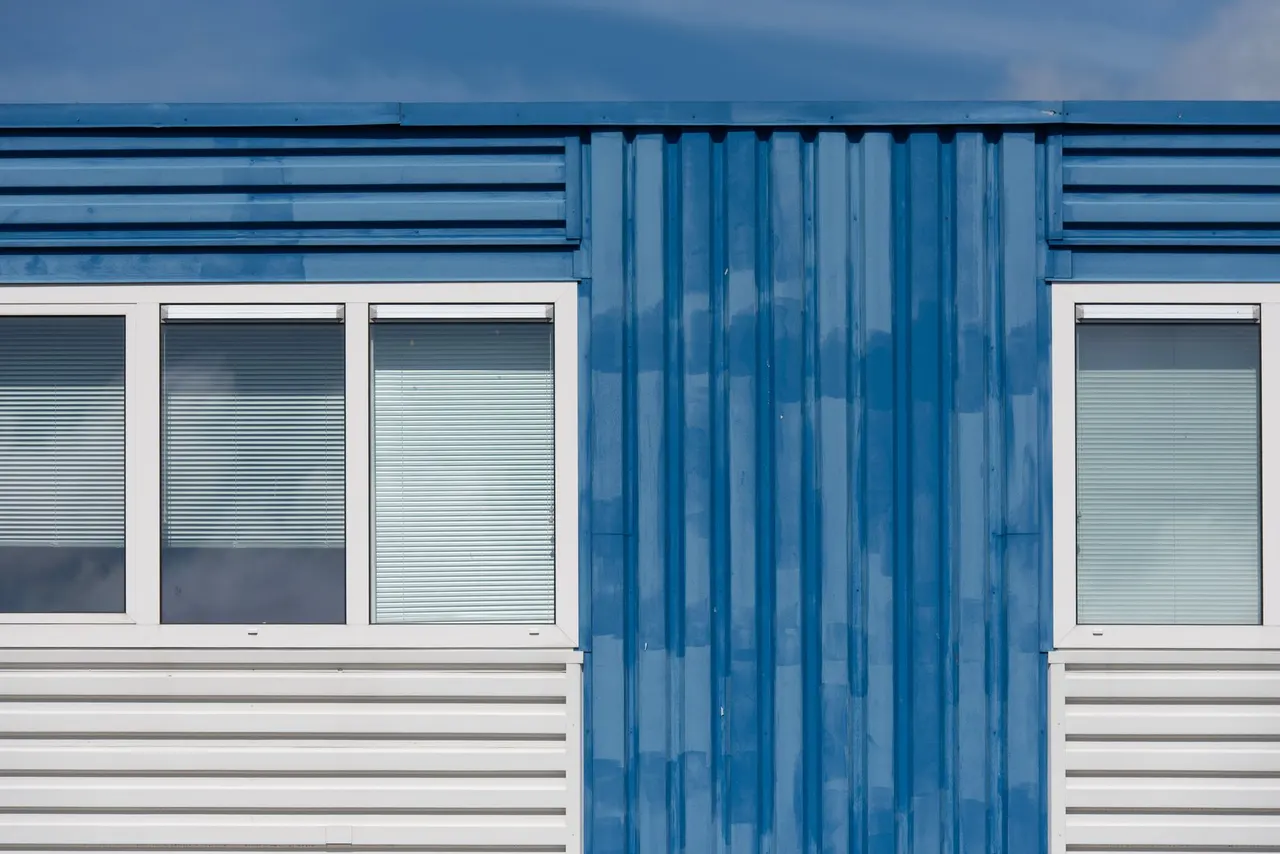
A Farmington home renovation is replacing siding and several windows in the same season.
We coordinate window placement with the exterior cladding sequence so flashing, trim, and siding meet correctly. The crew checks each opening before setting the frame and confirms the surrounding finish can be completed without blocking drainage paths. We plan access to reduce repeated disturbance.
Outcome: The windows and siding form a coordinated exterior, with fewer overlapping work steps and consistent transitions at each opening.
Farmington's winter freeze-thaw cycles and wet spring weather put repeated stress on window seals, exterior caulk, and sill joints. Older homes can have openings that are slightly out of square, layered trim, or siding that has been repaired over time. We inspect each transition rather than assuming every opening matches the last.
For Farmington Connecticut aluminum window installation, we measure the frame, check the sill for moisture damage, and plan how flashing connects to the existing wall. If the project includes exterior cladding, we coordinate the sequence so siding does not block drainage at the frame.
A search for aluminum window installation cost Farmington Connecticut often comes down to these job-specific details: standard replacement, access, trim, and any concealed repairs. We explain what the opening needs and test the finished sash, lock, and seal before leaving.
Before: A bedroom window had a cold-air leak near the lower corner, and the sash needed two hands to close. The interior trim showed a faint stain after heavy rain. The homeowner expected a simple unit swap, but the sill and exterior joint needed inspection before a replacement could be seated safely.
After: We removed the old unit, checked the sill, and installed a properly aligned aluminum frame with insulation and a sealed perimeter. The sash now closes with one hand and the lock engages. The visible stain was traced to a failed exterior joint, which was corrected as part of the opening work.
Keep the sill clear of standing water and inspect the exterior caulk each spring. Report renewed staining or a sash that begins to bind so the opening can be checked before the issue spreads.
Before: The large living room window had fogging trapped between panes, reducing visibility, while the frame remained stable. The old hardware still worked, but the sealed glass unit had failed. The owners wanted to understand whether replacing the whole window was necessary before committing to broader exterior work.
After: We assessed the glass, frame, and perimeter and fitted a replacement unit suited to the existing opening. The new frame sits level, the sash moves without resistance, and the view is clear. We also checked the trim and caulk line so the completed work did not leave an open path at the wall.
Clean the frame with a nonabrasive cloth and keep drainage paths clear. Check that locks engage and look for new condensation between panes, which differs from temporary room-side moisture.
Before: During an exterior update, two windows had deteriorated trim where old siding met the frames. Loose edges and cracked sealant made it difficult to tell whether the problem began at the siding or the windows. Completing either project alone risked disturbing the finished work later.
After: We coordinated the aluminum replacements with the exterior work, checked both openings, and fitted new perimeter details before the siding transition was completed. Each sash was tested, and the frame edges were left accessible for the planned trim finish. The result is a consistent connection across both openings.
Inspect the trim and sealant after the first wet season, especially where cladding meets the frame. Keep siding clear of the window's drainage path and address loose panels before water reaches the opening.
A failing window often affects comfort, operation, and the surrounding wall at the same time. Farmington homeowners searching aluminum window fitting near me Farmington usually describe a draft, fogged glass, a sash that binds, or recurring moisture marks. We inspect the complete opening so the replacement addresses the cause rather than covering a symptom.
A sound fit helps your window operate smoothly and manage air and water at the opening.
A replacement unit with a properly sealed perimeter addresses air leaks around the frame, not just the glass. We check the rough opening for gaps, fit insulation without compressing it excessively, and tool exterior caulk into a continuous bead. That detail matters during Farmington's cold-weather heating season, when a small opening can make a nearby seat or room feel uncomfortable.
A frame that is out of square can make a sash drag, latch poorly, or leave uneven sightlines. We use a level and measured shims to hold the aluminum frame true before securing it. After installation, we cycle each operable sash and test locks, checking that the unit moves freely without forcing hardware.
Water often enters at the junction between window, flashing, and siding rather than through intact glass. We inspect the sill and surrounding materials, then integrate flashing and exterior sealant with the existing wall finish. If siding rot or damaged trim is visible, we identify the affected area before it is concealed by new work.
Window work can be timed with siding or trim repairs to avoid disturbing a finished facade twice. Our team checks how vinyl siding, wood siding, or other cladding meets the frame and plans the trim transition accordingly. That coordination keeps the opening weather-managed and gives you a cleaner edge around the new unit.
What a written scope covers and what shapes it. Prices are set by the business after the first look.
Included
Depends on
Clear records you can keep and share.
Records installation tasks completed at the opening.
Shows visible opening details before and after work.
Lists basic cleaning and operation guidance.
Identifies the installed unit and configuration.
The frame and the surrounding wall perform different jobs; both need attention for a complete installation.
A square, supported frame allows the sash to operate as designed.
Flashing and insulation manage water and air at the wall connection.
The installed unit is checked for movement, closure, and locking.
Based in Farmington and covering the places around it. Pick one for local details.
Typical 2026 pricing in Farmington changes with frame specifications, removal complexity, trim, and concealed damage. We inspect the opening and explain the work before pricing. Replacing several matching windows together can reduce repeated setup time, while rot repair or custom sizing adds labor and materials.
Farmington Siding and Windows Pro provides aluminum window fitting in Farmington for homes, rentals, and small commercial properties. We inspect the frame, sill, flashing, and surrounding siding, then measure the opening before installation. Call (860) 744-9803 to describe the window problem and arrange a project discussion. If you notice a draft, sticking sash, or water stain, tell us which room and when it appears.
One accessible replacement window usually takes about three to six hours, while multiple windows or framing repairs can extend the job to a full day or more. Time depends on removal difficulty, the opening's condition, and interior or exterior access. We protect the room, prepare the opening, fit and seal the frame, then test the sash and hardware. Custom orders have a separate manufacturing lead time.
Aluminum windows can suit Farmington when the selected unit has appropriate thermal design, glazing, and a correctly sealed installation. Aluminum frames are rigid and support slim sightlines, but frame performance varies by product and configuration. We review the window's specifications, check exposure and opening conditions, and explain trade-offs against your priorities. Correct flashing and insulation remain essential in Connecticut's cold winters and wet shoulder seasons.
Other services from the same team.
Drafts, a sticking sash, or water marks around a frame are good reasons to inspect the opening. Our team will review the condition, explain the installation sequence, and provide upfront pricing. Call Farmington Siding and Windows Pro at (860) 744-9803 to discuss your Farmington project.
Call (860) 744-9803 or email [email protected] to describe the siding or window issue at your Farmington home. Our listed office hours are Monday through Friday, 8:00 a.m. to 6:00 p.m.; calls are routed to independent companies. Share the affected area, any visible damage, and whether water is entering so the conversation starts with useful details.